Max 8 Guitar Processor, Part 5
In this tutorial, we are going to step away from making new effects for our processor and focus on another important part of a guitar-oriented system: device presets.
Preparing to Use Snapshots
In earlier versions of this article, I used the pattr preset system to store and recall presets for our patch. This time around, I’m going to use the new-ish Max snapshot system for preset save and recall. To begin this process, we need to run through our patch and change each user interface element that we want stored in the preset. So get your mouse hand warmed up, and let’s get started!
For each user element to be saved, we need to turn on the “Parameter Mode Enabled” switch in the object’s inspector. This basically ‘opens the doors’ to the embedded values of the knobs, sliders and menus to be easily saved. You might think that every item should be changed – but that’s not necessarily true: for example, you wouldn’t want the audio input selector to be a part of a preset, nor would you want a preset to change the output on/off state unnecessarily.
I’ve created the following image to show all of the user interface elements that I chose for saving:
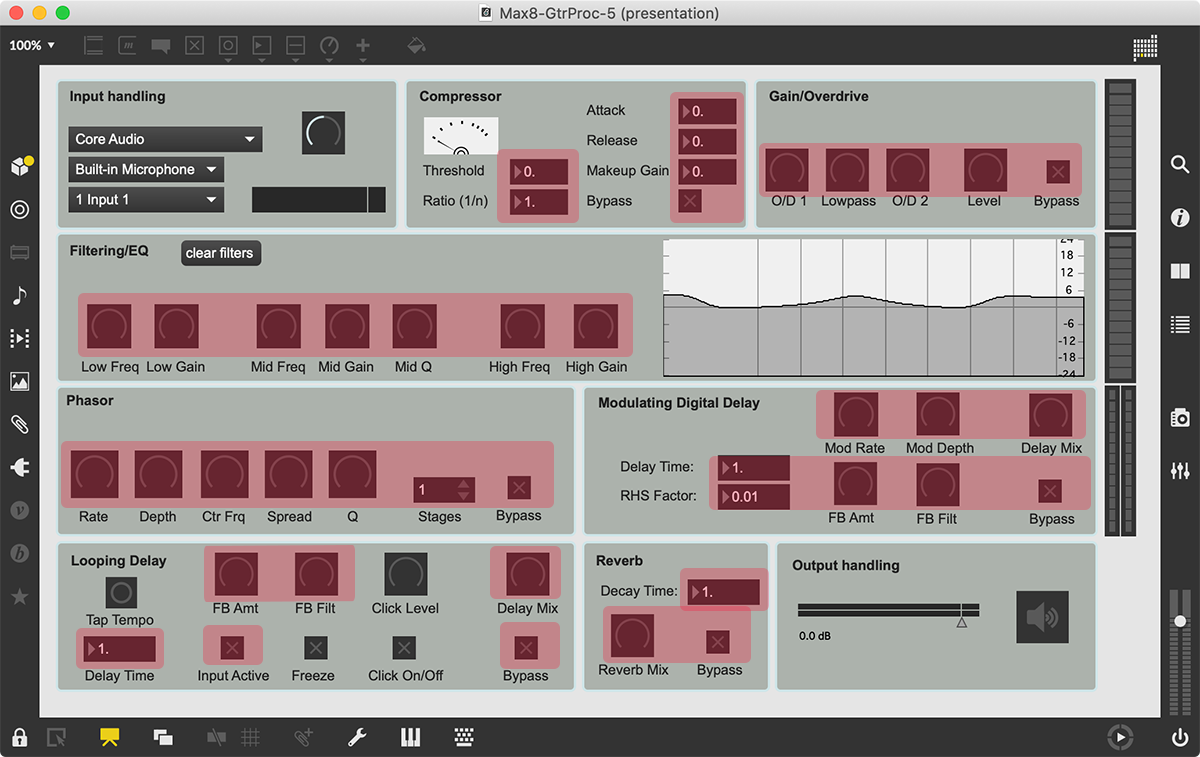
For each of these, I select the object, then open the item inspector and scroll down to the Parameter area. The only thing I have to do is to turn on the Parameter Mode Enabled switch, and the item is ready to be saved in a snapshot.
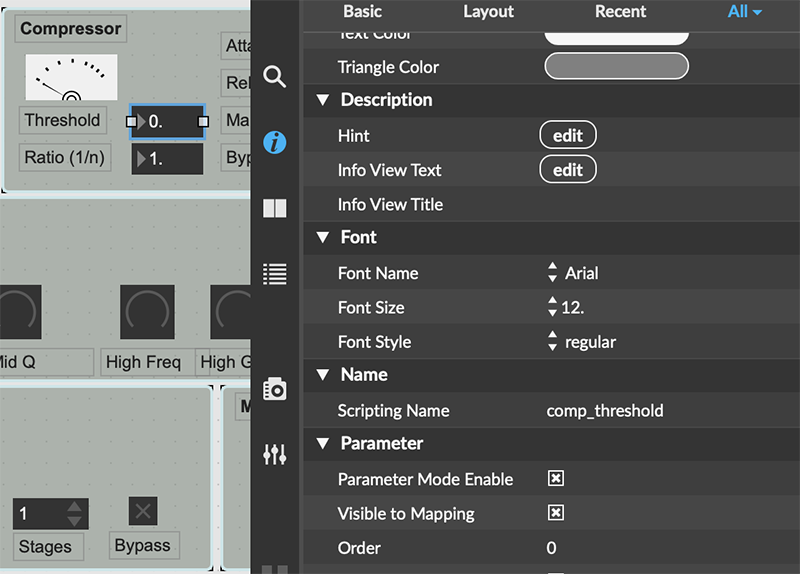
Here's a little hint: You can shift-click select a number of user interface elements (knobs, sliders, toggles) and open the inspector; you will see all of the parameters that are common to all of the selected items. In this way, you can set the "Parameter Mode Enable" option for multiple controls at once!
Also, note that we don't enable parameter mode on the output level; this is a live.gain~ object, which is Parameter Mode-aware automatically. So it will be part of the preset, but we don't have to manually set anything.
Snapshot Saving
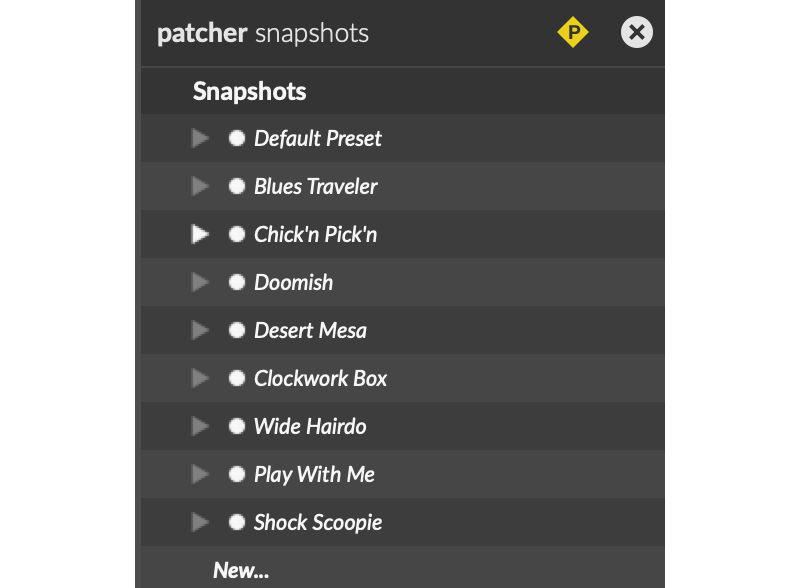
Now, all I have to do to save a setup for my patch is to dial things in, open the Snapshot sidebar (that’s the little camera icon on the right hand side…), and then either click on the New… label or select the “+” icon at the bottom of the snapshot sidebar. This will create a new preset that will recall every setting that I set up.
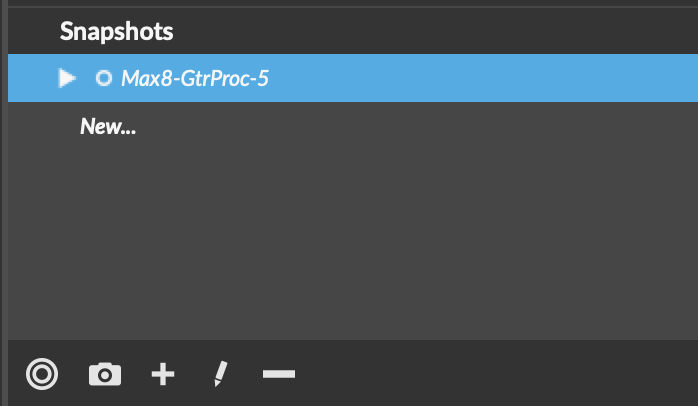
There are a few details that are worth noting here. First, it makes sense to name your presets, which you do by clicking on the name of the preset and typing in a name. Secondly, and kind of subtly, you will probably want to click on that little dot next to the name.
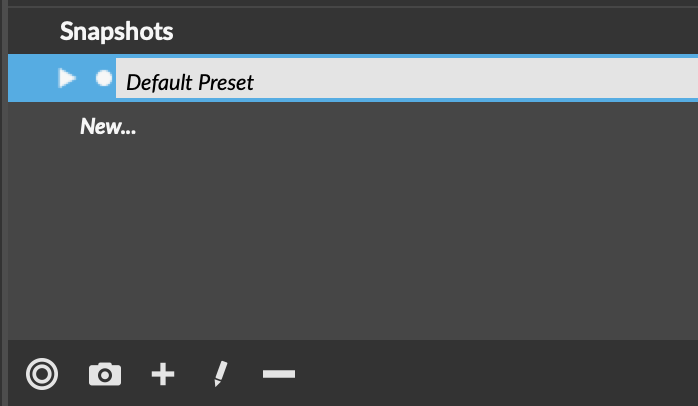
What does that dot do? That tells the system to save the preset values inside your patch rather than in an external file. And why is that important? It so that your presets will follow along with you if you move your patch to another computer.
At this point, spend some time making some nice presets. You will have access to them in the sidebar - and you select them by clicking on the arrow in front of the name.
If you want to learn more about the snapshot system, you can check out the documentation and this previous article.
The Preset Selector
Having the ability to create presets is great, but the having a bit list that you select from doesn't seem, well, very pedal like. Most guitar rigs have a numeric patch selector with up/down entry for simple patch selection. Max doesn't have any object that do this, but a forum post by Andrew Pask revealed a cool little JavaScript-based patch for snapshot selection called snapshotAPI-example.maxpat, which can be found in the Max file browser.
The nice thing about this is that it has a very steal-able js object that does everything we could need (and, quite frankly, more) - so a simple copy and paste gets it into our patch. With the addition of a little messaging and the clever use of a comment object (to display the patch name), we have a numeric patch selector!
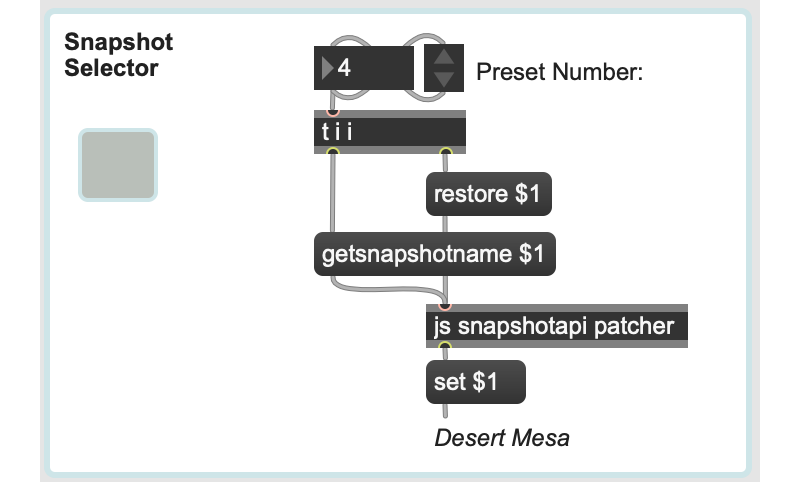
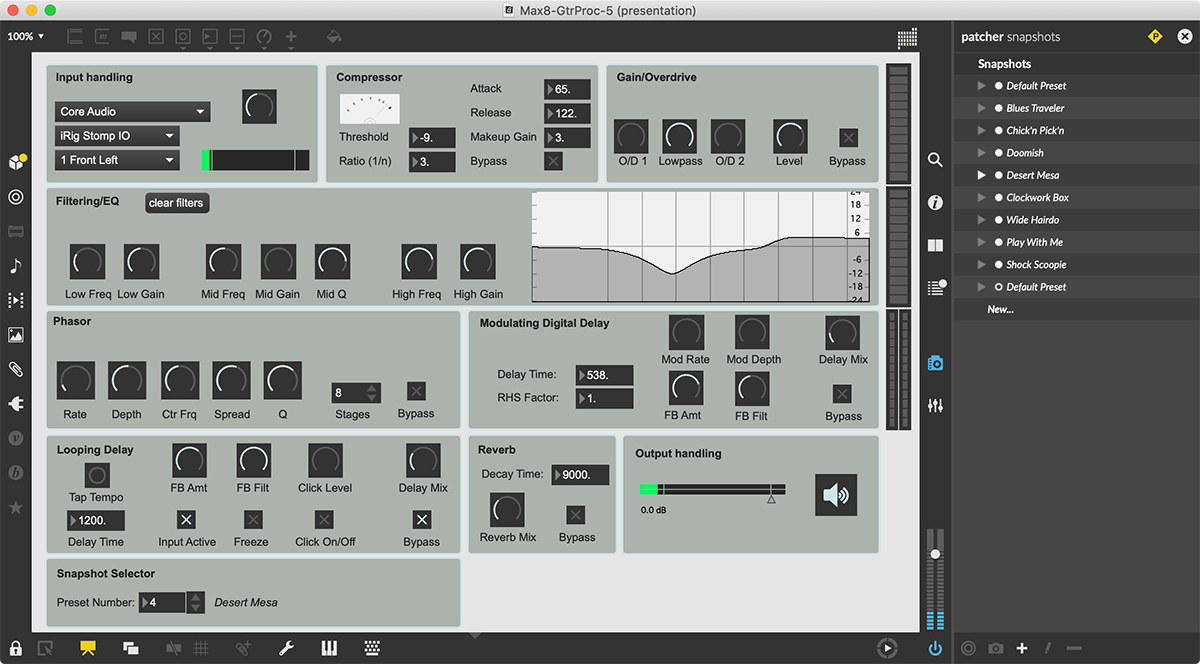
Now you should have a number of snapshots, and the ability to switch between them - either using the sidebar, or with our numeric selector. We put this interface on the 'front panel' of our patch to make it a little cleaner, and we are set.
In the next (and final) article, we will cover using a MIDI guitar pedal/interface to help make snapshot selection hands-free - as well as getting a little MIDI control action. In the meantime - have fun!
Learn More: See all the articles in this series
by Darwin Grosse on 2021年7月6日

