My Favorite Object: jit.gl.mesh
My favorite object is jit.gl.mesh. It’s a plainspoken object, direct and honest, powerful and decisive. It doesn’t do anything for you without a little effort, but if you can learn to speak its primitive matrix language it will take you far beyond the known territory. I wouldn’t be exaggerating to say it finds its way into every patcher I write, and has become an essential part of how I think in Jitter.
Meet jit.gl.mesh
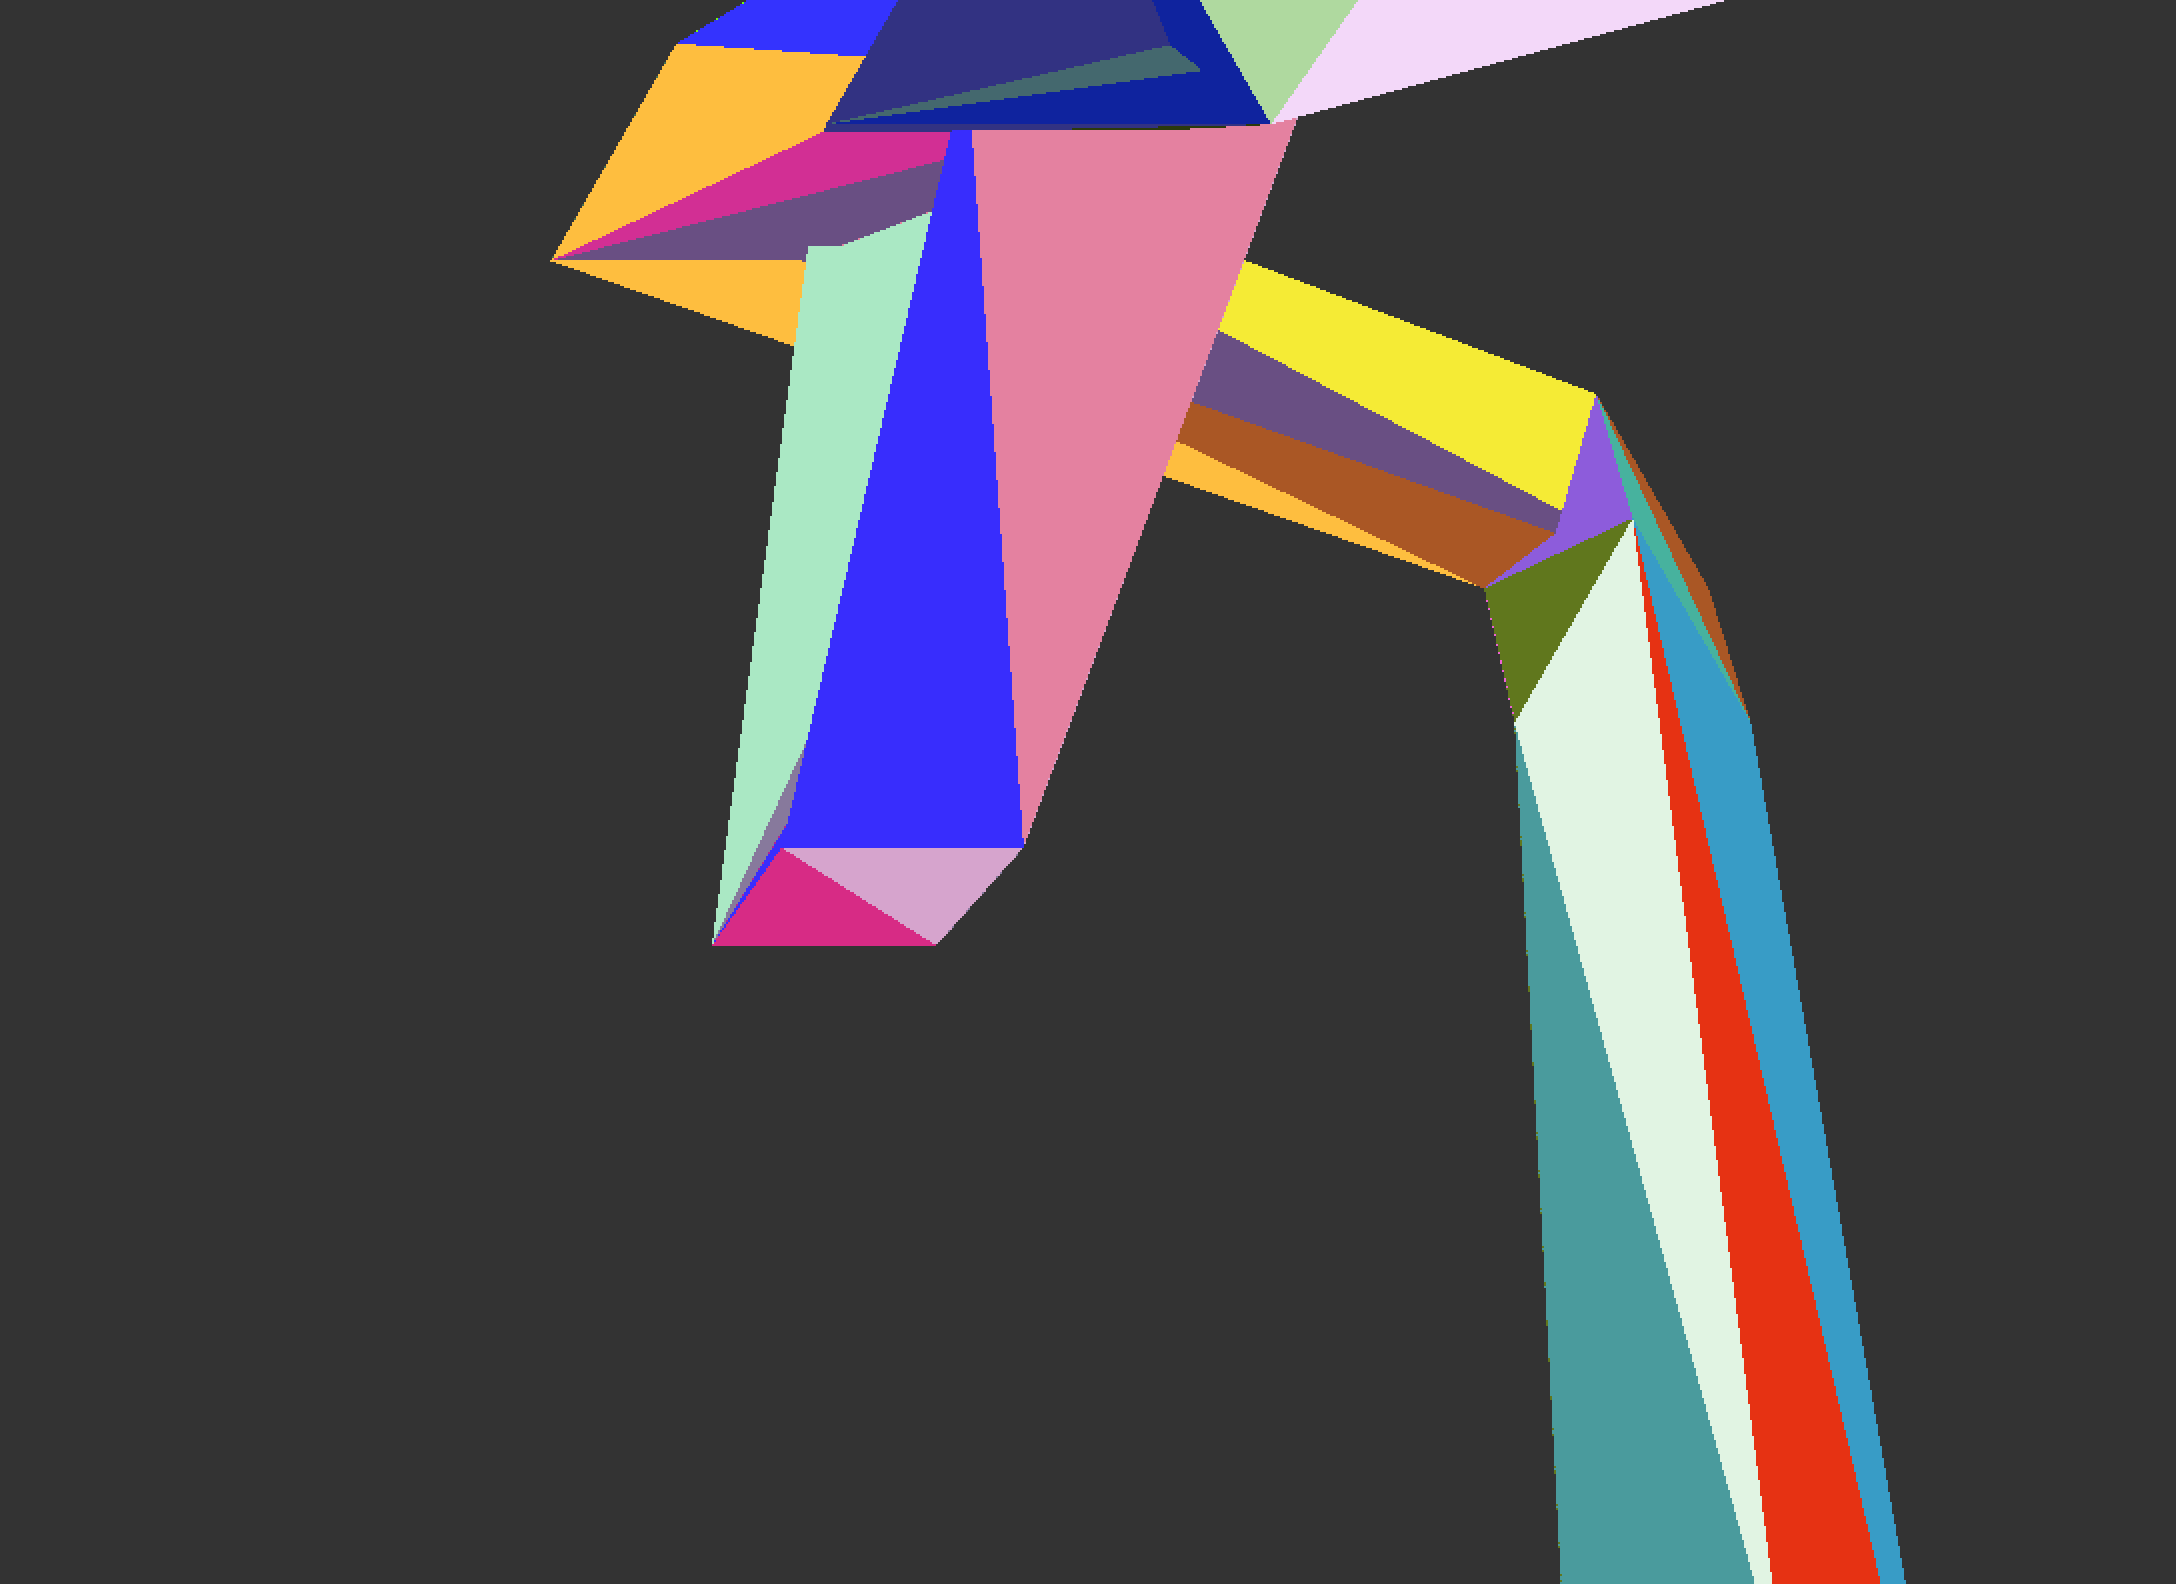
Upon instantiating jit.gl.mesh, you are faced with a bunch of mysteriously named inlets. Fortunately you can safely ignore most of them most of the time, and focus primarily on the position, texcoord, and sometimes the color inputs. In many cases I’ll only use the first position inlet. This is the one that will define your 3D geometry’s shape when you send a Jitter Matrix filled with XYZ coordinates. The second texcoord inlet is often the next in line, and expects a 2-plane matrix to define how a texture is mapped onto the geometry.

Now that we’ve gotten introduced, the work begins, and before we can really get down to business we’ll need to get clear on a few of the ways that jit.gl.mesh expects to be dealt with. First of all, that first inlet of jit.gl.mesh expects to see a 3-plane float32 matrix. If you are using the default draw_mode, it needs a 2-dimensional matrix, while most of the other draw_mode settings expect one dimension (or more). The values in the cells of the matrix will come to represent cartesian coordinates in 3D space. By default, you’re well served to keep the values in the -1. to 1. range roughly if you want your geometry to fit in the viewport with a fixed camera view. The center of window will be (0,0,0).
The Primitive Language of The Mesh
By default, jit.gl.mesh uses the tri_grid mode to draw the incoming geometry data. This interprets the matrix as a connected mesh of triangles in a grid pattern. Both tri_grid and quad_grid are actually interpreted by the jit.gl.mesh object and converted to simpler geometry before sending along to the graphics hardware.
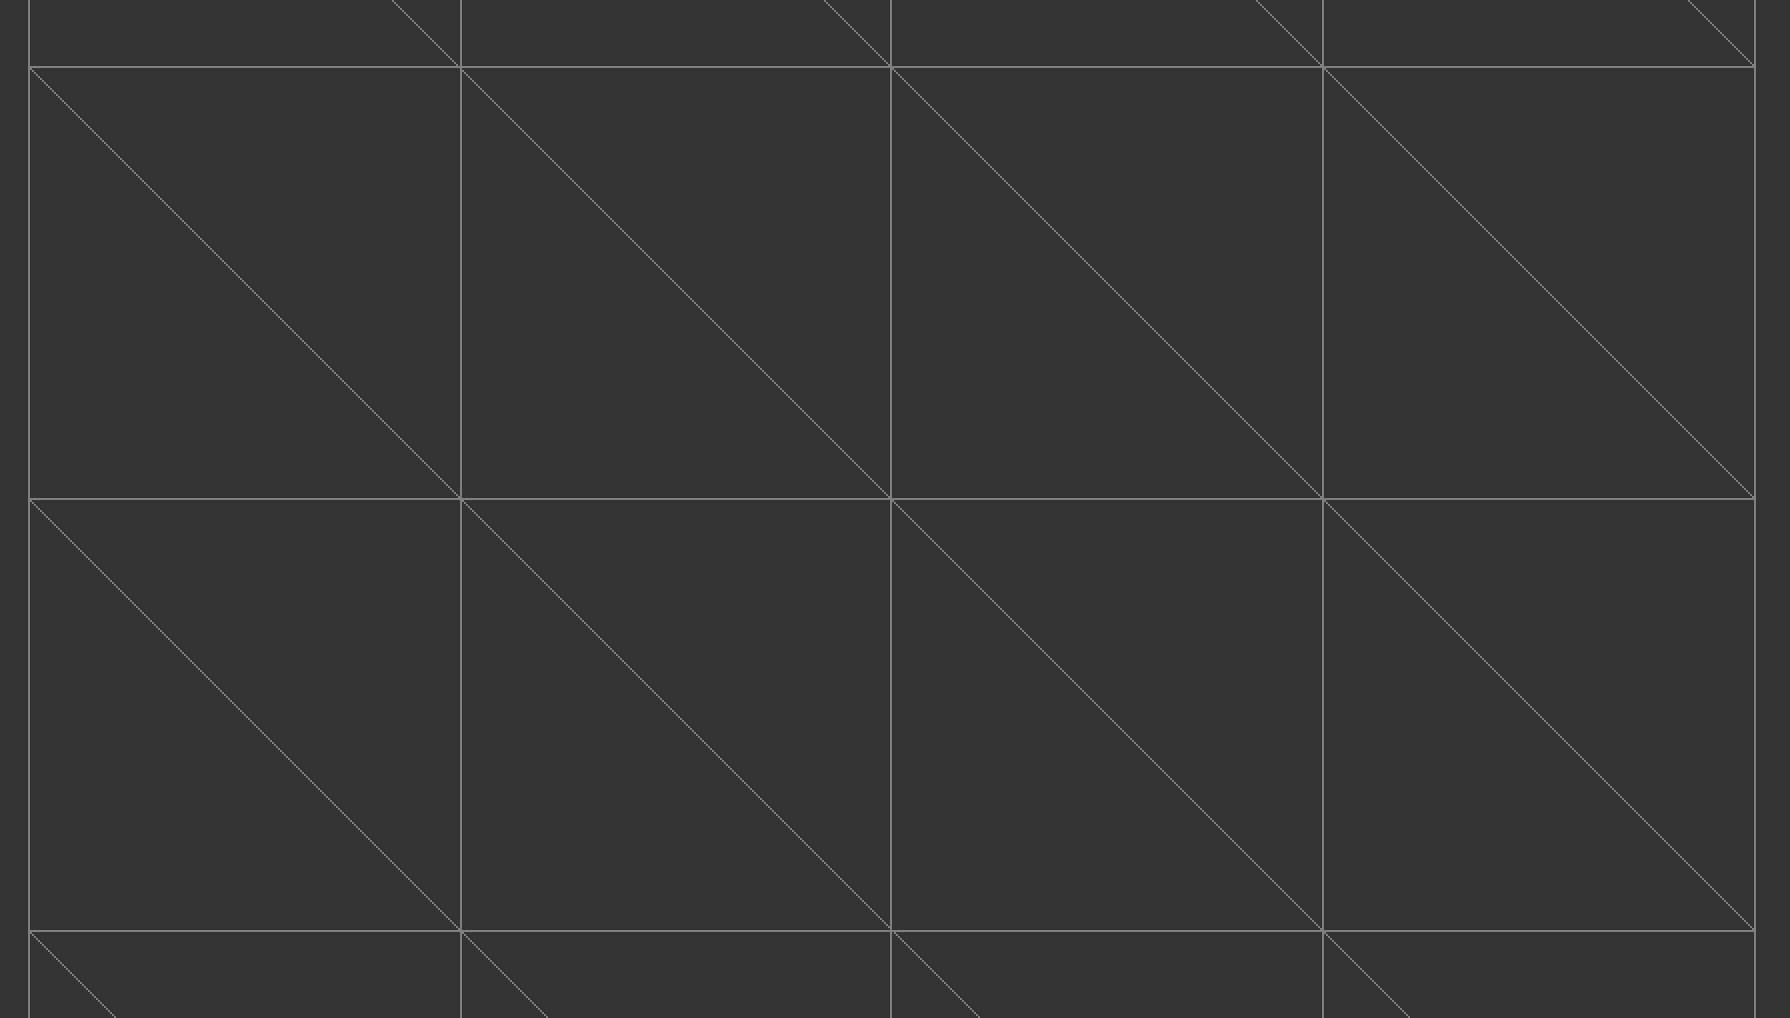
If you open the included basic_circle patch, you can see a couple of simple geometry generators in use. The first button on the left will generate a flat plane across the XY dimensions. You can switch the poly_mode to get a better view of the underlying geometry, and how the triangle grid is laid out.
For extra credit try connecting a jit.noise to the position inlet of jit.gl.mesh and see how that behaves. Going beyond jamming noise through your patch can get a little tricky, and really isn’t going to make much sense without familiarizing ourselves with OpenGL drawing primitives.

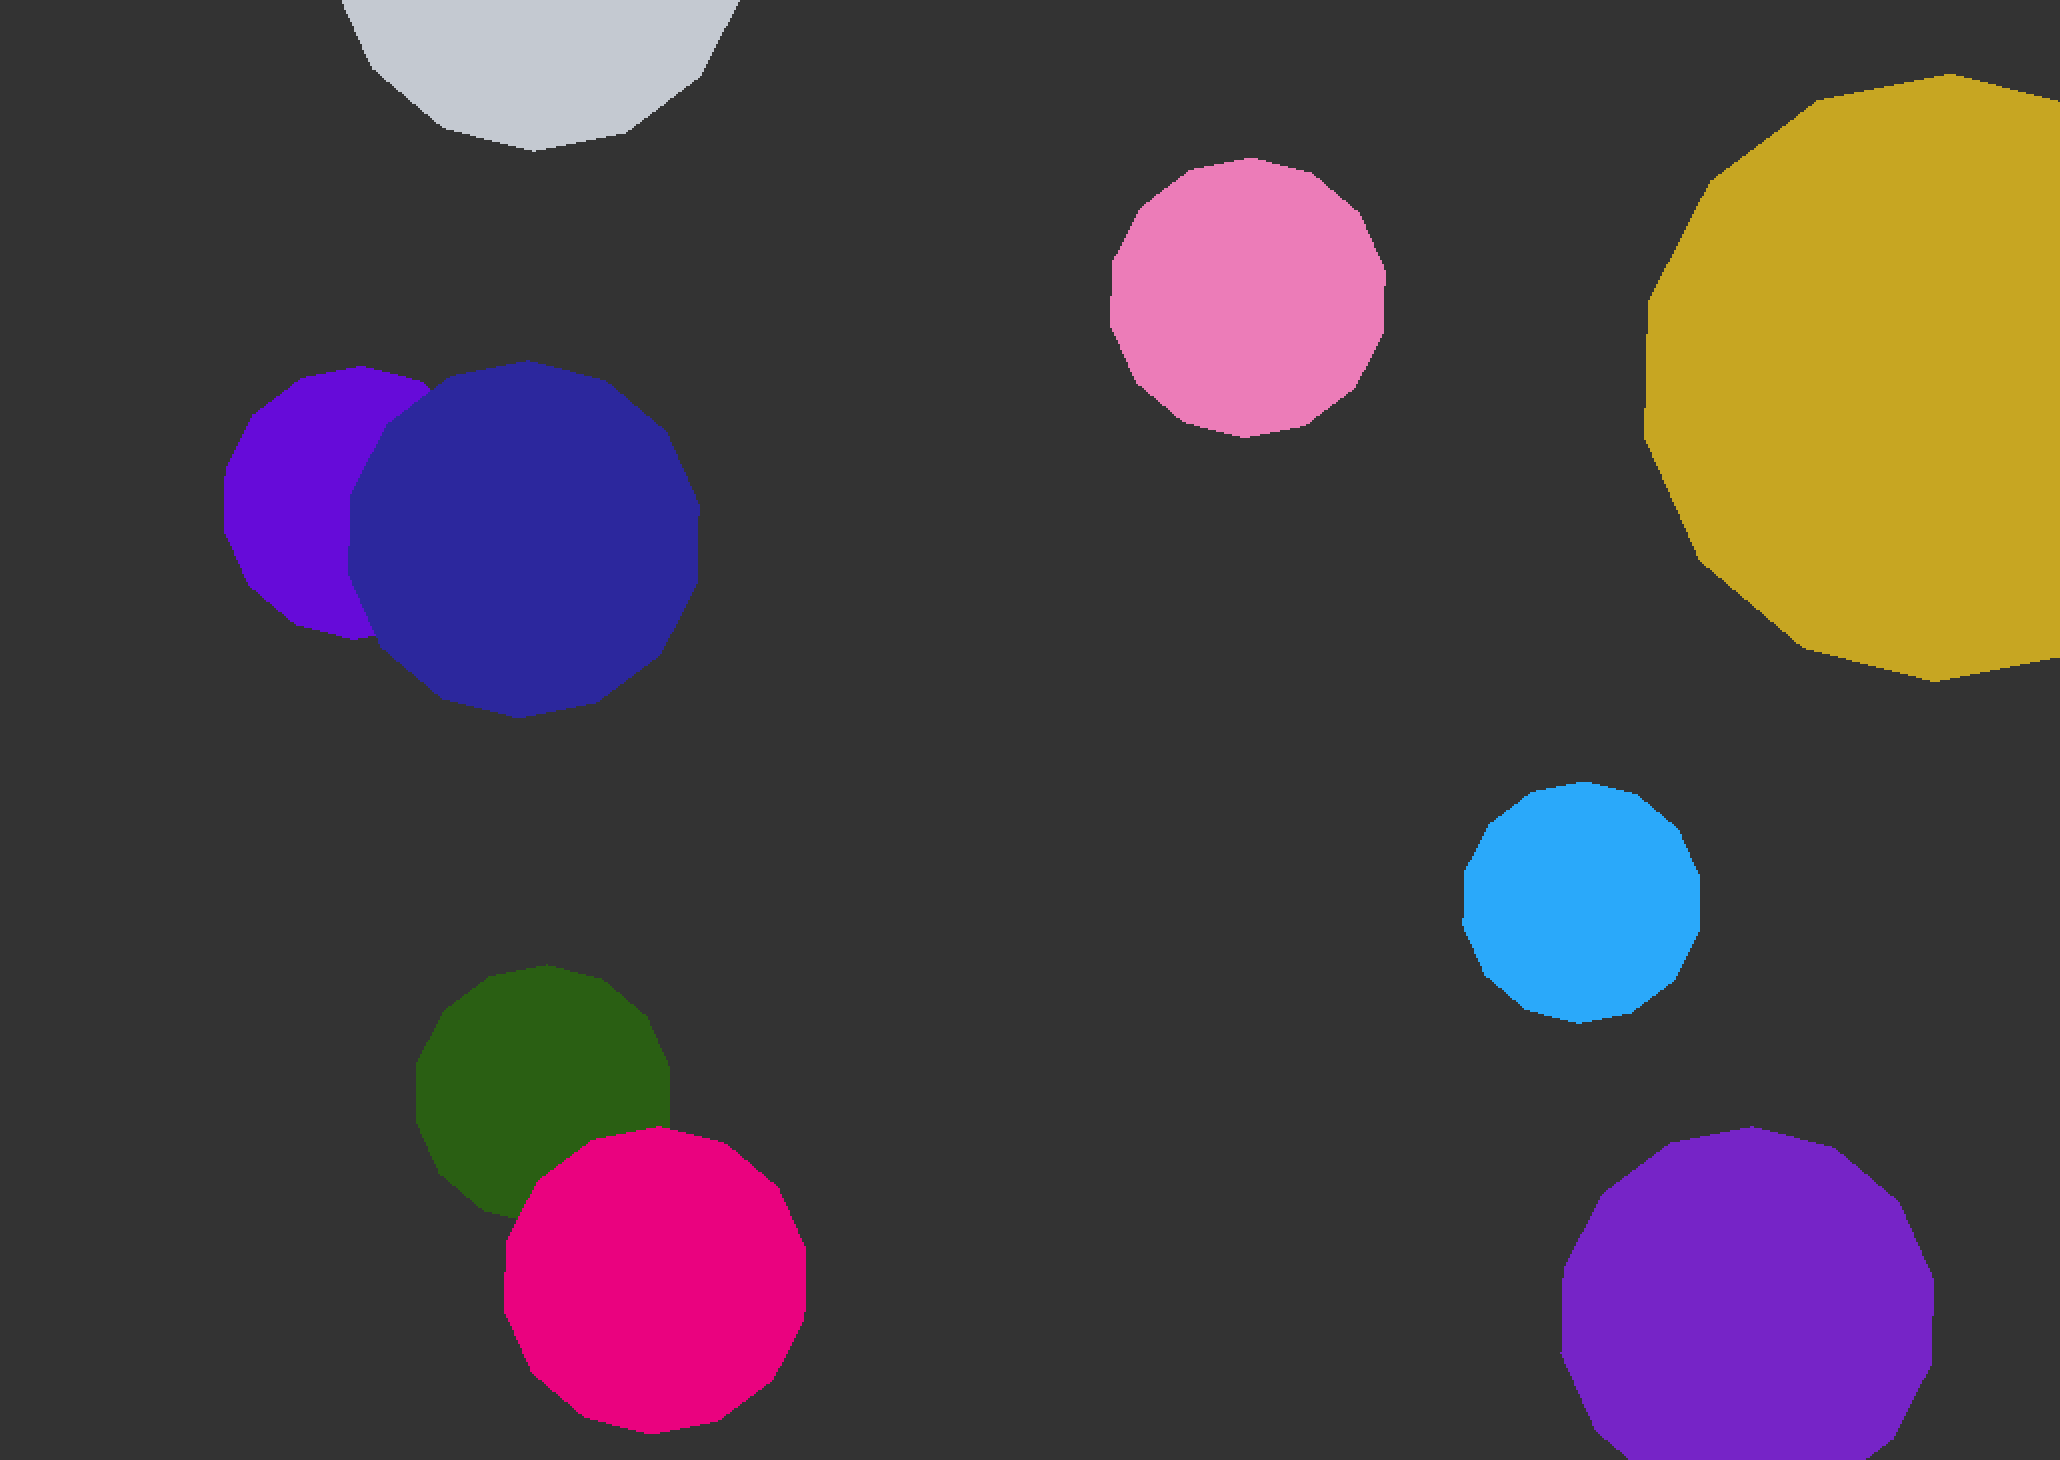
The important thing to know about this diagram is that - in Jitter - the ordering of points is going across the matrix from left to right. If there is more than one row of cells in the matrix, each row will be interpreted as a separate shape. This can be used to efficiently generate many copies of simple geometry where jit.gl.multiple might be a little slower. To the right of the basic_circle patcher is a circle generator. For the most circle-like results, switch into polygon drawing mode, but you can also experiment with other ones as well. In the case of the simple shapes like triangles, quads, and lines, each primitive shape is generated according to its set number of vertices. So with triangles, every three cells of the matrix across will be a new triangle. Knowing this will help plan when it’s time to generate some shapes using your own jit.gen or jit.expr objects. You can peek inside the jit.gen to see how we're generating the geometry data with a couple of simple math operators.
The Flat Land
While jit.gl.mesh is capable of generating every variety of shapes in 3D, I find much of my usage clustering around 2D purposes lately. It’s also nice when getting started with the mesh to restrict yourself to fewer dimensions. By combining position data with texture coordinate data, you can do some really compelling image distortions and effects. I’ve included a couple of patches to play around with one such effect that I use a lot. The “texture_fun” patch shows the basic idea, generating a few 2D polygons that map to the screen and are textured with a video input, with controls to move that geometry around and shift the texture mapping as well.
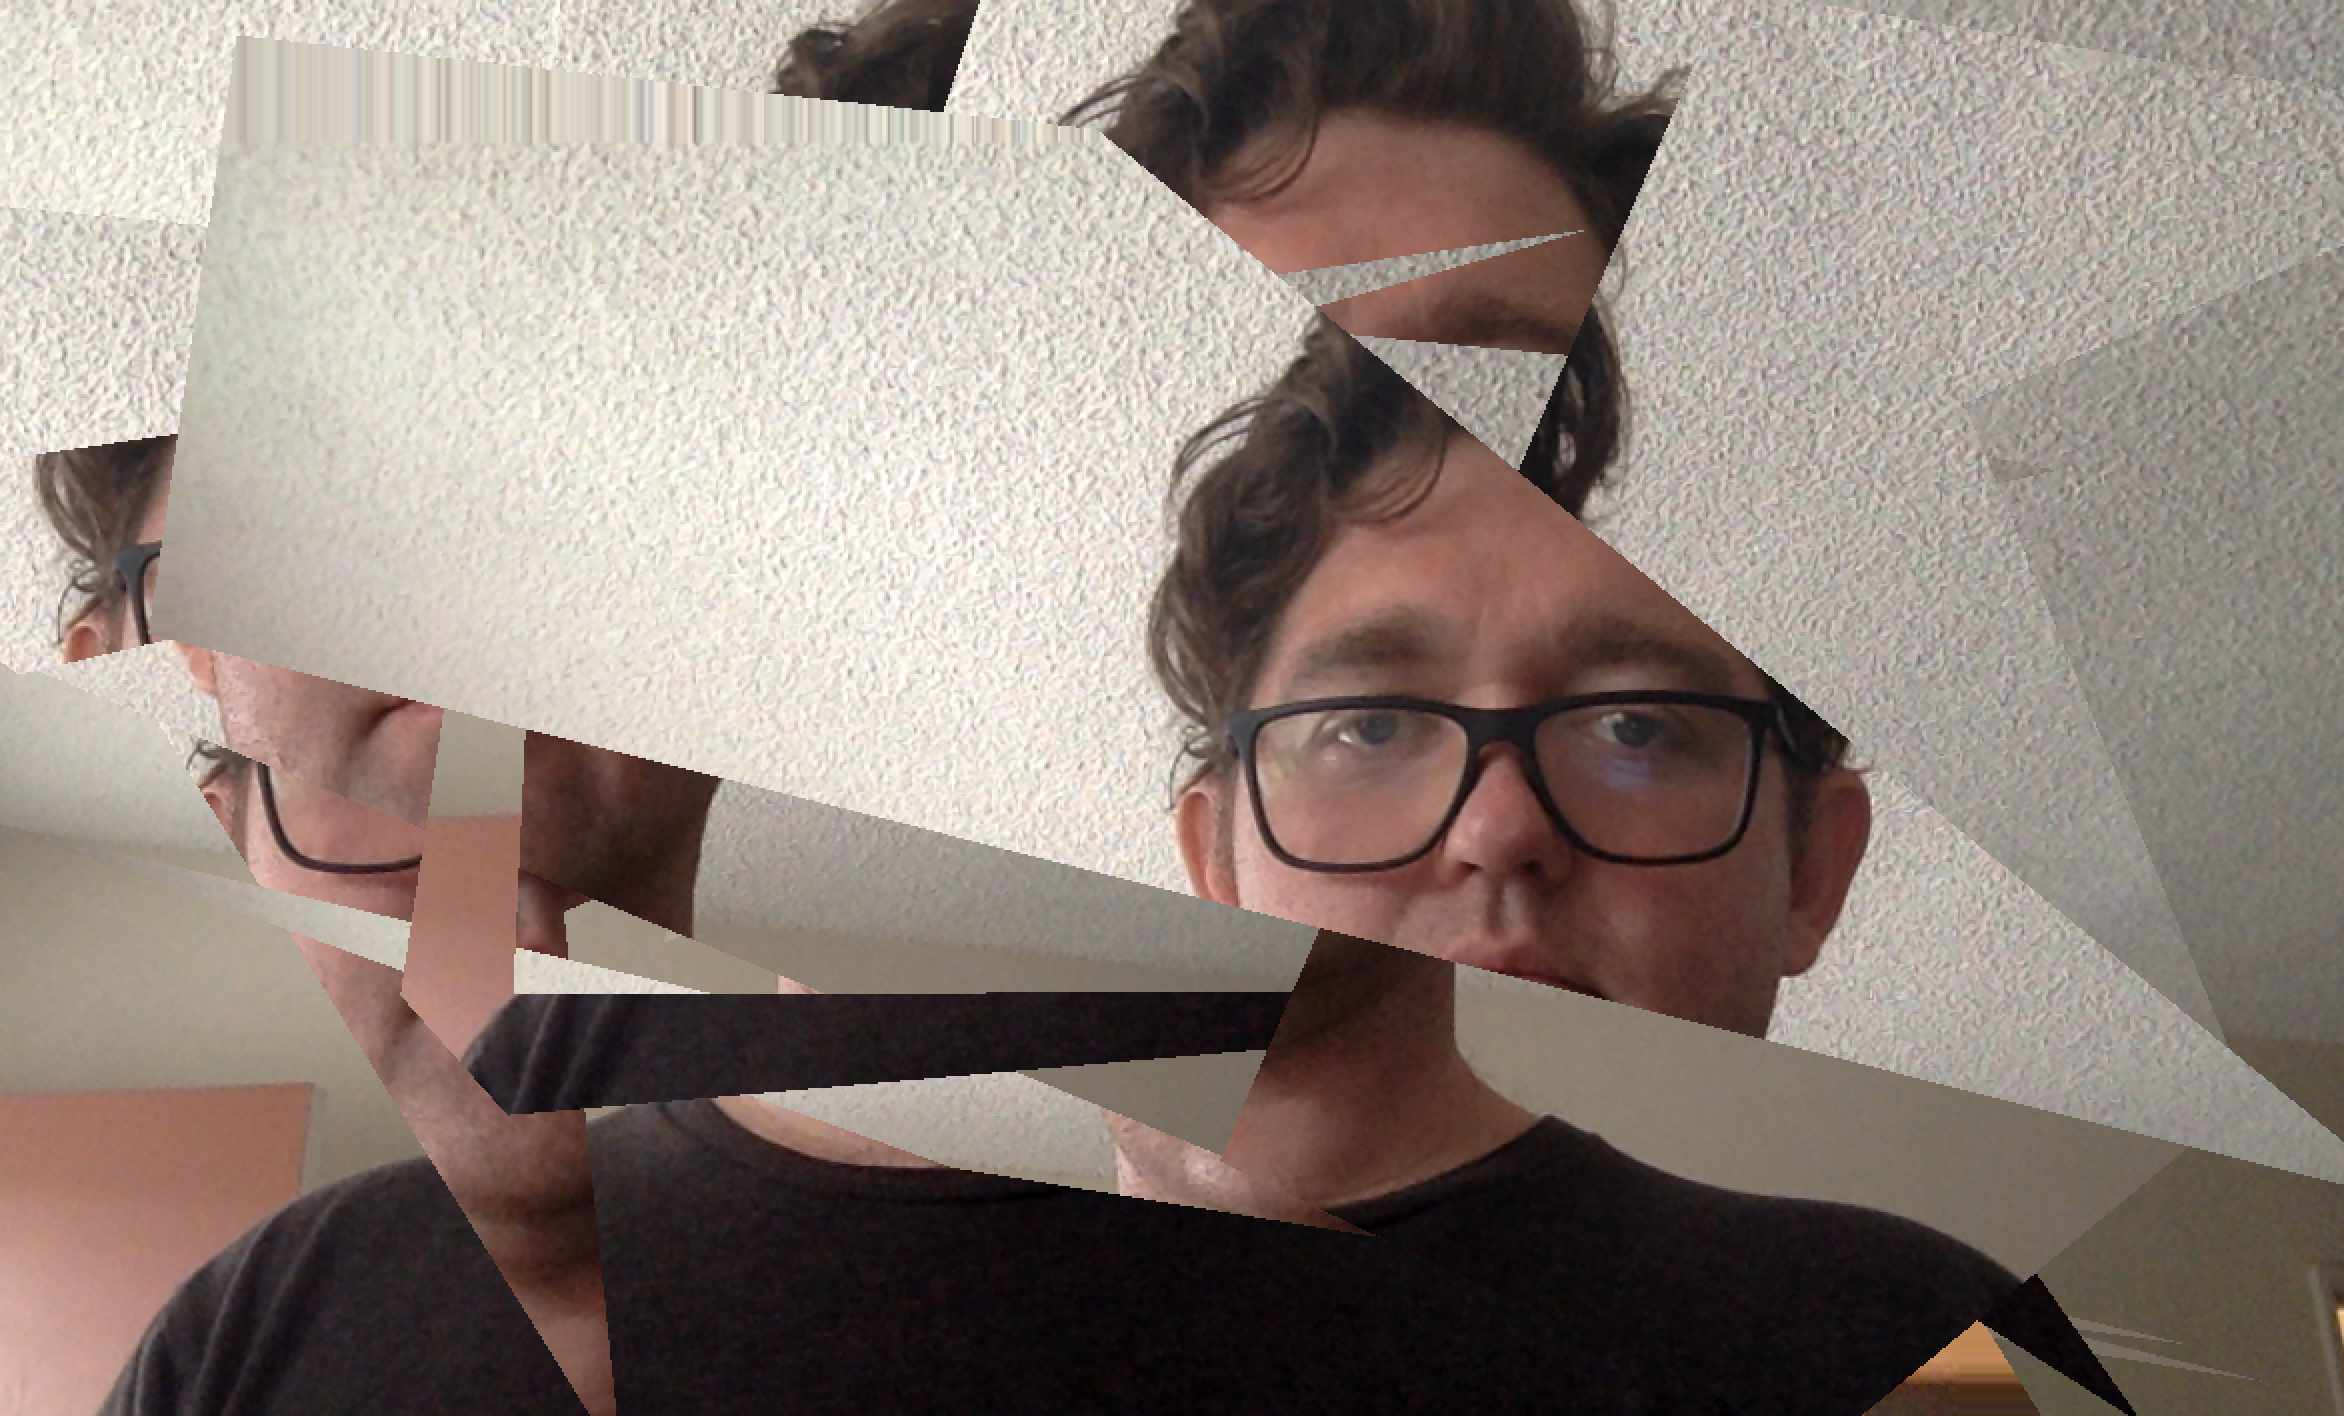
The second patch, “texture_fun_more” shows the same configuration but with the addition of feedback using jit.gl.node.

If you’re curious to learn more about jit.gl.mesh and OpenGL in Jitter, I highly recommend the Video and Graphics tutorial set in the Max documentation and digging into the Jitter Recipes online. Happy Patching!
Learn More: See all the articles in this series
by Andrew Benson on August 15, 2017

