
Package Authoring: The Finer Details, Part 2
In Part 2 of this series, we will build on that foundation to address the details, subtleties, and dynamics of a polished package that is ready to be shared with the world.
As we have already learned, a Package is simply a folder containing a variety of files. Those files may be external objects, abstractions, help patchers, media files, or anything else you'd like to share with others using Max.
Depending on a file's role, you place it into a subfolder with any of a number of predefined names (help patchers go in a folder named "help", for example).
Part 1: An introduction to authoring your very own Packages for Max.
Part 3: Author reference documentation for Max.
Give Your Package a Face
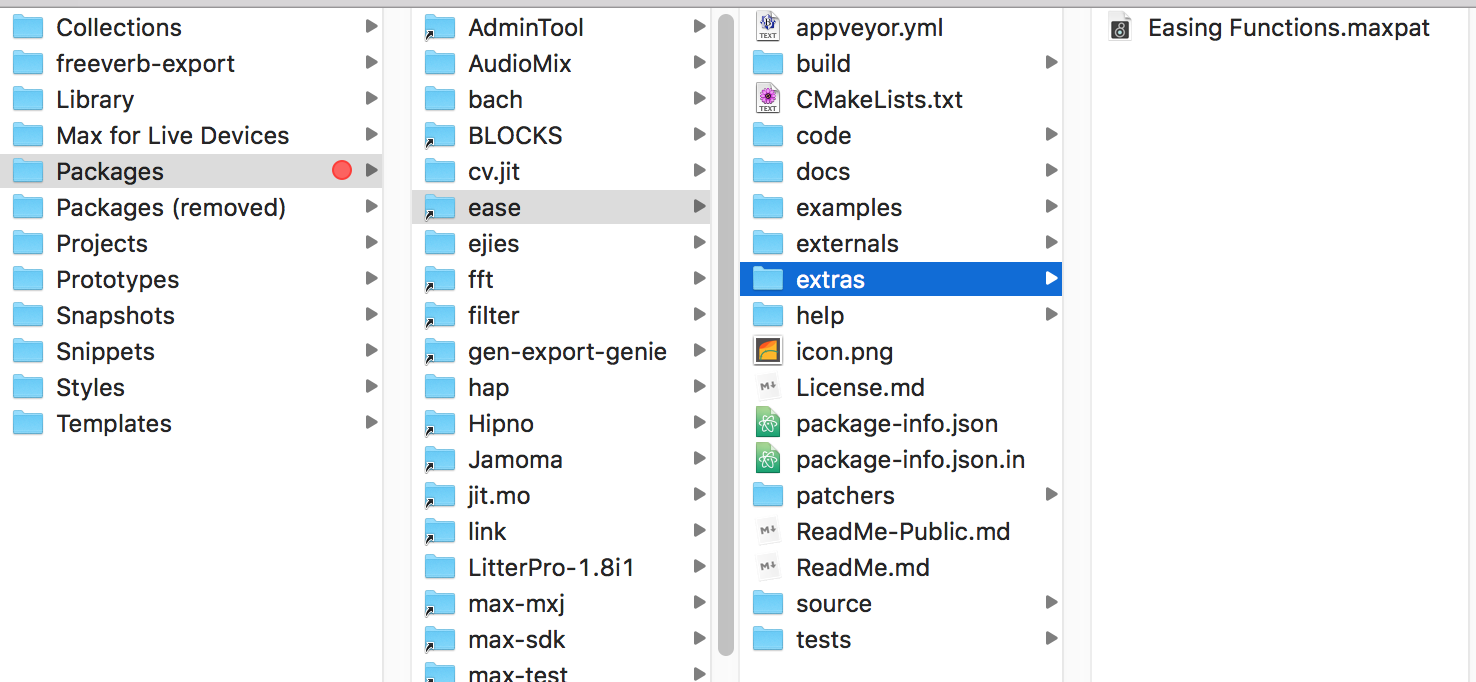
Every Package installed for your copy of Max or available through the Package Manager will have a cover image that helps to identify the Package. This image should be a PNG graphics file 500x500 pixels in size and should be named "icon.png". It should be located at the top level of your Package folder.

Provide Extras
The Max "Extras" menu provides a way to easily access special content from your Package. Many Packages provide an overview or introduction patcher for the Package in this location.
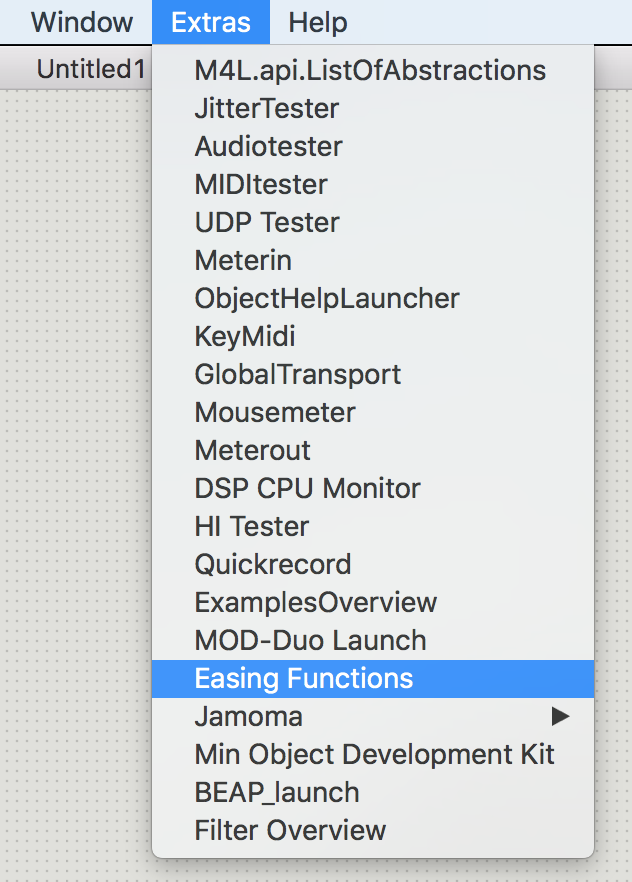
If you want to add your own patcher to the Extras menu, create the patcher and then simply save it in a special folder named "extras" in your package.
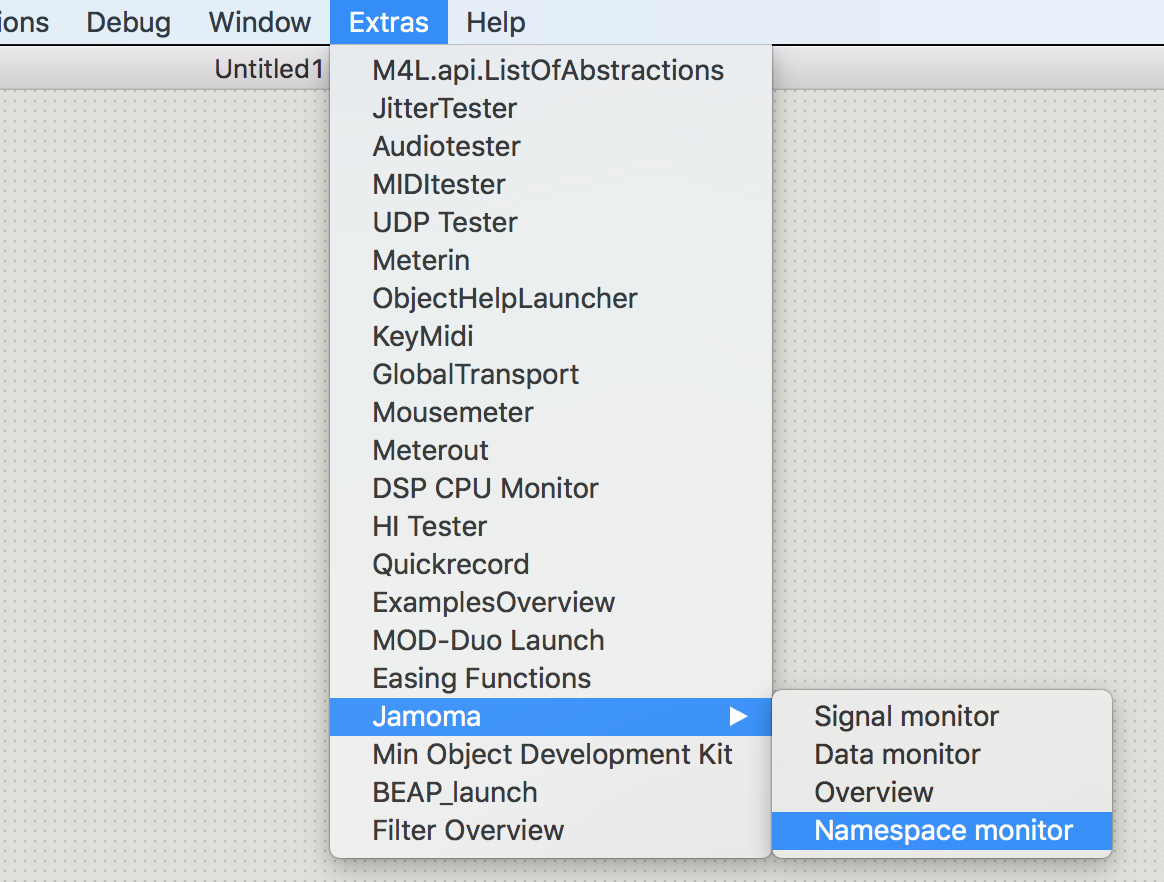
You can even have submenus by placing named folders inside of the extras menu . For example, the Jamoma package does this.
Consider Tabs
Many Max help-patchers use tabs to organize their contents. This is a great way to keep the patcher clean and clear while still providing more complex or advanced information. You can also use tabs in your extras/overview patchers, too.
Here's how to do it:
1. Create a new patcher.
2. Make two or more subpatchers with the names your want for the tabs as the names of the subpatchers.
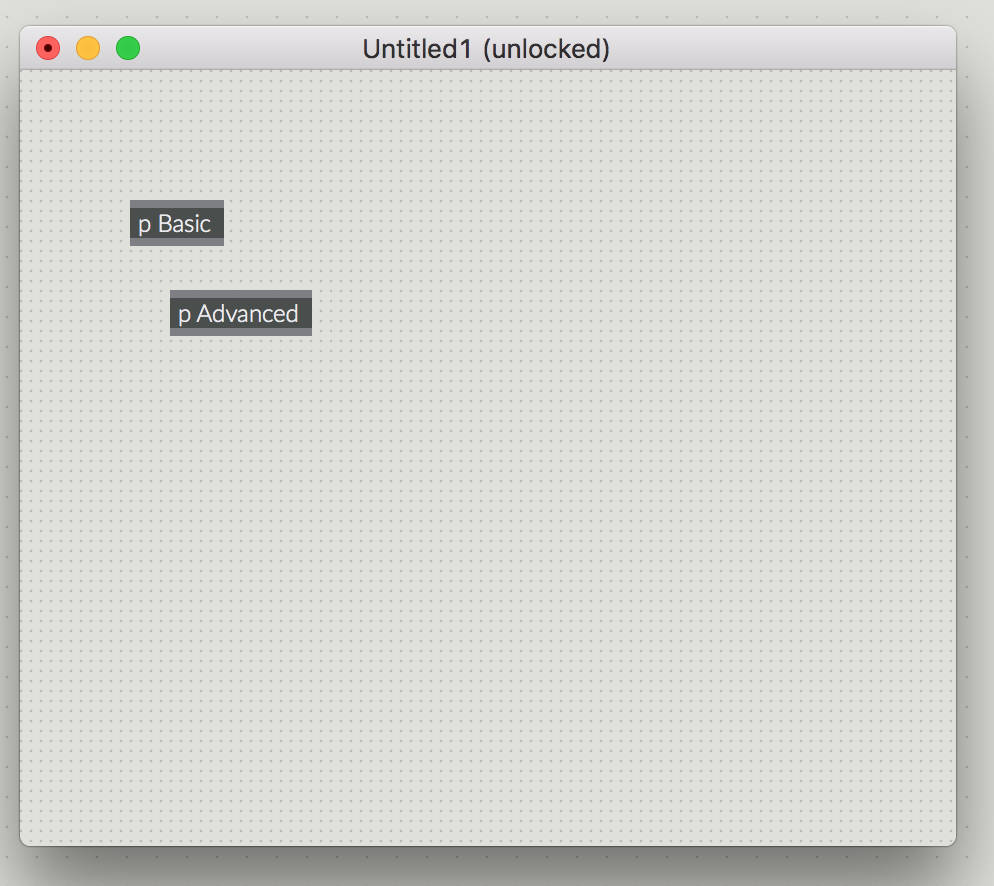
3. Open each subpatcher. With that subpatcher as the front window and unlocked, open the patcher inspector.
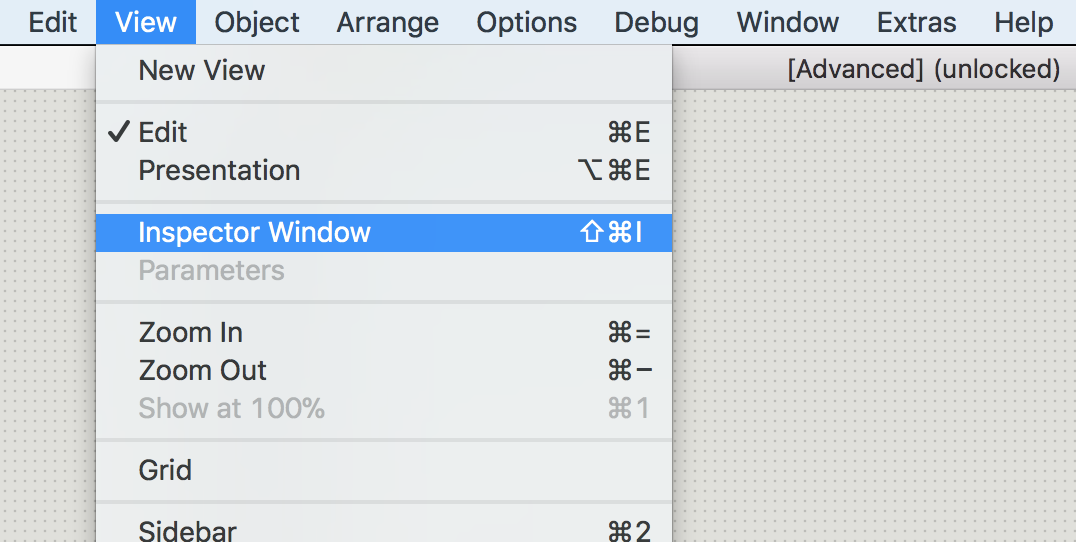
4. In the patcher inspector, toggle the "Show on Parent Patcher Tab" attribute to on.

This subpatcher will now show up as a tab!
6. Repeat this for any other subpatchers you have.
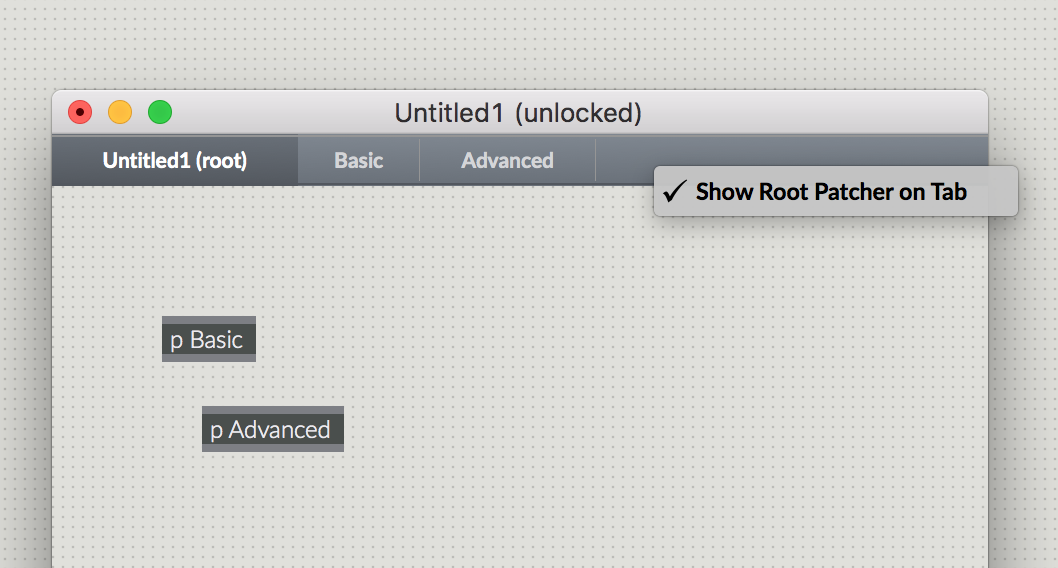
Once you have all of your subpatchers created and showing up as tabs, you will want to hide the root patcher. To do this, right-click in the blank area to the right of all of the tabs in the patcher. This will pop up an option to "Show Root Patcher on Tab". Uncheck it and it will disappear. You can bring it back at any point in the future.
Save your patch and voila! You have a tabbed patcher for your help patchers, overviews, or other package goodies.
Set Expectations
If you plan to share your Package with others, you will want them to know what your Package is all about.
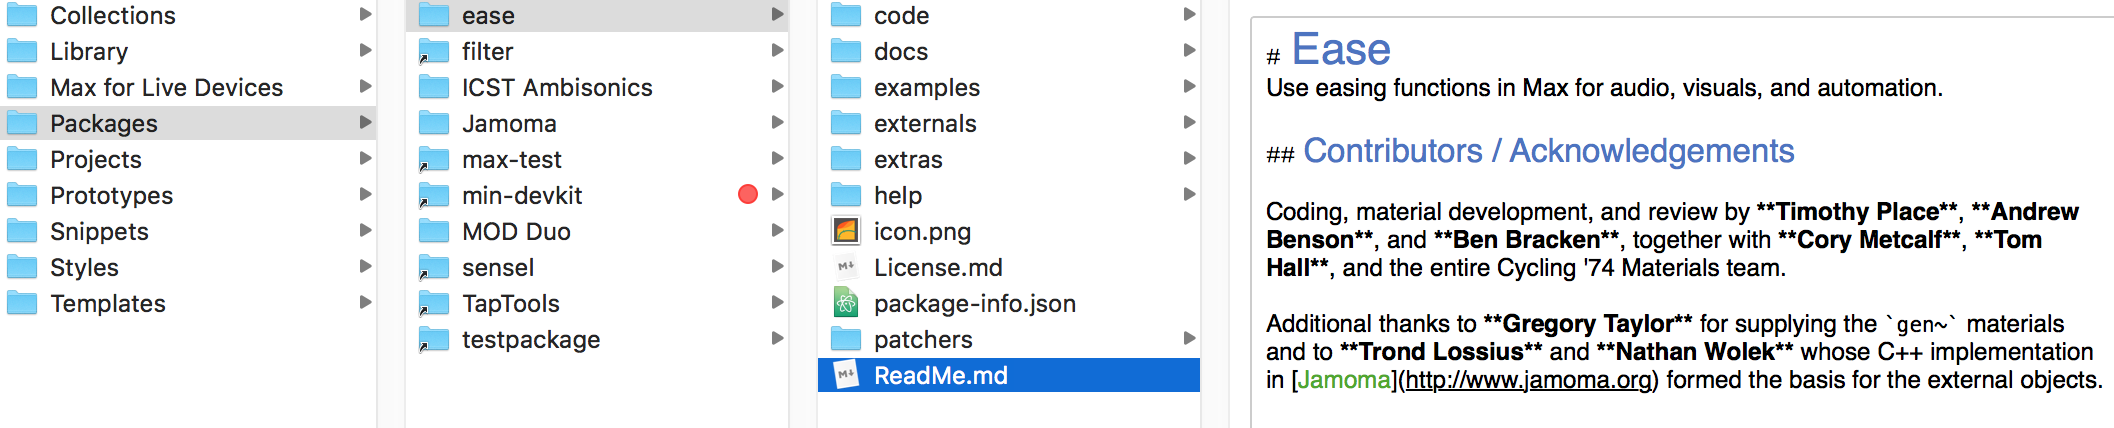
This is the purpose of the "ReadMe" - a simple text file named readme.txt or a markdown text file named readme.md.This file should be located at the top level of your Package's folder.
You should strongly consider adding a license that tells users what they can legally do with your Package. The license will contain answers to questions like these:
Can someone build standalone apps with your material and make money from it? If so, should they give you credit?
Can they sue you in court if the package doesn't work for them?
The license is a simple text file named license.txt or a markdown text file named license.md located at the top level of your Package's folder.

It is impossible to make a blanket statement about what license is best. One popular license for Max Packages is the MIT License - some of Cycling '74's own packages use it, in fact. If you need any help in making sense of the wide variety of licenses and their options out there, we suggest that you check out the Choose A License website.
If you plan to submit your Package for consideration for Cycling '74's Package Manager, you will need to have both a ReadMe and a License in your package.
Launch: Publish Your Info
At the top level of the folder for your Package, you can define a magical file named package-info.json. This file is in JSON format, and it defines metadata about your Package. This data includes:
The version of Max required to run your Package
The name of the Package's author(s)
A description that will appear in the Package Manager window
The Package's homepatcher
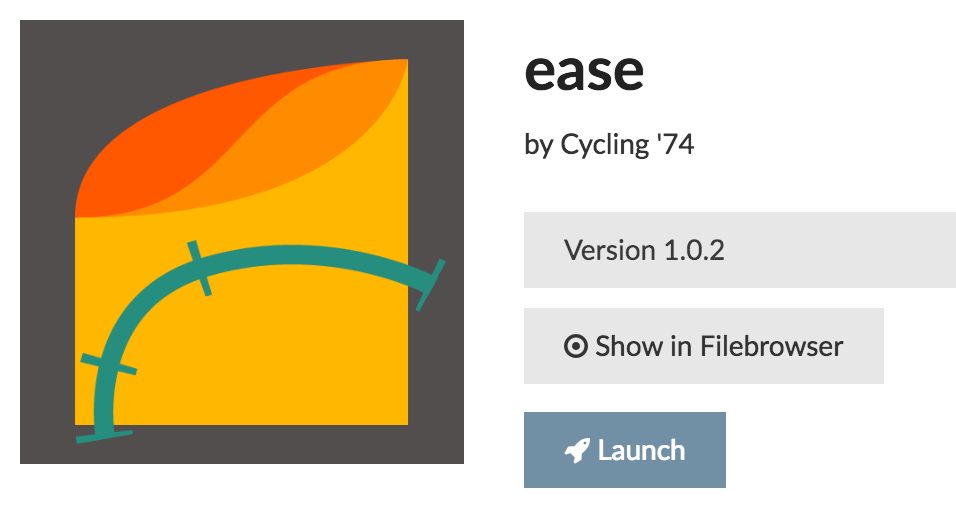
The homepatcher is the "Launch" patcher - it's the Max patch that will be opened if a user clicks on the "Launch" button for your Package in the Package Manager window.
Usually, this patcher will be a patcher you included in the "extras" folder (described above) to provide an overview or introduction to your Package.
If you ultimately publish your Package through the Cycling '74 Package Manager, this file will be (optionally) created for you. If you are sharing your Package by another means or simply want to manage this file yourself, then you will want to add it yourself.
The easiest way to create a homepatcher is to copy the package-info.json file from another Package and then change the values. Here is an example of one - the package-info.json from the Ease package:
{
    "author" : "Cycling '74",
    "description" : "Use easing functions in Max for audio, visuals, and automation.",
    "homepatcher" : "Easing Functions.maxpat",
    "max_version_min" : "7.1", "max_version_max" : "none",
    "name" : "ease",
    "os" : {
        "macintosh" : {
            "platform" : [ "ia32", "x64" ],
            "min_version" : "none"
        },
        "windows" : {
            "platform" : [ "ia32", "x64" ],
            "min_version" : "none"
        }
    },
    "package_extra" : {
        "reverse_domain" : "com.cycling74",
        "copyright" : "Copyright (c) 2016 Cycling '74"
    },
    "tags" : [ ],
    "version" : "1.0.2",
    "website" : "http://cycling74.com"
}
Write Documentation
To produce a truly polished package you will need to provide documentation. We will cover that topic in Part 3 of this series on authoring packages. Stay tuned!
by Timothy Place on October 17, 2017
