Node Recipe 01: Installation Calendar
Node Concepts
Using ReactJS to generate a dynamic web front-end for Max.
Setting up an Express.js API for Max
Manipulating data stored in a file
Commentary
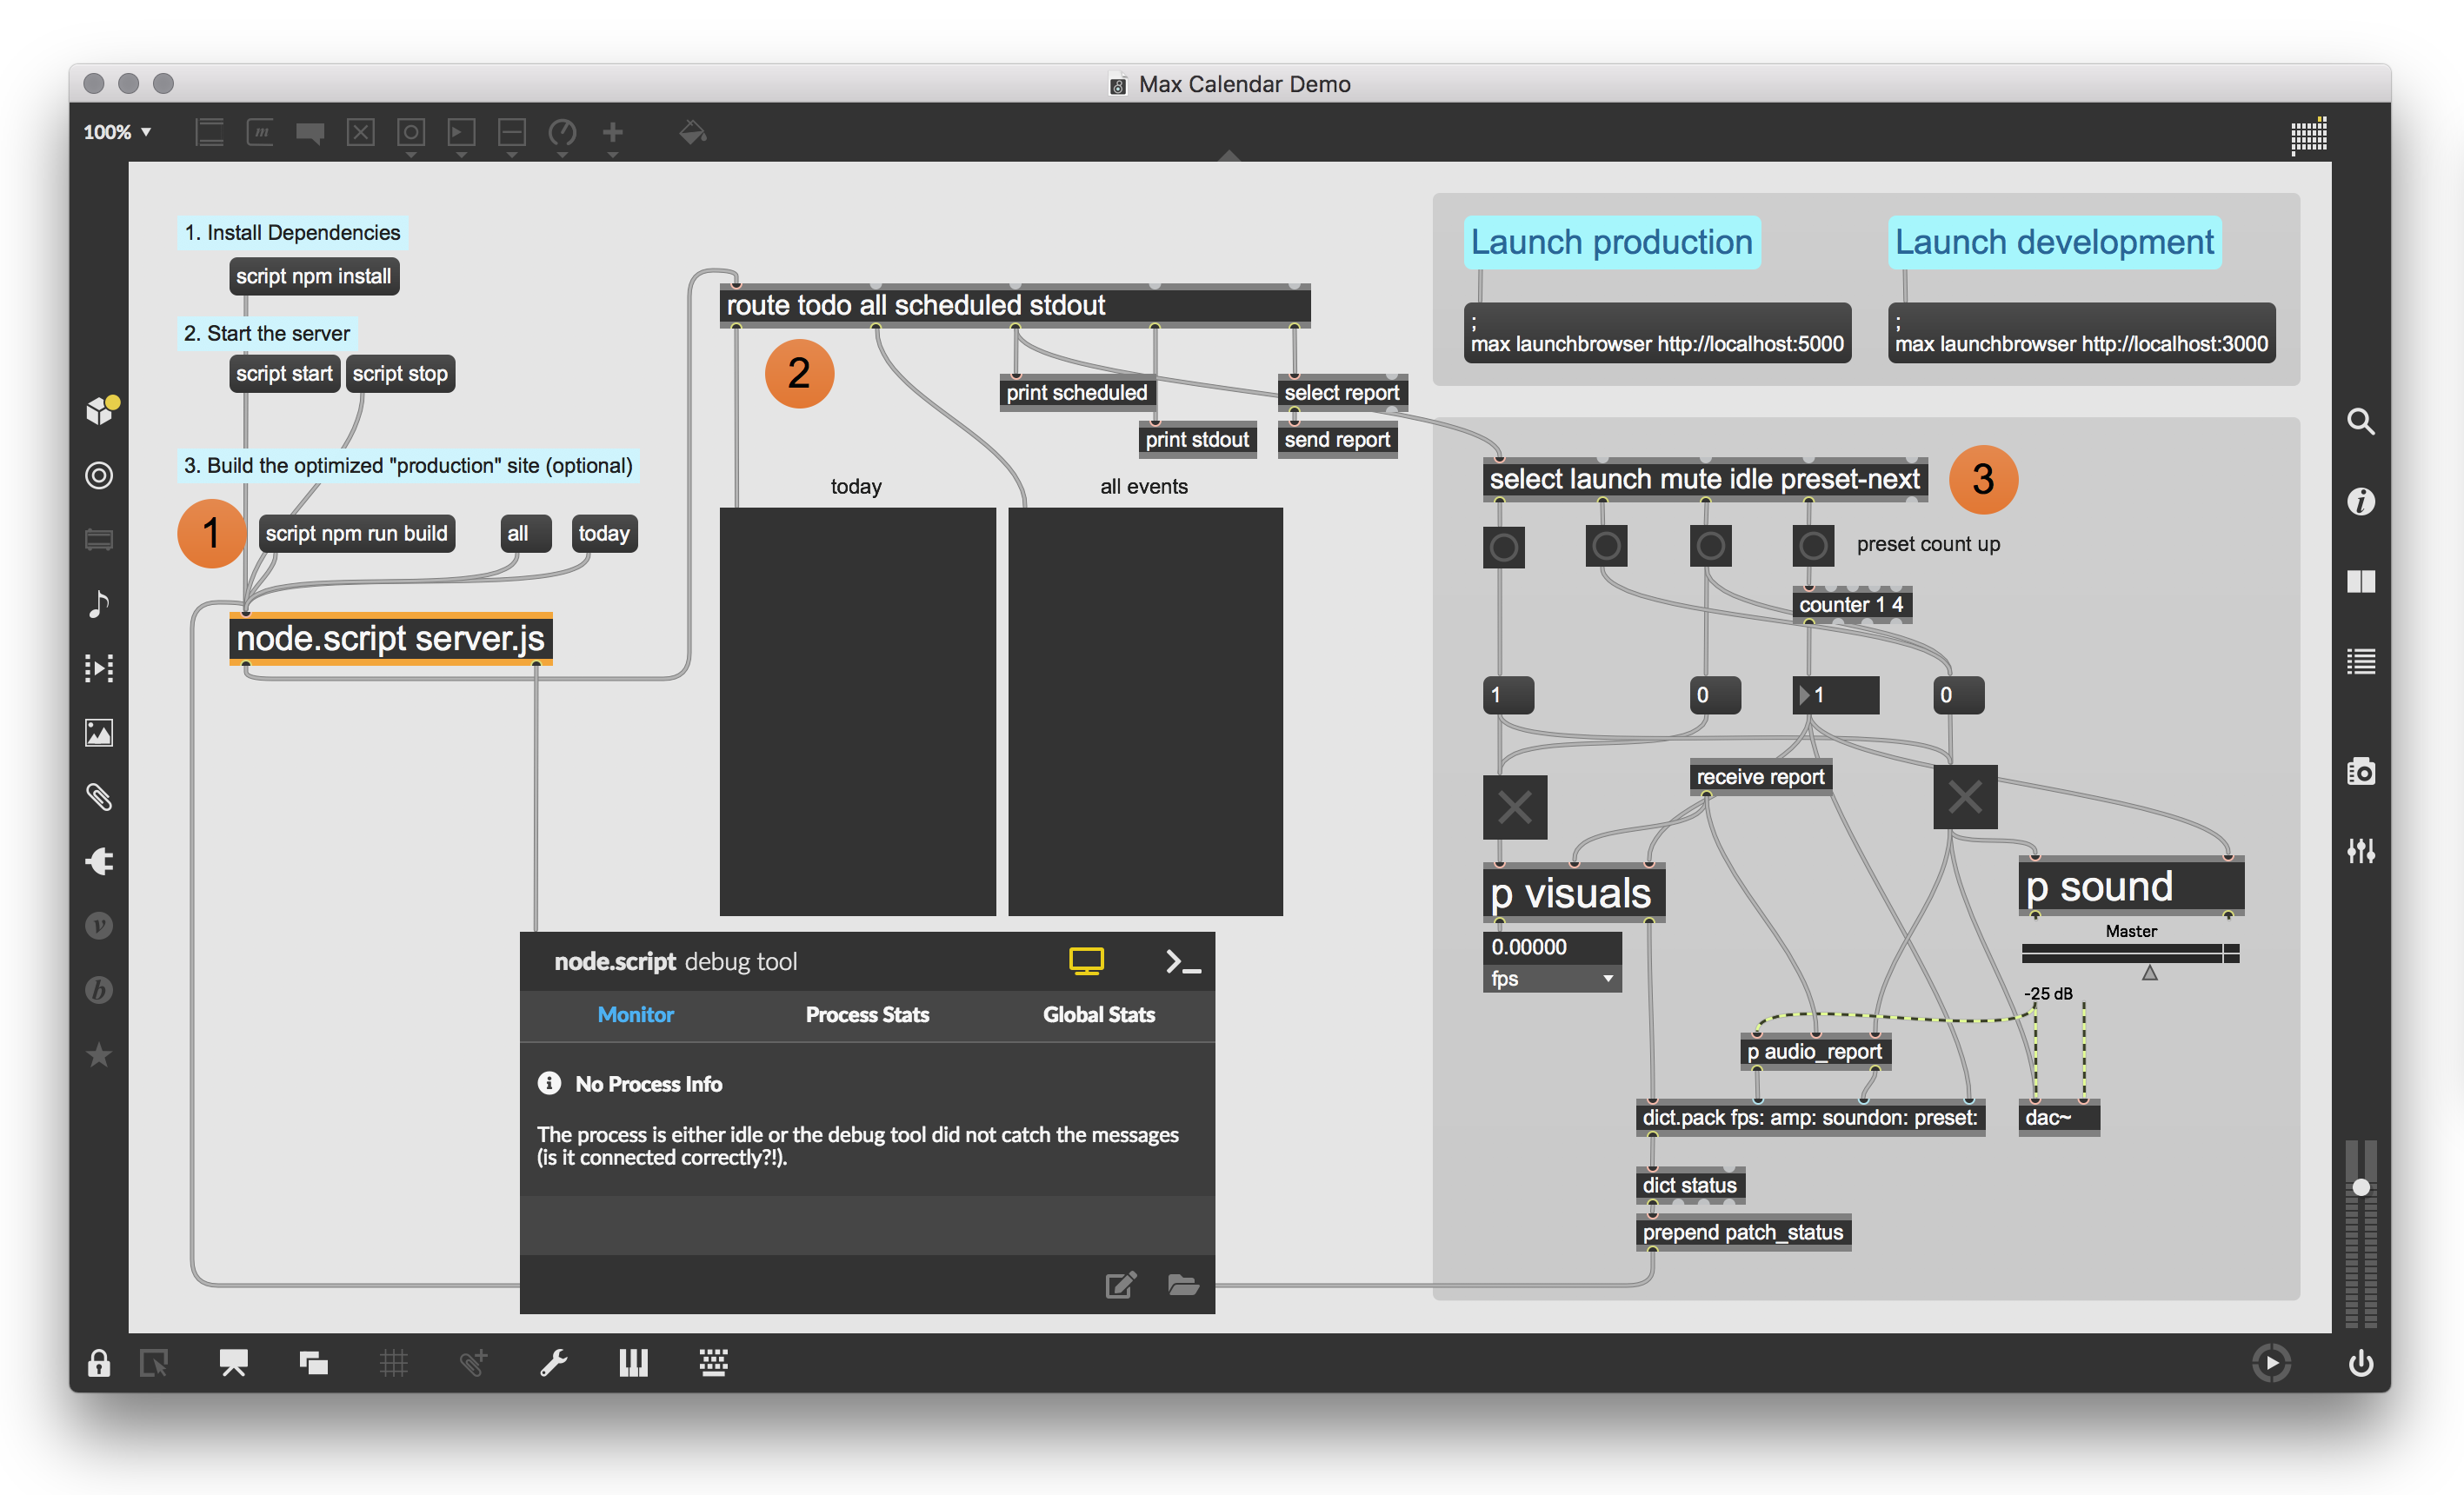
When creating an art or commercial installation, it’s often helpful to create an admin page to schedule events and check status of the system. This recipe provides a template for running an audiovisual installation that responds to scheduled events and provides a form to create new events through a web front end. To accomplish all of this, we use a bunch of libraries that will be very familiar to JavaScript and NodeJS programmers, but might be new to Max users. Express provides routing services for the Node server, while React provides a reactive user interface in the browser. We also use Axios to simplify the HTTP communication between the web page and server.
Ingredients
Things to Note
To get the React site working properly, you can either build an optimized production site or run the React development server. If you just want to get running right away, I recommend running the “script npm run build” message, which will compile all the React source files and make a page that our Max server can load. After that is built, and you’ve started the node.script, you can launch a browser to “localhost:5000” on your local machine. While editing the React source files, you’ll probably want to run in development mode, which can be done by opening a terminal to the root folder of this recipe and typing in “npm start”. This will automatically launch a browser to a page at “localhost:3000” that updates when the React files change. Note that this React dev server communicates via proxy with our Max server on port 5000.
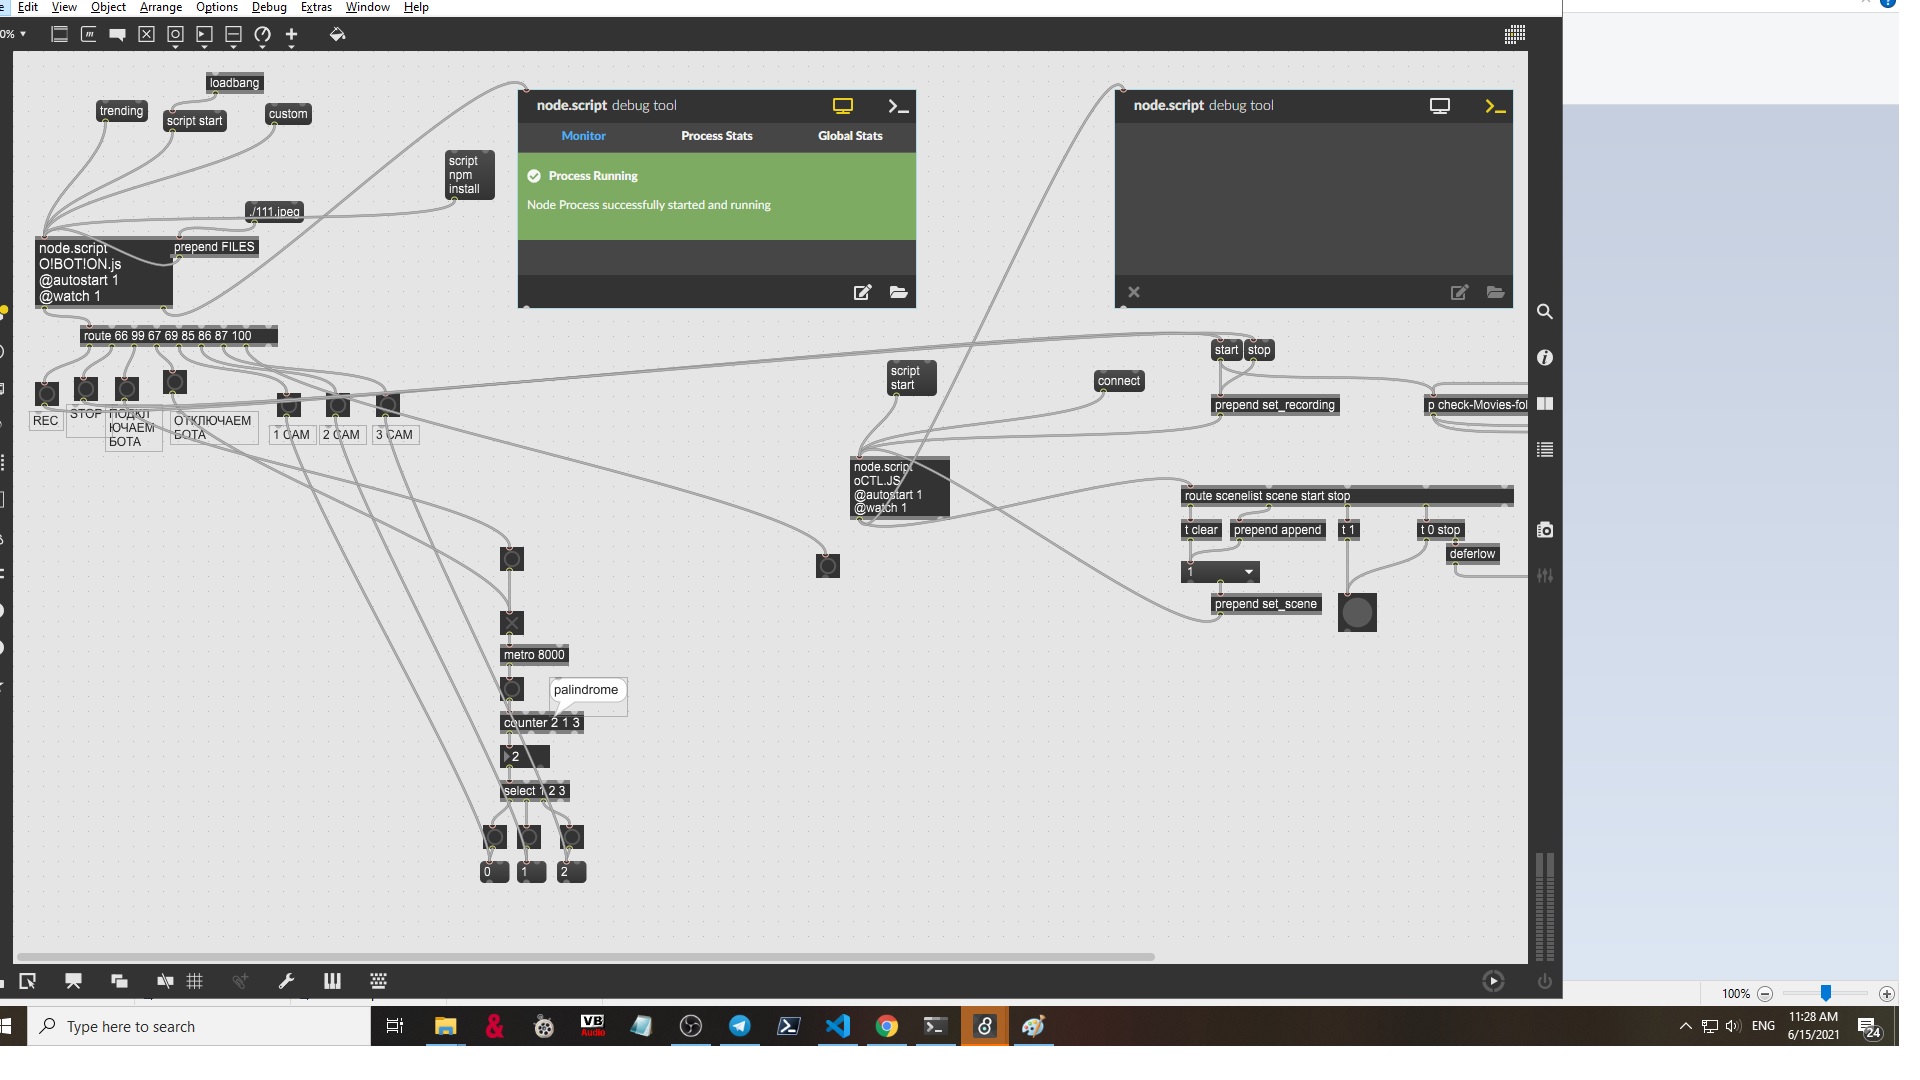
The node.script object outputs a variety of messages using “Max.outlet()” calls. These are passed around by using route or select.
We break down the different “scheduledevent” messages coming from node.script to provide triggers to the mock installation we’ve got running below. The web interface provides a menu to define these when creating a new event.
Technique
To create the React front end, I started off by bootstrapping the project using the create-react-app NPM library. From there it was mostly a matter of setting up the different components (EventEntry, EventEntries, EventForm, Stats) and how they were to interact with the API I created using Node and Express.
The React front-end communicates with our Max-driven Node server (server.js) through ExpressJS on the server and Axios on the front end. The server is set up to respond to the form inputs by storing new entries into a file. To see how that works see the functions starting with “app.get” or “app.post” in server.js and the React-side calls inside of App.jsx.
To store our event entries, we use a file-based storage system, which is largely implemented inside of services/events.js. It’s important to note that all functions that interact with the file system or call APIs make use of the “async/await” feature of NodeJS to run asyncronous code.
On the Node side of things, we set up Timeouts to trigger scheduled events, as well as sending occasional “report” messages that will trigger a status update from the Max patch.
Learn More: See all the articles in this series
by Andrew Benson on March 5, 2019