Max for Live Devices: The Tools At Your Fingertips
When you first download Ableton Live Suite, it can be easy to get distracted by all the shiny things. Maybe you upgraded just to get Wavetable or 5000+ new sounds, but you haven’t yet explored the (free!!) Max for Live devices available directly from Ableton and other developers. So, we've asked a number of Ableton users to talk a little about their favorite Max for Live devices - what they are and how they use them.
Even if you "just" use Max and do not own Live Suite, Max for Live devices can be loaded natively through the amxd~ object or by dragging and dropping an.amxd file into an empty patcher!
Either way, these artists prove that lots can be done with the tools you didn’t even know you had.
Elise Reitze-Swensen - Ableton Certified Trainer, Feels, WOMPP
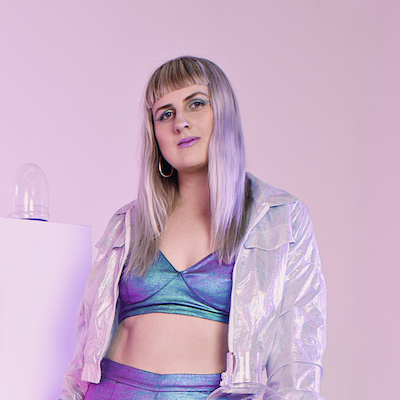
What I use: Pitch Hack (from Ableton’s Creative Extensions pack)

How I use it: Exploring the textures created from re-pitched delays. I have just finished writing my debut album "Water Level" under my artist project "Feels" (example). In this album I collected many water samples from around Western Australia and created custom instruments and sound design textures from these samples. I have used Pitch Hack in almost all of my custom water and bubble instruments and created newly pitched delay lines from my water samples. Playing with an interval of +12st (an octave) and experimenting with the reverse and recycle settings allows me to create anything from a glitchy transition sweep to an octave jumping "bubble synth" lead. I love exploring different rhythmic rate delay settings to automate different rhythmic grouping changes in my compositions.
Pitch Hack is fun, easy to use and gives an immediate satisfaction in my creative process. I have used this device in almost every track from my debut album and can't wait to explore the device further in future compositions.
Ouri
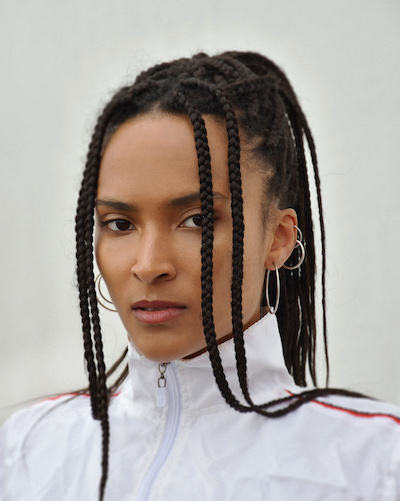
What I use: LFO and Envelope (from Live 10's Core Library / Live 9’s Max for Live Essentials pack) + Granulator

How I use them: These devices offer the possibility to shape a sound precisely in the most primary details. I love to create multilayered sounds that share a common envelope -- for this, LFO and Envelope are perfect. I love the idea of a sound like a complex organism following one shape and these tools definitely help me achieve that. Granulator is the tool that I use to complete the organism's family. I can keep similar sounds and characteristics but shape it totally differently. The layout of Granulator is the best that I found -- I assign it to my midi controller and play with a sound, rapidly finding a new shape for it. I love to use my own sounds/stems and give them another life and I find that M4L makes this process fast and inspiring.
Drum & Lace

Spotify // SoundCloud // Bandcamp // YouTube
What I use: Surround Panner
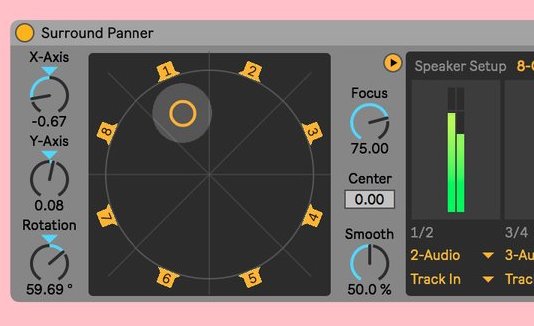
How I use it: Surround Panner is an easy way of integrating spatial audio into my setup while performing live in quad and higher formats. I can easily MIDI map the Surround Panner's settings to work with controllers such as Sensel Morph or any XY pad. It's been invaluable, and much less complicated to use than anything else I've tried live so far!
Maya
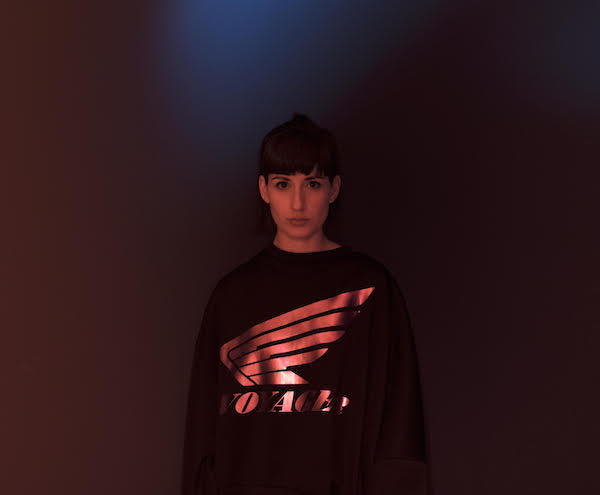
What I use: Gated Delay (from Ableton’s Creative Extensions pack)

How I use it: It’s great for gradually shifting from slow and evolving drone section to pulsating textures. I like playing around with the feedback and random parameters, the result is often unexpected and can be a good starting point for a new composition –– automation is definitely key for this device.
Branching Out
Since Max for Live combines the coding flexibility of Max with the streamlined performance power of Ableton Live, there are also a ton of great tools made by third party developers. These next artists give us the rundown on their favorite (and free) devices from Google, Resolume, and the awesome community at maxforlive.com.
LP Giobbi

What I use: Magenta Studio (from Google AI)
How I use it: I love Interpolate! When I am feeling creatively stuck, I use this tool to help kickstart fresh new ideas. You feed it two MIDI clips and then it morphs between the two. I rarely use one of the ideas as is, but it allows me to start playing with a new loop which helps the creative gravy train.

Max Cooper
.jpg)
What I use: Resolume’s Max for Live devices
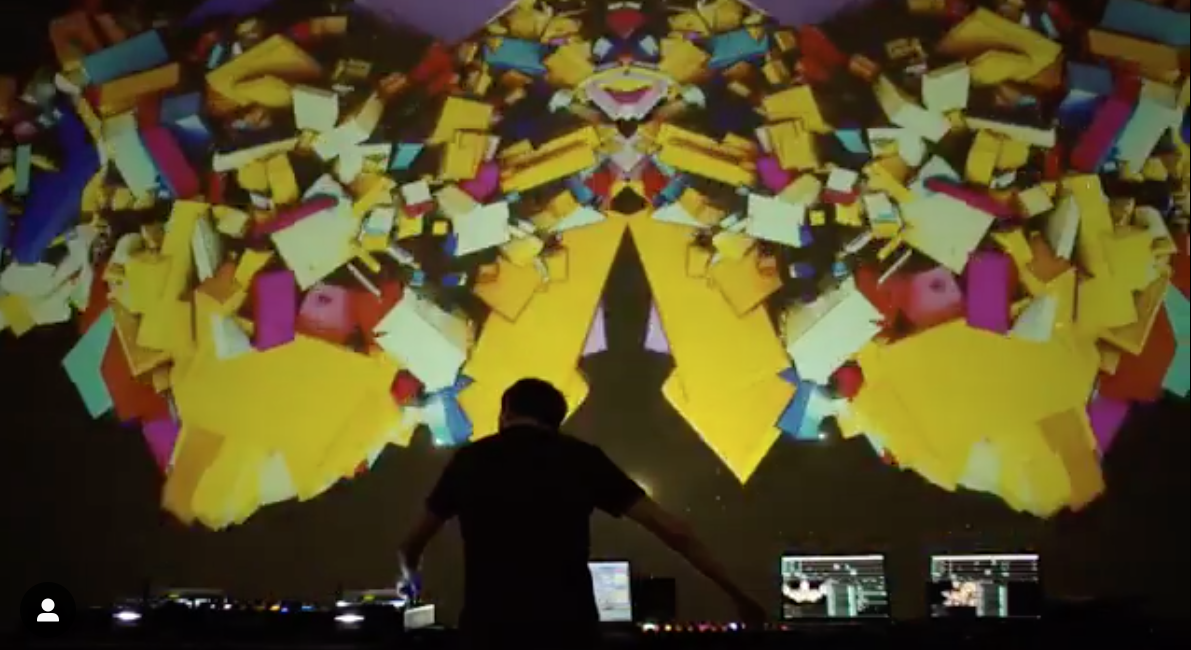
How I use them: These devices have allowed me to have complete live control over all the visuals as well as the music for my shows. Starting with my normal Ableton Live set, I have assigned all key audio parameters under live control to aesthetically linked visual parameters in Resolume. This allows me to control both the audio and visuals entirely from MIDI controls into Ableton. Audio clip launches in Ableton trigger corresponding video clip positions in a separate Resolume machine.
Master macro devices in Ableton are linked to other macro devices next to Parameter Forwarders on different tracks via param2param M4L devices (ed. from the Max for Live Building Tools). This facilitates master effects matrices whereby any combination of visual (and audio) effects can be assigned to parameters such as filter cut offs under live control, to yield a rich range of synced audio-visual behaviour.
Alexia Riner
.jpg)
What I use: RADAR (from Sonic Faction's Tricky Traps pack)
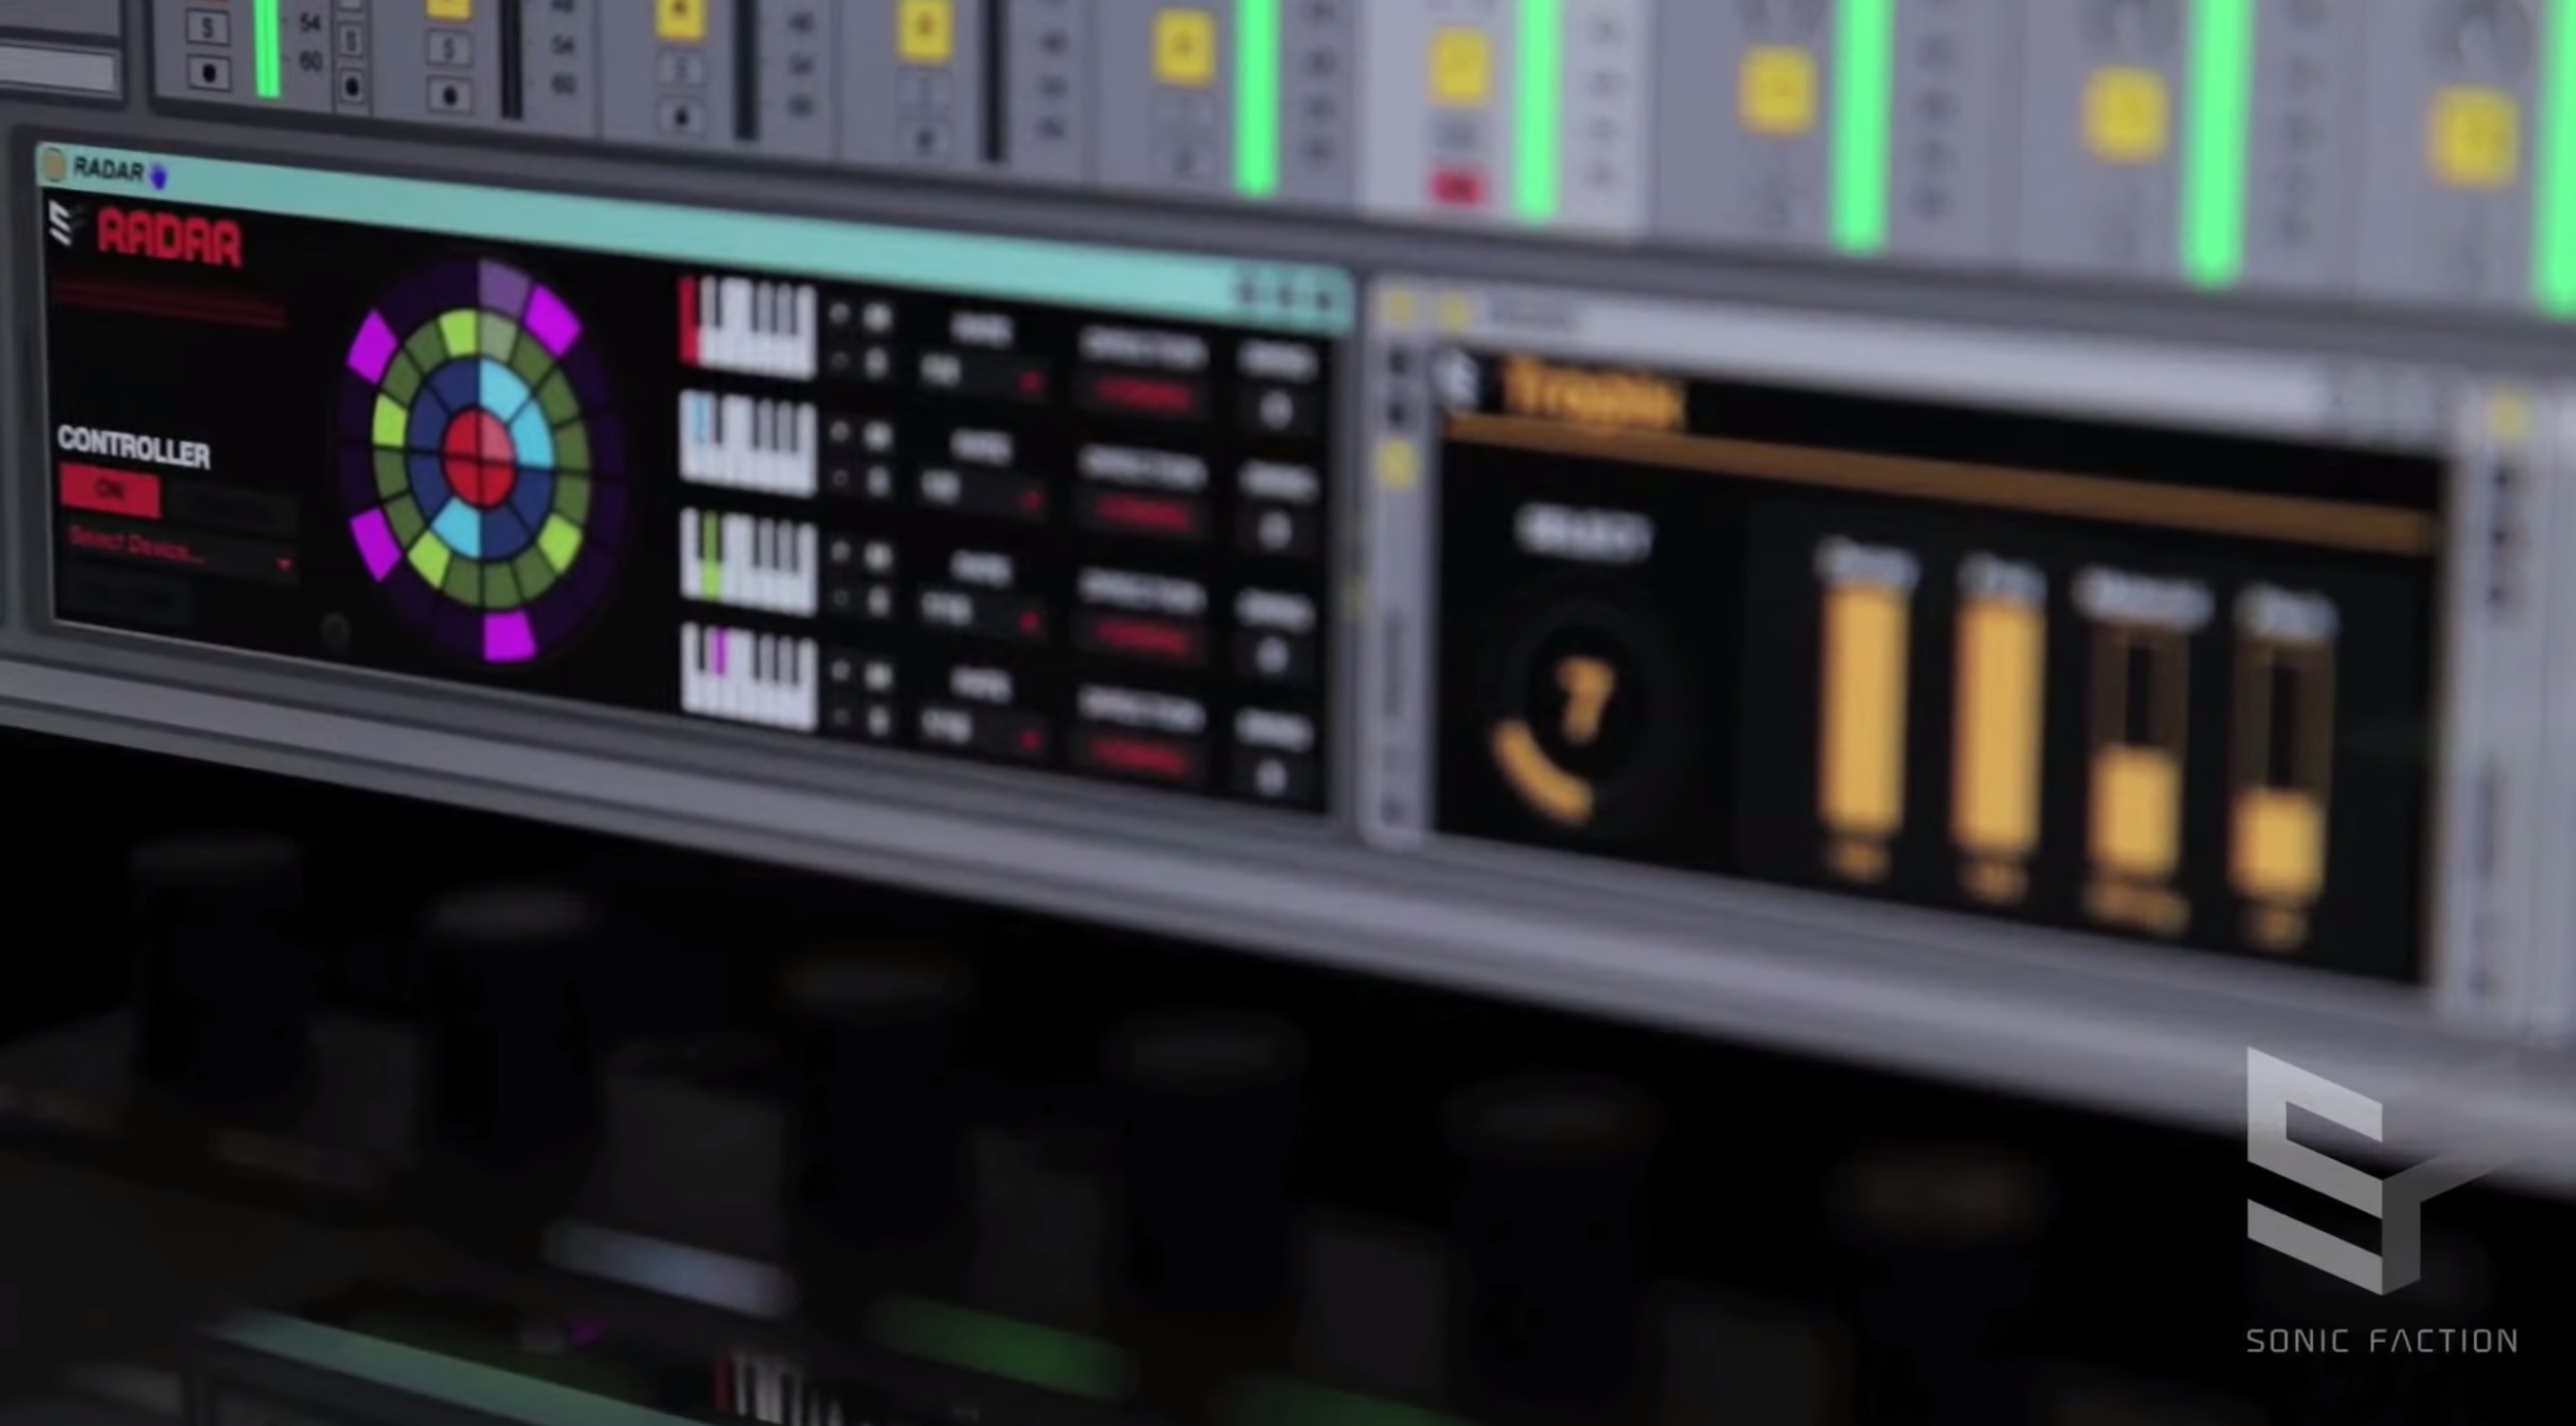
How I use it: This plug-in is essentially a drum sequencer designed in Max/MSP for the Ableton Push and it has become such an important part of my production process! It feels like you're playing a hardware drum machine, while having the ability to effortlessly map any sound to the pads. This M4L device has been a game-changer for the rhythmic elements of my production and it's also super fun to play with!
Peder Mannerfelt
.jpg)

How I use it: Freezer has been an integral part of my live setup for the last few years. It's super simple and highly responsive. The best part is that you can add to the frozen audio so you can build up massive drones from something really simple and reset back to zero again with a single button. It becomes something like an ultra tweakable reverb!
James Whipple (M.E.S.H.)

Website // SoundCloud // Bandcamp
What I use: K-Devices + Envelope Follower (from Live 10's Core Library /Live 9's Max for Live Essentials pack)
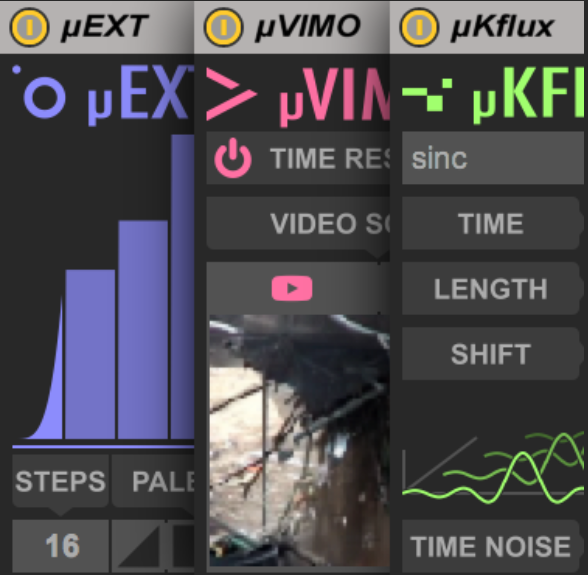
How I use them: When I work in Live, I like to build my project files up into something that feels more like an environment than a timeline. Even though what I ultimately compose is very determined and tight, I like to make all of these compositional decisions within an environment that is breathing with a lot of drifting parameters. I'll use chained M4L control devices with really small fluctuations and apply these generated values to dozens of parameters.
I also use M4L devices from K-Devices to accomplish similar things.I also use the Envelope Follower to link lots of disparate values in a project together, which can end up being kind of a musical glue when used in unexpected ways.
I love to open up a saved project file and something is already coming through the speakers when it loads. Then the writing process feels like an interaction with the computer and less of a blank slate.
On the tour for my album Hesaitix, I worked with Michael Guidetti on the stage show. I don't like to bring a laptop on stage and I never plan a setlist, so Michael used Max/MSP to extend Resolume in a way where we could be both improvising and reacting to each other.
Homebrewed Solutions
Even with the wide array of Max for Live devices that have been released over the years, artists continue to find themselves in need of innovative solutions for unique artistic problems. Often, they’re generous enough to share these tools publicly.
Matt Tryba
.jpg)
Website // Sound Better // Instagram
What I made: Transpose All
How I use it: Transpose All is a M4L device that I made to transpose multiple midi tracks with one knob. I use it on all of my pitched midi tracks to quickly change the key of my set to suit the vocalist. It's proved an amazing time saver when working on large sets and works great when in the writing room with an artist.
Michael Guidetti (M.E.S.H.)
Website // SoundCloud // Bandcamp
What I made: Resolume Copilot + Resolume Pan and Scan (two custom Max for Live devices)
How I use them: I use two Max patches to extend Resolume Avenue's functionality by sending control messages over OSC.
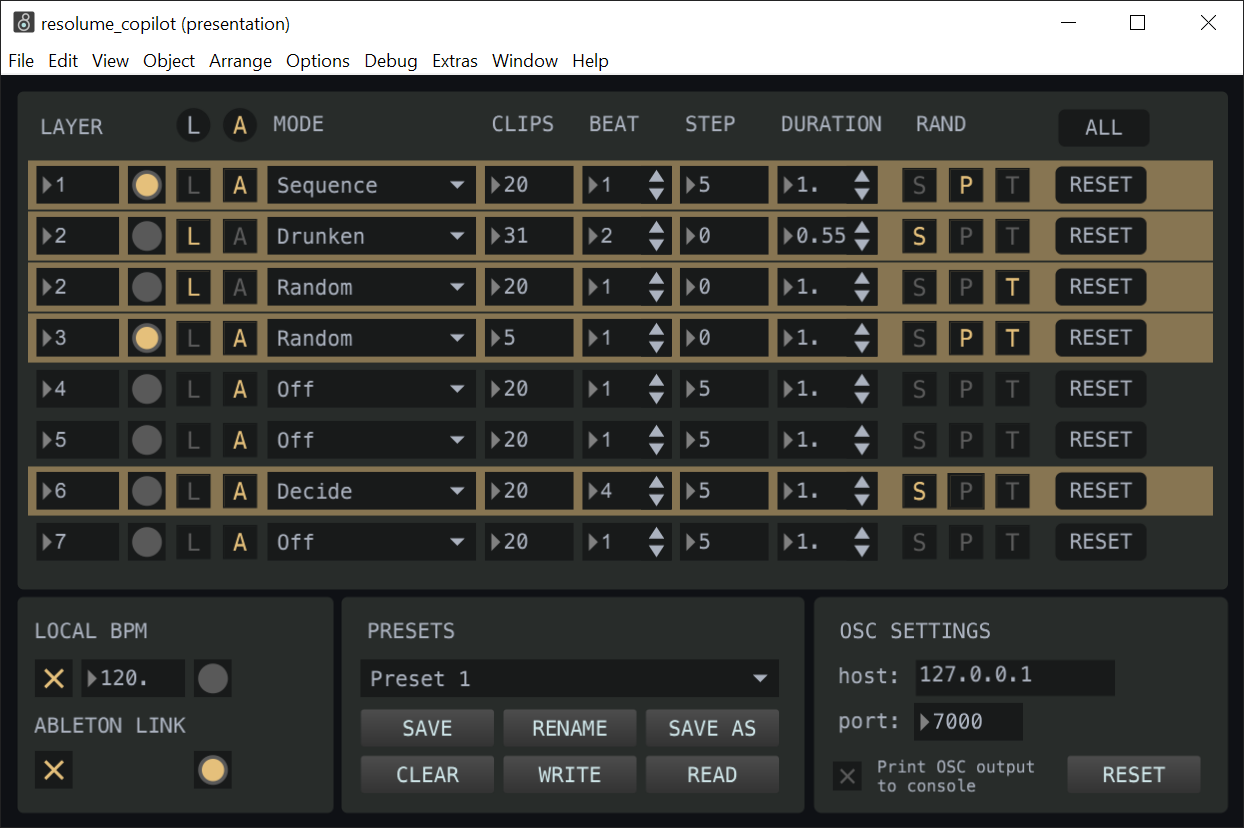
The first patch, "Resolume Copilot", is used to apply different types of random sequencing to clip layers in Resolume, as well as random scaling and position of clips and other more fine grained control. There are two separate BPM's, one local and one via Ableton Link, which can be paired with different layers. I often use this to add more dynamic rhythms for the clips' sequencing. For example, one layer strobing at 3000bpm, while another is tap synced to the live audio. The patch is based on a similar patch from 2009 by Gian Pablo Villamil, I updated the patch and added new features to suit my needs.

I often utilize extreme scaling on images and video in the set and the second patch, "Resolume Pan and Scan", applies smooth zooming and panning to a layer in Resolume which is usually scaled at a large percentage.
What about you?
In the words of Laurie Spiegel, we hope that this article helped you find “new ways to do new things and new things to do with the old ways of doing things.” If you’re interested in learning more about making your own devices, please check out our Max for Live Resource Kit. If you want to share what you’re making with these or any other Max for Live tools, please tag us on Instagram (@c74connect), Twitter (@cycling74), or Facebook (@cycling74).
Happy patching!
by dan derks on October 29, 2019

