Pew Pew - Max/well Meets Lasers
My first introduction to lasers was filled with huge disappointment, I must have been 7 or 8 (1988) living in rural Tasmania, Australia. My parents had bought us tickets to see a once in a lifetime touring laser show, I was psyched! We got down to the local basketball court early for good seats and waited patiently, and waited, and waited….finally hours later the producer of the show came out and said that due to technical difficulties the show was cancelled! I was devastated, not even ice cream could console me that night.
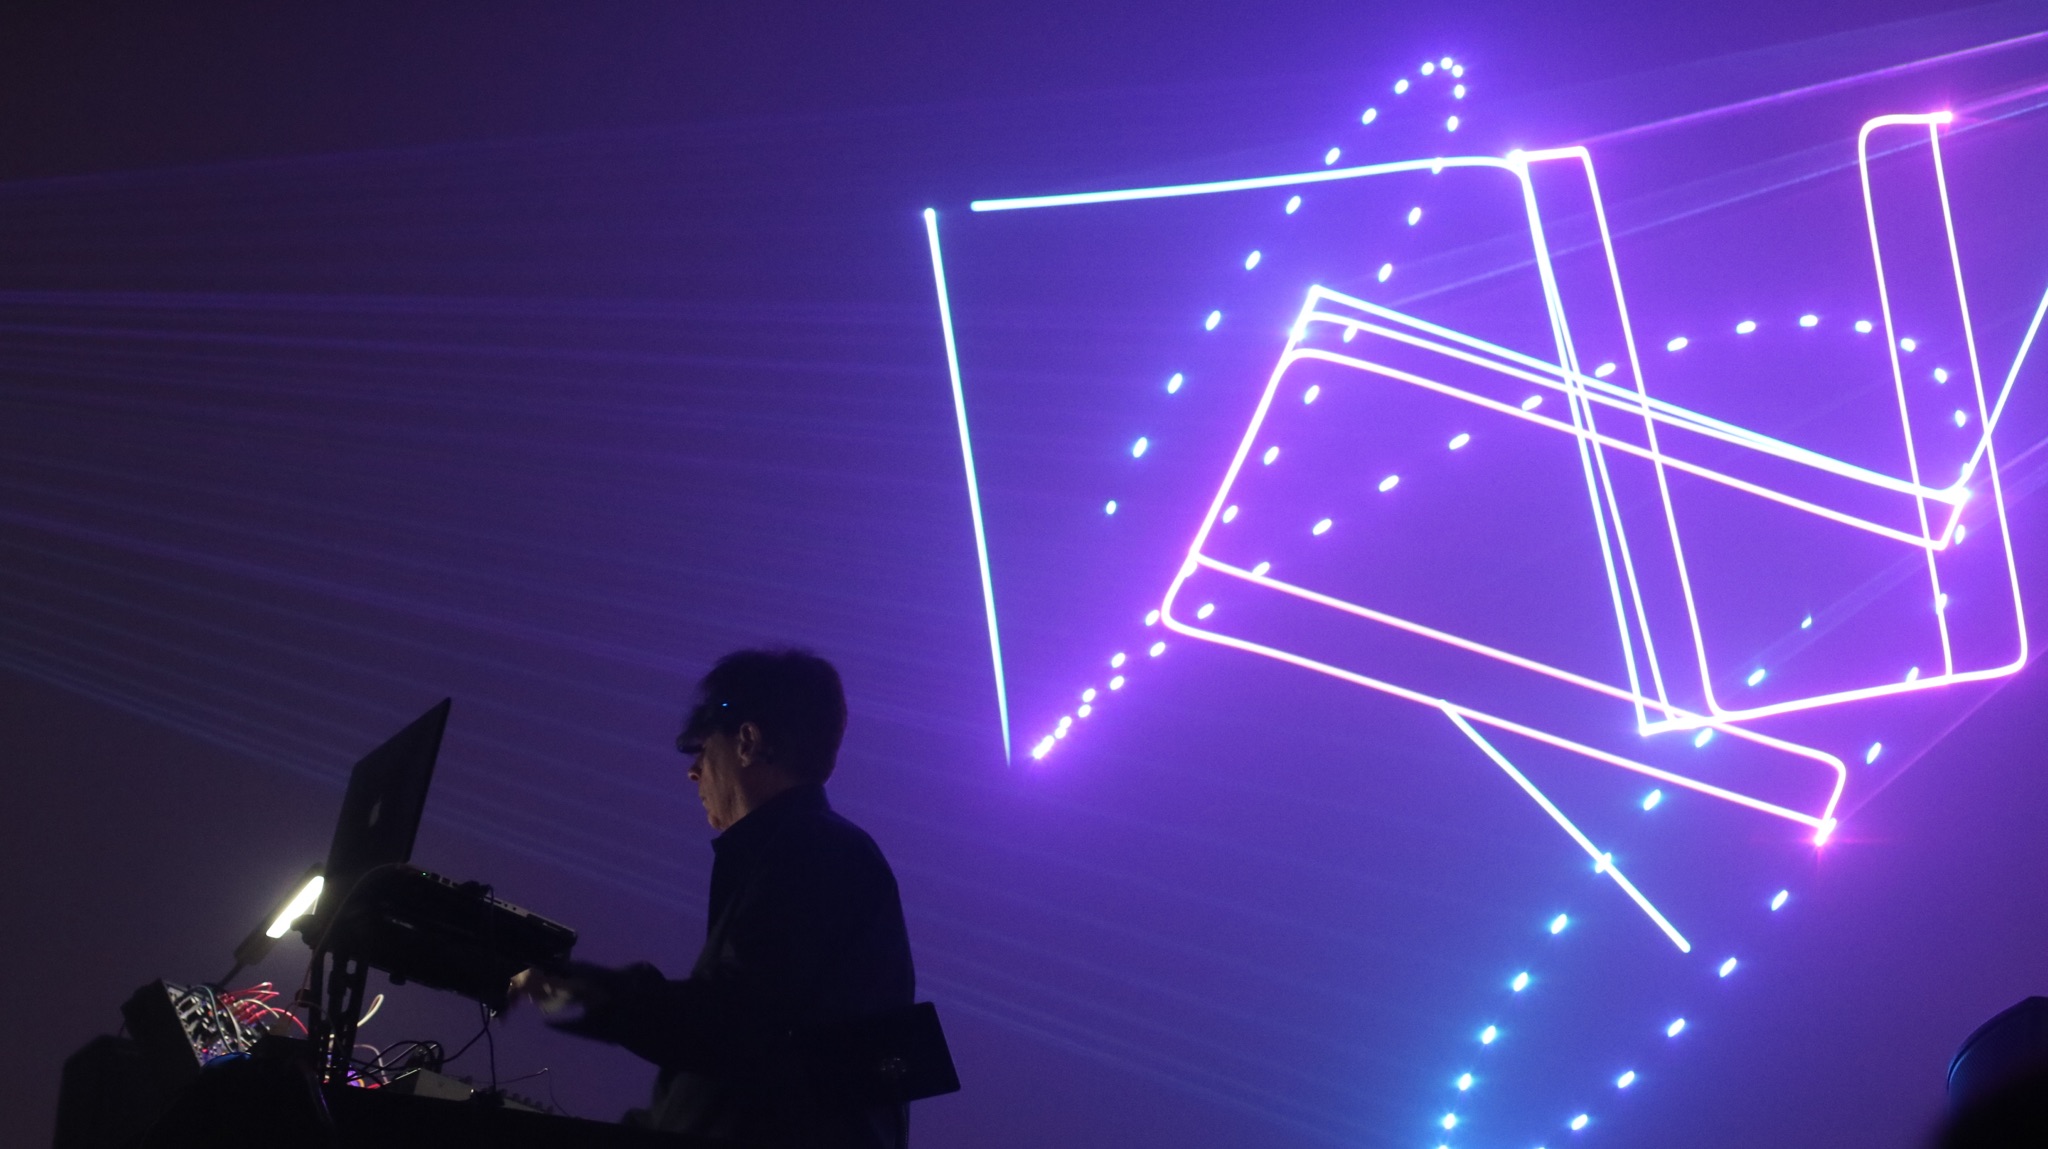
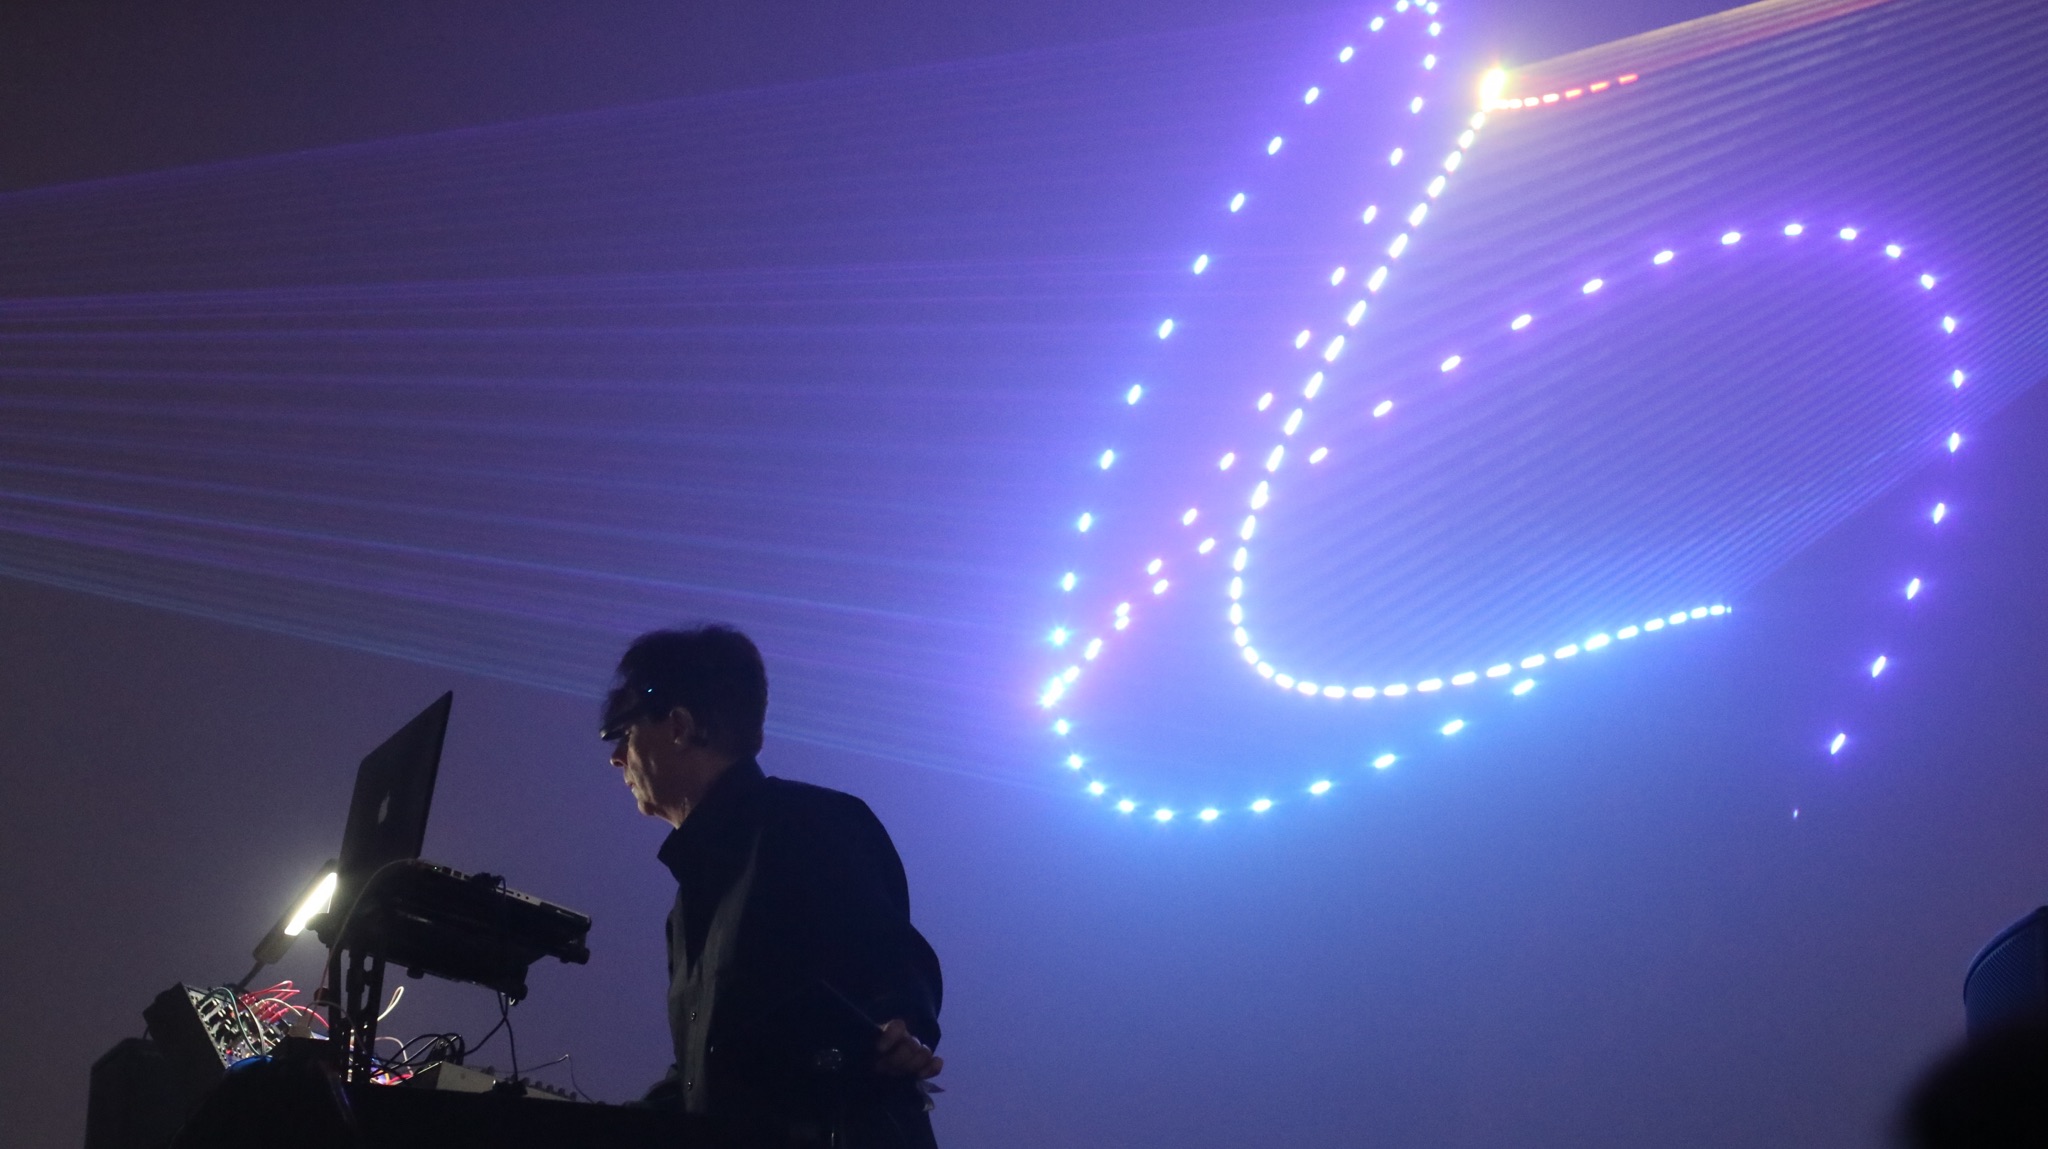
Fast forward 30 years and for price of a cheap synthesizer you can put on your own expansive laser show in your own home, with tools you probably already have at hand (besides the laser).


My laser of choice is the well equipped Laserdock by Wicked Lasers. From the research I’ve undertaken, this unit is a good middle-of-the-road laser for getting started - powerful enough for small live shows (1w output), USB input so you can bypass messing around with ILDA format/conversion, and the build quality is good enough that you won’t burn out your gyros in the first hour of playing around.
For our first look at lasers, it’s not so much about the laser but more about this phenomenal Max application called Maxwell that came across my desk when searching for info on interfacing Max with a laser.
Turns out that Maxwell is an extensive application made by programmer Johnny Turpin that allows you to interface, shape, control and produce visuals that can be translated not just to laser output but recorded to ILDA-compatible files for playback or VJing or producing visuals - possible even without a laser, thanks to Johnny including some extra infrastructure.

This Max application by Turpin is exquisite in a number of ways. It uses all vanilla Max objects except for one (a custom external Turpin made himself to interface Laser DAC’s such as EtherDream and Helios). On top of that, it makes use of gen~ and jit.gen~ for controlling and producing the matrices that are produced by the lasers. This is a fully fledged VFX application for complex geometry, and worth a try even if you don’t own a laser. You can simply output your created geometry to a video projector and even record that output using Syphon (more additional infrastructure Turpin has generously included).
Turpin has built a powerful yet efficient app that is right at home in live performance with or without lasers. Additional performance add-ons include MIDI learn for all parameters, default control, templates for the APC40, and the ability to crossfade between two different OpenGL contexts. Perhaps one of the bigger highlights is that Turpin has gone the extra mile to ensure that this is both Mac and Windows compatible.

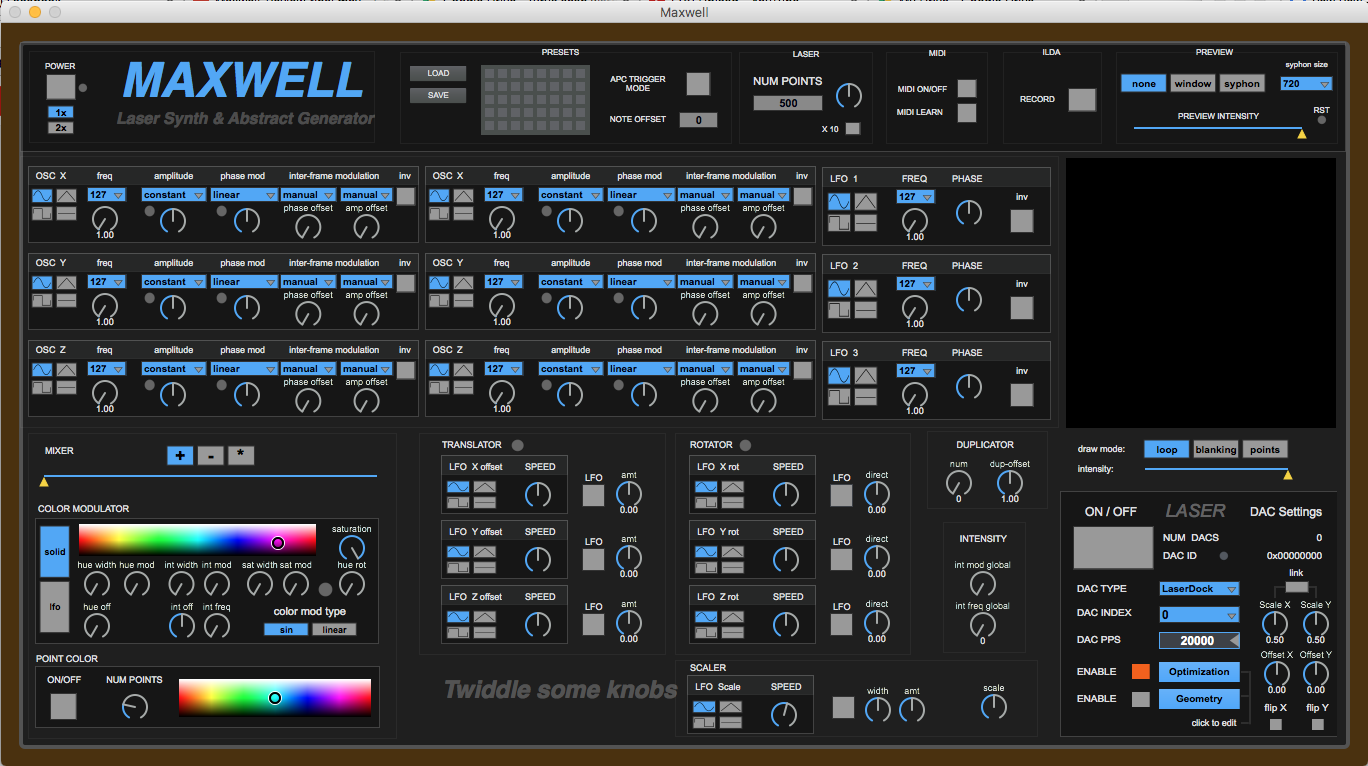
Here’s an outline of just some of what Maxwell includes...
6 independent oscillators broken up into 2 discrete 3D waveform generators
Full hardware accelerated OpenGL preview window (can also route output to separate window or Syphon/Spout for use in Video Projector/VJ setups)
Native support for EtherDream DAC, LaserDock Projector and DAC, Helios DAC
LFOs which can be routed to modulate various properties of oscillators
Solid color output or modulatable color with HSL modulation (Hue, Saturation, Lightness)
FX section, including a translator, rotator, duplicator, and scaler
Points FX - Overlays shape with colored points. Point color is independent of line color.
User adjustable blanking and dwell optimization
Record to ILDA file
MIDI Controller support with fully integrated MIDI learn capability
Syphon (output) support for VJs
The following features are coming soon….
jit.maxwell (laser output) optimization has been enhanced with regards to shapes with sharp angles.
Square wave waveform mode has been updated.
Linear mode now works correctly with translator and rotator and scaler.
New random LFO mode
LFOs and modulators can now be synced to BPM (internal clock or external MIDI Clock).
Each waveform now has its own color, translator, rotator and duplicator, and scaler.
There 2 new waveform types in addition to the original “synth” waveform. Starfield, which generates a starfield, and audio input which process audio input as an X/Y plot.
There will be a new mix mode (Xfade) which mixes the two waveform generators as separate meshes.
There is now a global rotator applied after mix section
Added a “persistence” control which controls the amount of visual feedback or transparency is used to erase the preview - does not affect laser output
New method used for point management - NUM POINTS is now the target point output - for shapes that use duplicates, the pre duplicated shape will have NUM POINTS / NUM DUPLICATES points - i.e., the final output of points is always based on the NUM POINTS input control + whatever optimization points are added.
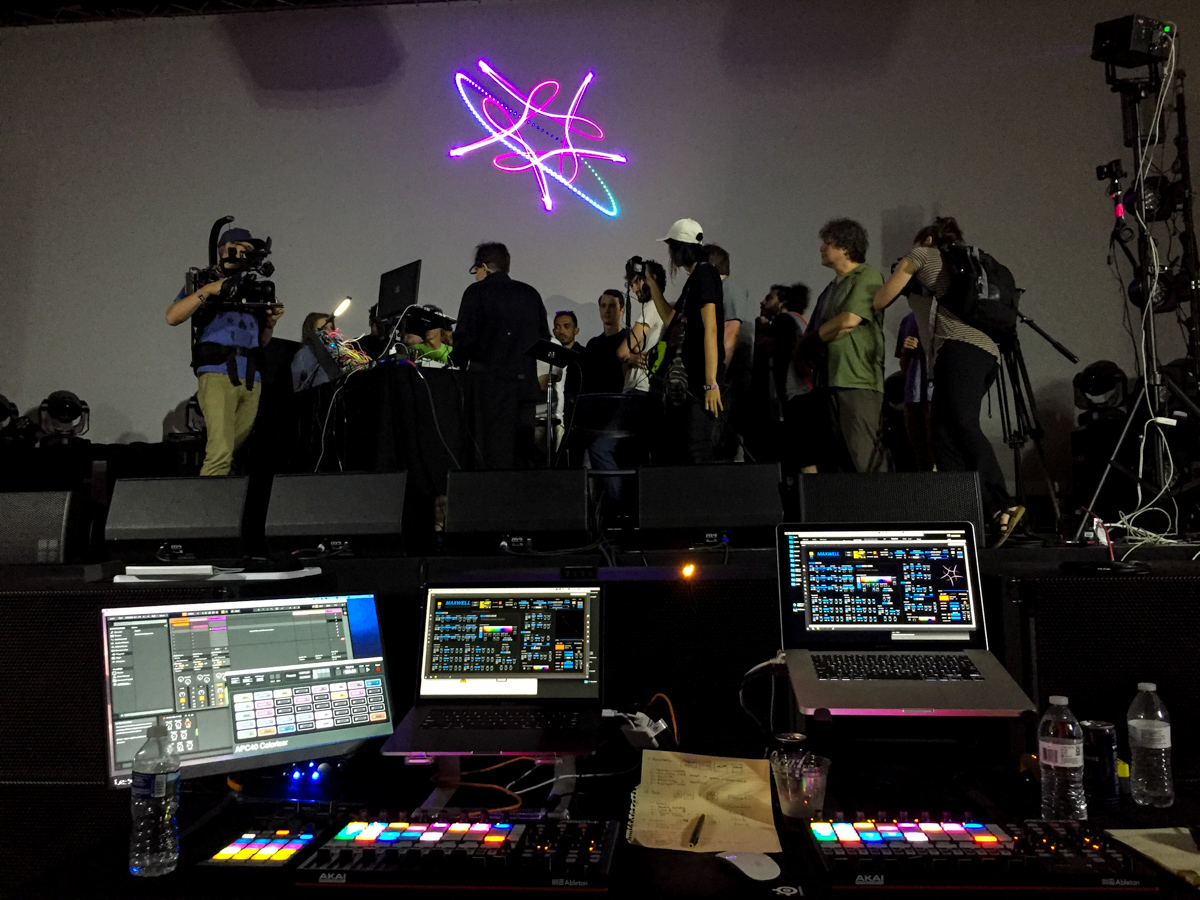
Getting started with the Laserdock and Maxwell is perhaps one of the easiest hardware connections I’ve had the pleasure of making - simply connect the laser to your computer with a USB cable, download and place Maxwell in your App folder, open Maxwell, select and engage LaserDock, and then turn on the rendering engine in the top left corner. Start twiddling or load some of the supplied presets, hours will have past in what feels like minutes!
Of course, working with laser coming from high definition video projectors is going to be quite a shock. It’s significantly more difficult to get fluid motion compared to just projecting a render mesh.
The limitation is in the total points a laser can output at anyone time - the cheaper the laser, the fewer points. Just to give you an idea, if you work backwards from 30kpps - that means that if you want to get anywhere near a smooth 30fps animation, you are limited to sending about 1000 points per frame.
The important thing is that is total points include all of the unseen optimization and blanking points that are added to the geometry to get the scanners to accurately draw the shapes as expected (pre blanking, post blanking, corner dwells, etc). There is a lot that goes on behind the scenes to get the physical mirrors on the scanners to accurately draw the shapes as they appear rendered. It ends up being about a 2-to-1 ratio of total points to points visible for fluid shapes… a 30k scanner is limited to displaying about 500 points per frame to get smooth animation.
Of course though, Maxwell completes many of these calculations and pitfalls for you, so whether you’re wanting to start working with lasers or you simply want a very efficient and powerful VFX/VJ application, Maxwell is going to serve you very well.

Note: Before using lasers be sure to check your local laws and regulations regarding their use.
by Tom Hall on May 30, 2017

