using JIT.GL.PIX with blend related attributes causes loss in alpha values - probably by design, but why ?

Hi there,
if I use a [ jit.gl.pix ] with the attributes [ @blend_enable 1 @depth_enable 0 ] operating on a texture read in from a PNG image with transparency, I experience a loss in the alpha values of the pixel although the patcher does nothing else than passing the texture through.
So the resulting texture looks more transparent - it also looks darker, because its upon a black background, so more transparency let more black shine through.
And the strange thing for me : I get the original transparency back, if I change „@blend_enable to 0 (toggle it off) for the [ jit.gl.gridshape ] that has the same attributes [ @blend_enable 1 @depth_enable 0 ] set initially and is using this texture for its plane shape.
I am quite sure that I misunderstand the blending features of the OpenGL Jitter objects - what they do and which objects should have set which one and why.
I guess that [@blend_enable 1] together with the current blend mode, which is alphablend by default, will end up in „texture calculation“ that happens after the execution of jit.gl.pix patch.
But against what is this calculation done? The default color is full white, whose alpha value is 1, so this cannot be the cause. Any kind of default texture or the background (erase color) of the render context?
The latter may be right, because if one chooses the blend mode „add“, the original texture and transparency becomes visible : black, all color + alpha channels = 0, added to whatever original texture with any alpha values = original texture (adding 0 to something makes no difference).
But why then, does toggling off the blend_enable in the gridshape reverse the unwanted effect?
This questions makes it clear, that I do not understand how the entire „frame calculation“ in the render context, and the OpenGL objects its made of, really takes place ;-) … the inner process so to speak - but I did not find any documentation that explained it to me.
I saw the basic explanations of blend mode here : https://docs.cycling74.com/max8/tutorials/jitterchapter33, but from that I cannot explain what’s happening.
See the attached patcher and please follow the 2 red coloured comments to see the effect happening.
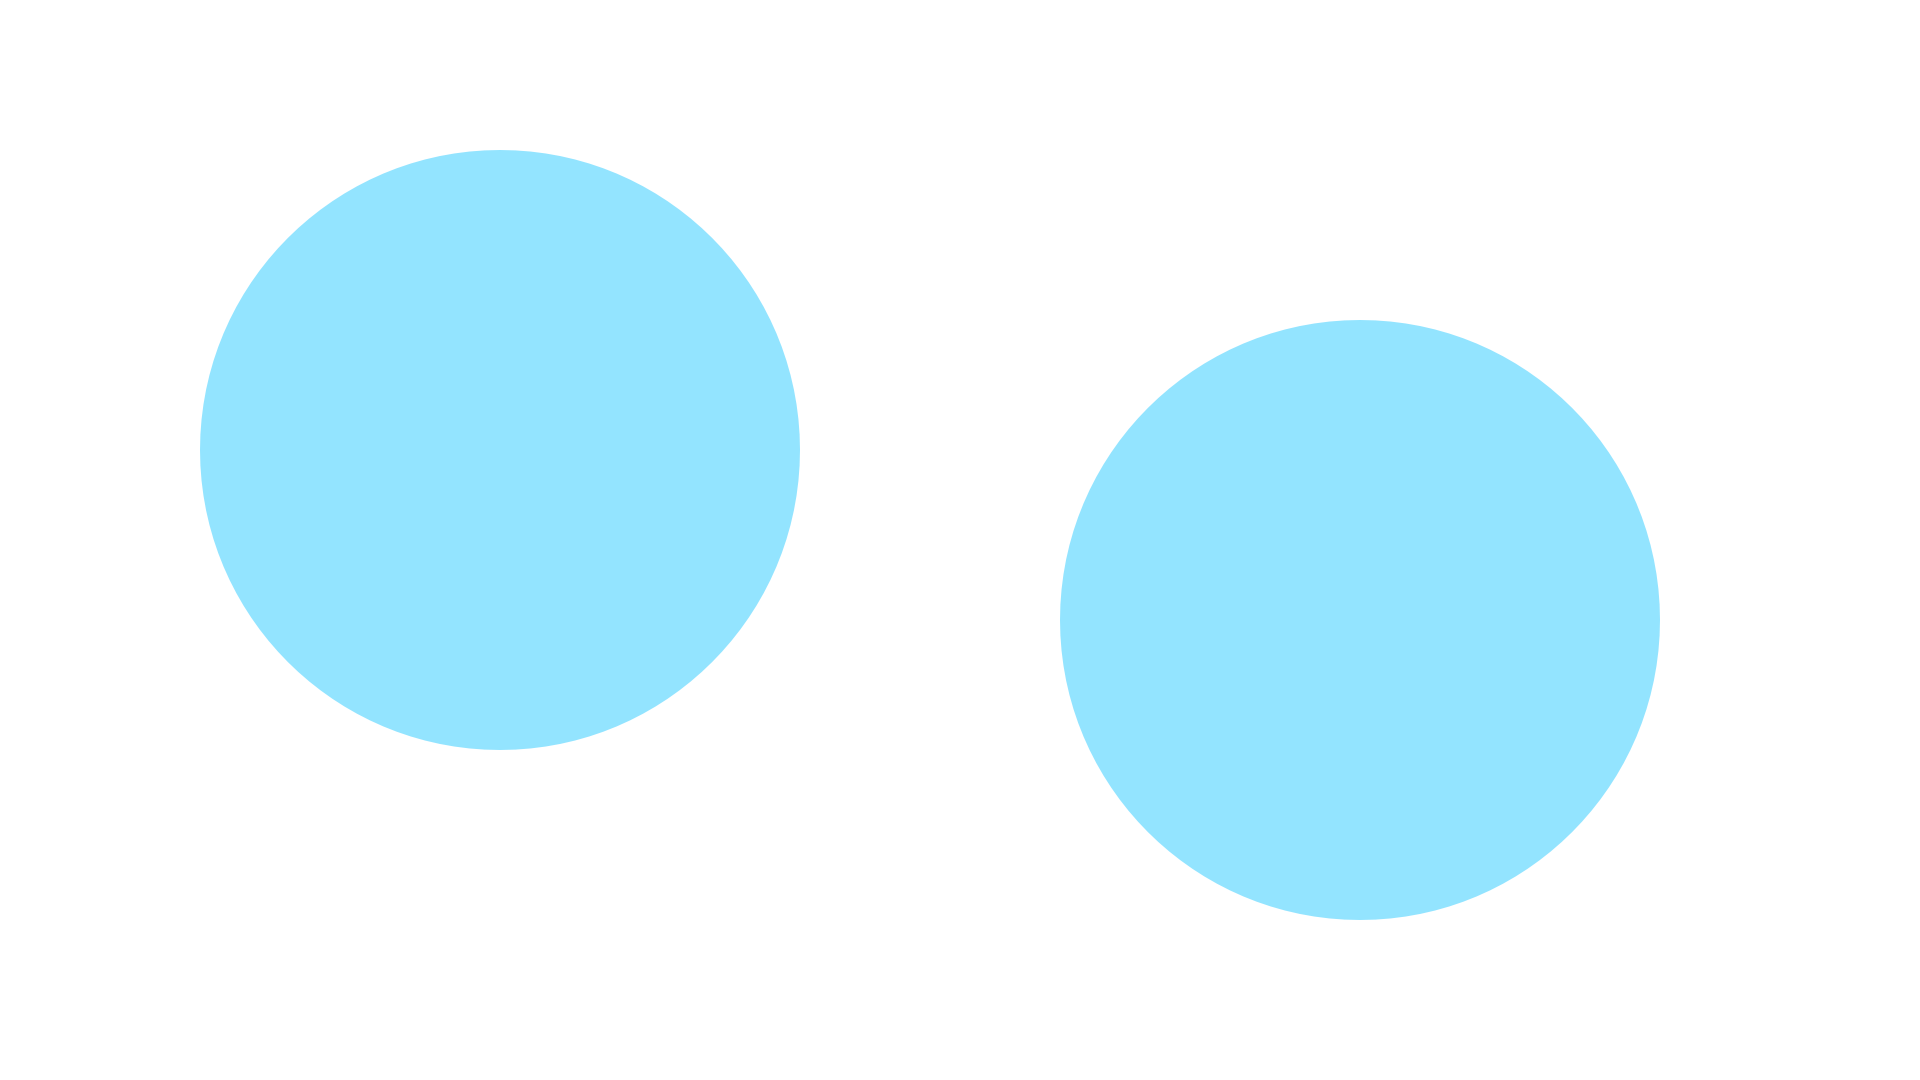
Be sure to download the circle2.png file as well and put it in the same directory - its low resolution helps to see the effect quite clearly ... I stumbled upon this in a more complex jitter OpenGL jungle alike patch and it took me quite some time, till I realized that this was the cause of a visual phenomenon.
Any explanation or link to a resource of know how is more then welcome ;-).
Thanks and cheers
soundyi


While I do see that jit.gl.pix has blending functionality exposed in it's attributes, I would venture to say that is an oversight and those should be removed (though maybe others would disagree), and therefore I would just leave those at their default value.
What is not expected about the non-blend_enabled pix behavior though? Seems to be working as expected.
Hi Rob,
thanks for tuning in ;-) and sharing your knowledge.
When this is an "unknow feature" (;-) it also means, that there is not really an expected behavior and all thoughs about the caluclations - what is blended against what - that create this effect, does not make much sense, right?
I can image that others would disagree from removing this "easter egg" ... as long as it does not disturb the internal memory or having other destructive side effects that would cause Max to crash, we can think of it, just as another creative option.
A lot of new artful techniques were born out of breaking the habits and creative "misusage" of tools and techniques, so I can imagine that, from a creative point of view, it has a right to exist ;-) ... there might be someone how can take a creative advantage out of it.
+++
The non blended_enabled [jit.gl.pix] was just there to show the difference - nothing unexpected there.
+++
But as you are here ;-) ... could you briefly explain, or post a link to an article, the docs or whatsoever, how blending works across the entire jit-gl pipeline when it comes to textures with transparency - from a practical but abstract technical perspective, describing which objects are involved and what is blended against what ... and when the erase color "kicks in"?
The Tutorial 33 explains blend modes, that's not what I am after. I am looking for a sketch and "technical whitepaper alike" (in the sense of a brief & practical useful overiew) which and how the different OpenGL objects in Max / Jitter, like jit.gl.videoplane (or jit.gl.layer as a preconfigured shortcut), jit.gl.node and the jit.world and other jit.gl-Objects that are relevant for the "visual outcome", are working togther, especially when it comes to textures with transparency.
Something like an infographic : which jit.gl objects that exposes blend modes and alpha blending features are relevant (using textures that have transparency in the first place) and which object is blended against which and when.
The jit.gl.node hierarchy (if established) plays a role - disable depth_enable and using the layer attribute is another great creative option.
Information about this is distrubuted all over the docs and articels, but a greate and easy to grasp "big picture" is missing.
The creative potential of translucent textures in JIT.GL is huge, this opens the door to inspiring "generative artworks" in 2D as well as in 3D ... but this creations can only come to life, with a decent knowlegde about when blendmode and especially alphablend comes into effect : which jit.gl objects process "visual content" by means of blendmode & alphablend (by design ;-) and how, in the sense of what is blended against what and in which order.
Thanks in advance to dig it out for all Max & Jitter users ... or maybe a colleague of yours is inspired to write an article with some infografics along ? ;-).
cheers
soundyi
just an update ... now I realized why I had such a hard time to explore and understand alpha blending.
If one edits some certains attributes (e.g. capture or name) or copies JIT.GL objects like jit.gl.gridshape the render context respectively the render pipline can be messed up and you do not see the expected effect of your edits taking place ... hence wondering if you understand how this blending stuff works ... approaching getting nuts over time ;-)
Getting used to and hence expecting Max "live patching" always works - everything just works immediately - one gets confused if this is NOT the case when editing or copying JIT.GL object or some of their attributes.
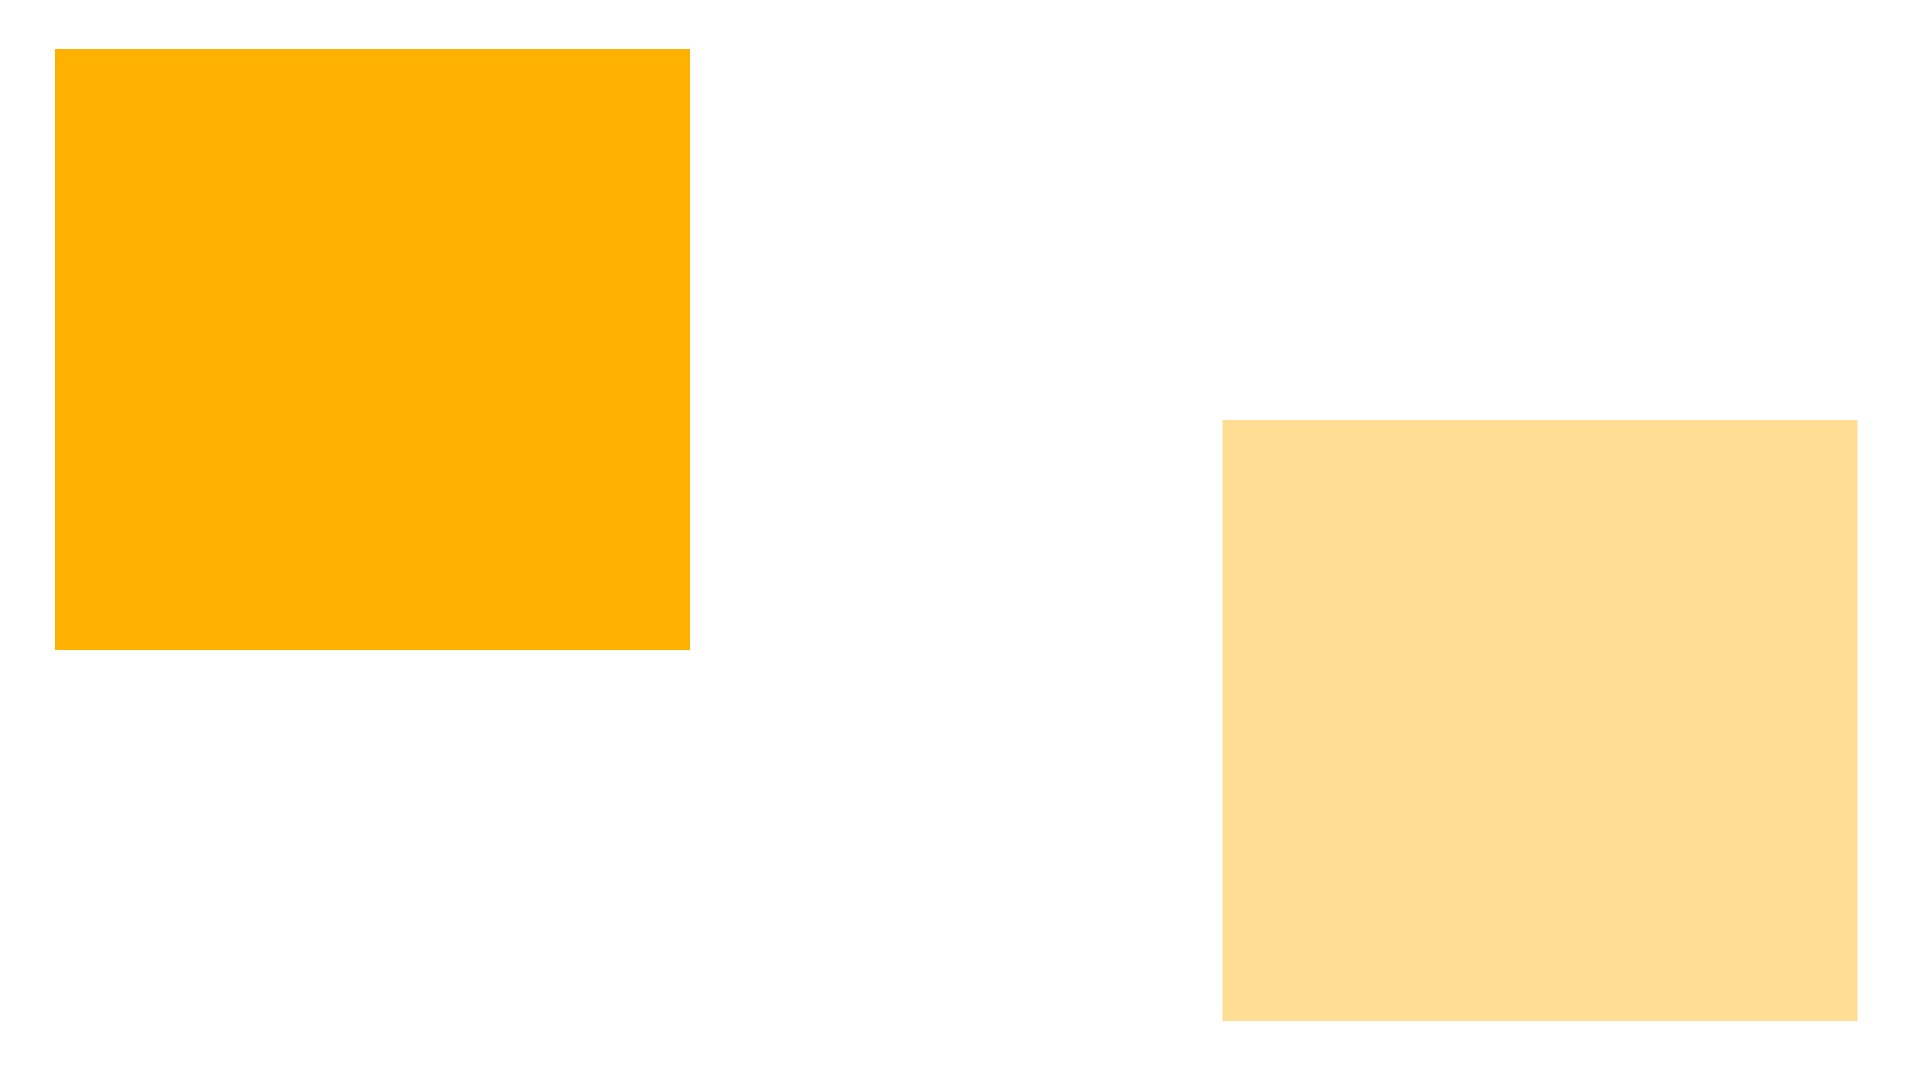
The attached patcher is a simple playground and one could uses the 2 PNGs, which have opaque and semi tranparent elements - drag & drop them on the "drop targets" for the 2 textures in the patch.
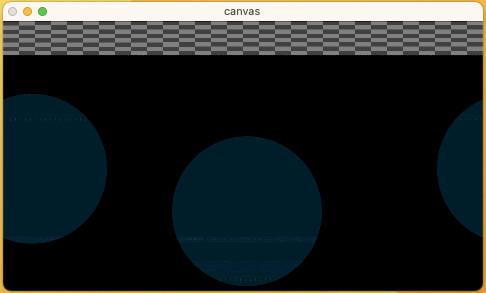
One easy example to mess up the render pipeline : edit it erase_color of the jit.world in its patcher box ... and you will see something like the screenshot below
This specific issue can be solved by bang'ing the textures again (see the button labeled : refresh) - in other cases I had to close and reopen my way more complex exploration patch (which worked, because it contained some loadbangs, that if bang'ed manually might have lead to "it works again" as well).
Interessting though, this "messing up the render output" does not happen, if you change the erase color via messages.
Hope this helps others that stumble upon this, while getting their head around "alpha blending" ...
cheers
soundyi