Streaming Tips - The Jitter Edition
In this article we’re going to continue exploring some options for streaming content from your Max patch to the internet. This time we’ll look at how to use Jitter texture output as a streaming input source, and go over some techniques for creating and sending to a virtual camera device for use in webcam apps.
Check out the other streaming article - Tips for Streaming
Basic Video Streaming
On both platforms we will again let OBS manage the streaming I/O. OBS is a fantastic open source project with tons of functionality either built-in or available via plugins. Additionally, we’re going to use Syphon/Spout texture sharing to send our output to the streaming app. OBS on Mac supports Syphon sources natively, and on Windows there is a plugin to support Spout sources.
The Setup
Mac - install the Syphon package
Windows - install the Spout package and this OBS Spout plugin
Create a free Restream account
Note - On Windows machines with dual graphics cards, care must be taken to ensure all apps are set to use the high performance GPU rather than the integrated GPU.
Previously we looked at how to stream to a single destination (Twitch) via OBS. I was recently clued in by C74 homie Chris Martin on how to turn that into multiple destinations via a service called Restream, which the Coaxial crew uses for their Experimental Half Hour show.
Syphon/Spout usage is detailed in the Best Practices for recording article and we’ll use many of the same concepts in order to achieve streaming Jitter content. In both situations we must decide which patch elements to send down the pipes, and how they should be composited, and then capture those elements to a texture that feeds the server object (a jit.gl.syphonserver on Mac, or a jit.gl.spoutsender on Windows).
In my recent lockdown related streaming experiments I implemented a very basic background separation and monochrome effect that I streamed out of OBS to Restream which went live on Facebook and YouTube simultaneously. Let’s look at the steps necessary to make that happen.
A quick note before jumping in, HD video streaming requires a beefy machine with a beefy gpu and internet connection. Mileage will vary wildly depending on these specs.
The Patch
The recording article mentioned above starts by asking “What to Record”, and we must again decide on the what before moving to the how. In the provided patch I’ve mashed a few different sources and effects together just to keep things spicy. The core of the patch is a simple foreground video echo effect.
We start with a jit.grab camera source (output_texture enabled of course) run through a background subtraction algorithm and then piped through to some Vizzie effects. We also implement a mesh-shatter effect to demonstrate how geometry can be captured and composited with texture streams via jit.gl.node @capture 1. Throw in a glitchy little ISF transition and some parameter animation via jit.mo and an ATTRACTR module to polish off. To run the patch make sure you've installed the ISF Max package and ISF library files, or substitute the transition object with a Vizzie XFADR.

Now that we’ve got a sparky live video patch to play with, let’s send it off. The basic rule of thumb with Jitter texture streaming is any object that outputs a texture can be patched to a syphon/spout server object. If you want to send off geometry, capture it to a texture with jit.gl.node, or if you want to just send the entire contents of your jit.world window, enable output_texture and connect the server object to its leftmost outlet.
The Stream
Once your patch has passed off its texture through the sender server, any client software running on your machine can grab the stream. Max is pretty much out of the picture from this point. OBS streams out to Restream and Restream handles sending to any other desired platforms. After logging in to Restream client services can be added to the streaming session in the Destinations section.
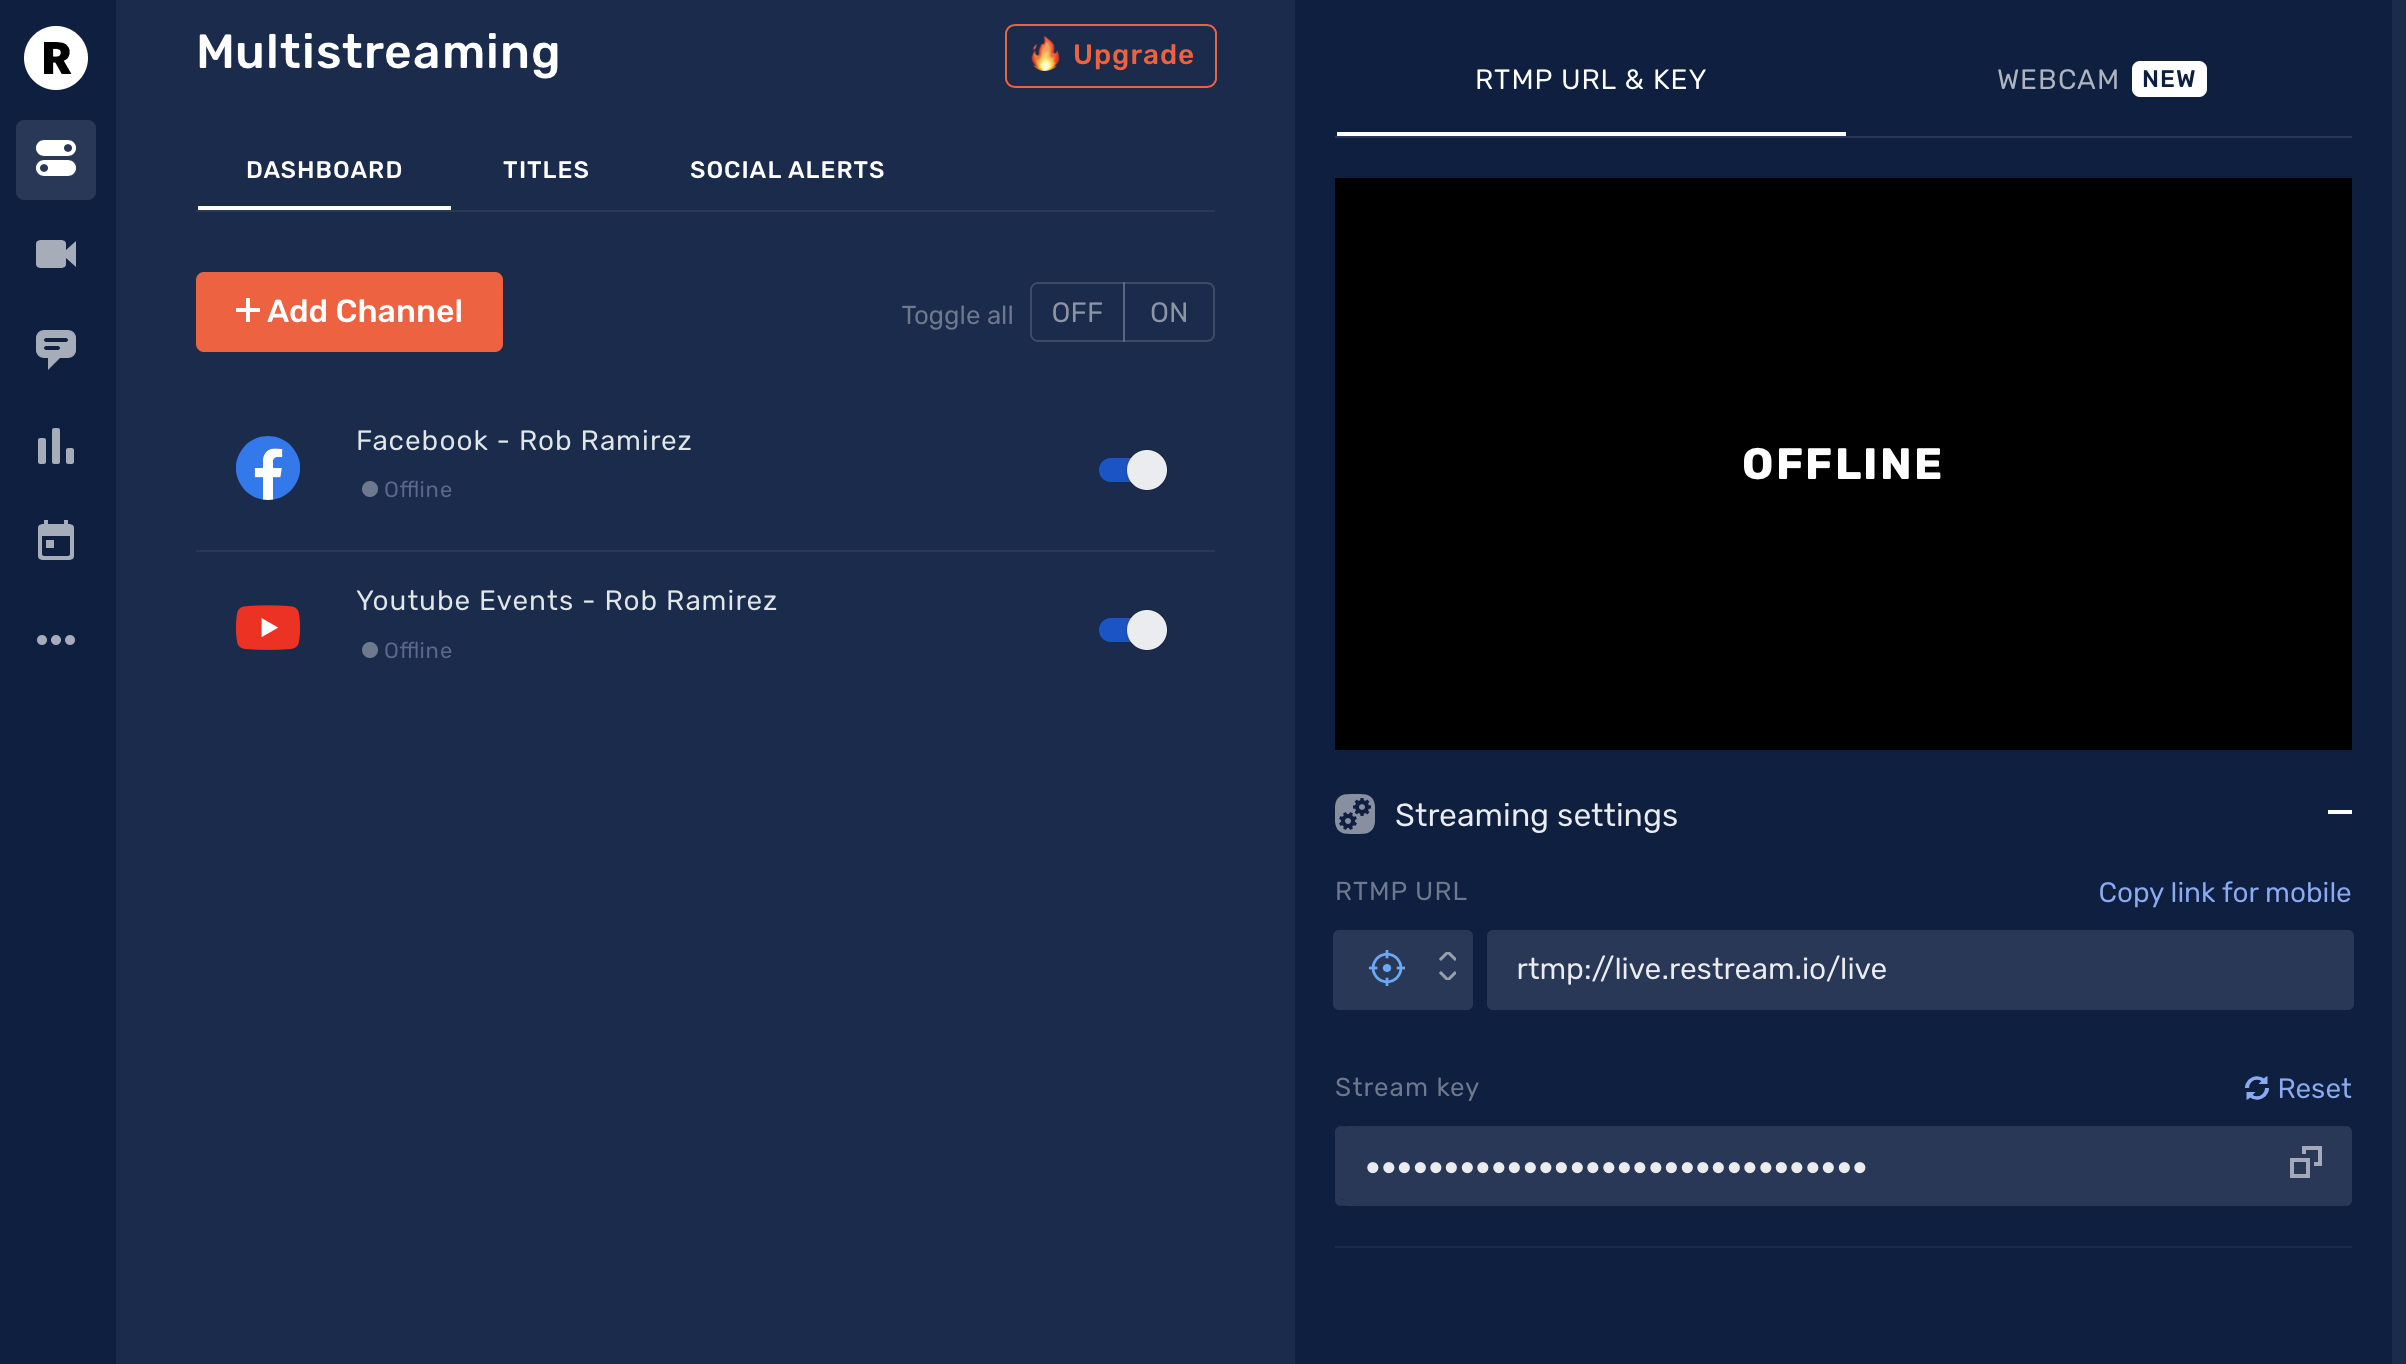
For OBS setup follow the instructions outlined in the previous streaming article. Copy the RTMP URL and stream key from Restream and enter in the OBS Settings window Stream section. Adjust any stream and video settings (e.g. bitrate, dimensions) as desired for your setup. Add a video source to your OBS scene by clicking the plus menu under the Sources section and select Syphon Client on Mac or Spout2 Capture on Windows and setting Max as the source (making sure you’ve installed the plugin linked above if on Windows). If more than one sender server is running on your machine, open the source properties by clicking the gear icon to select the appropriate server.
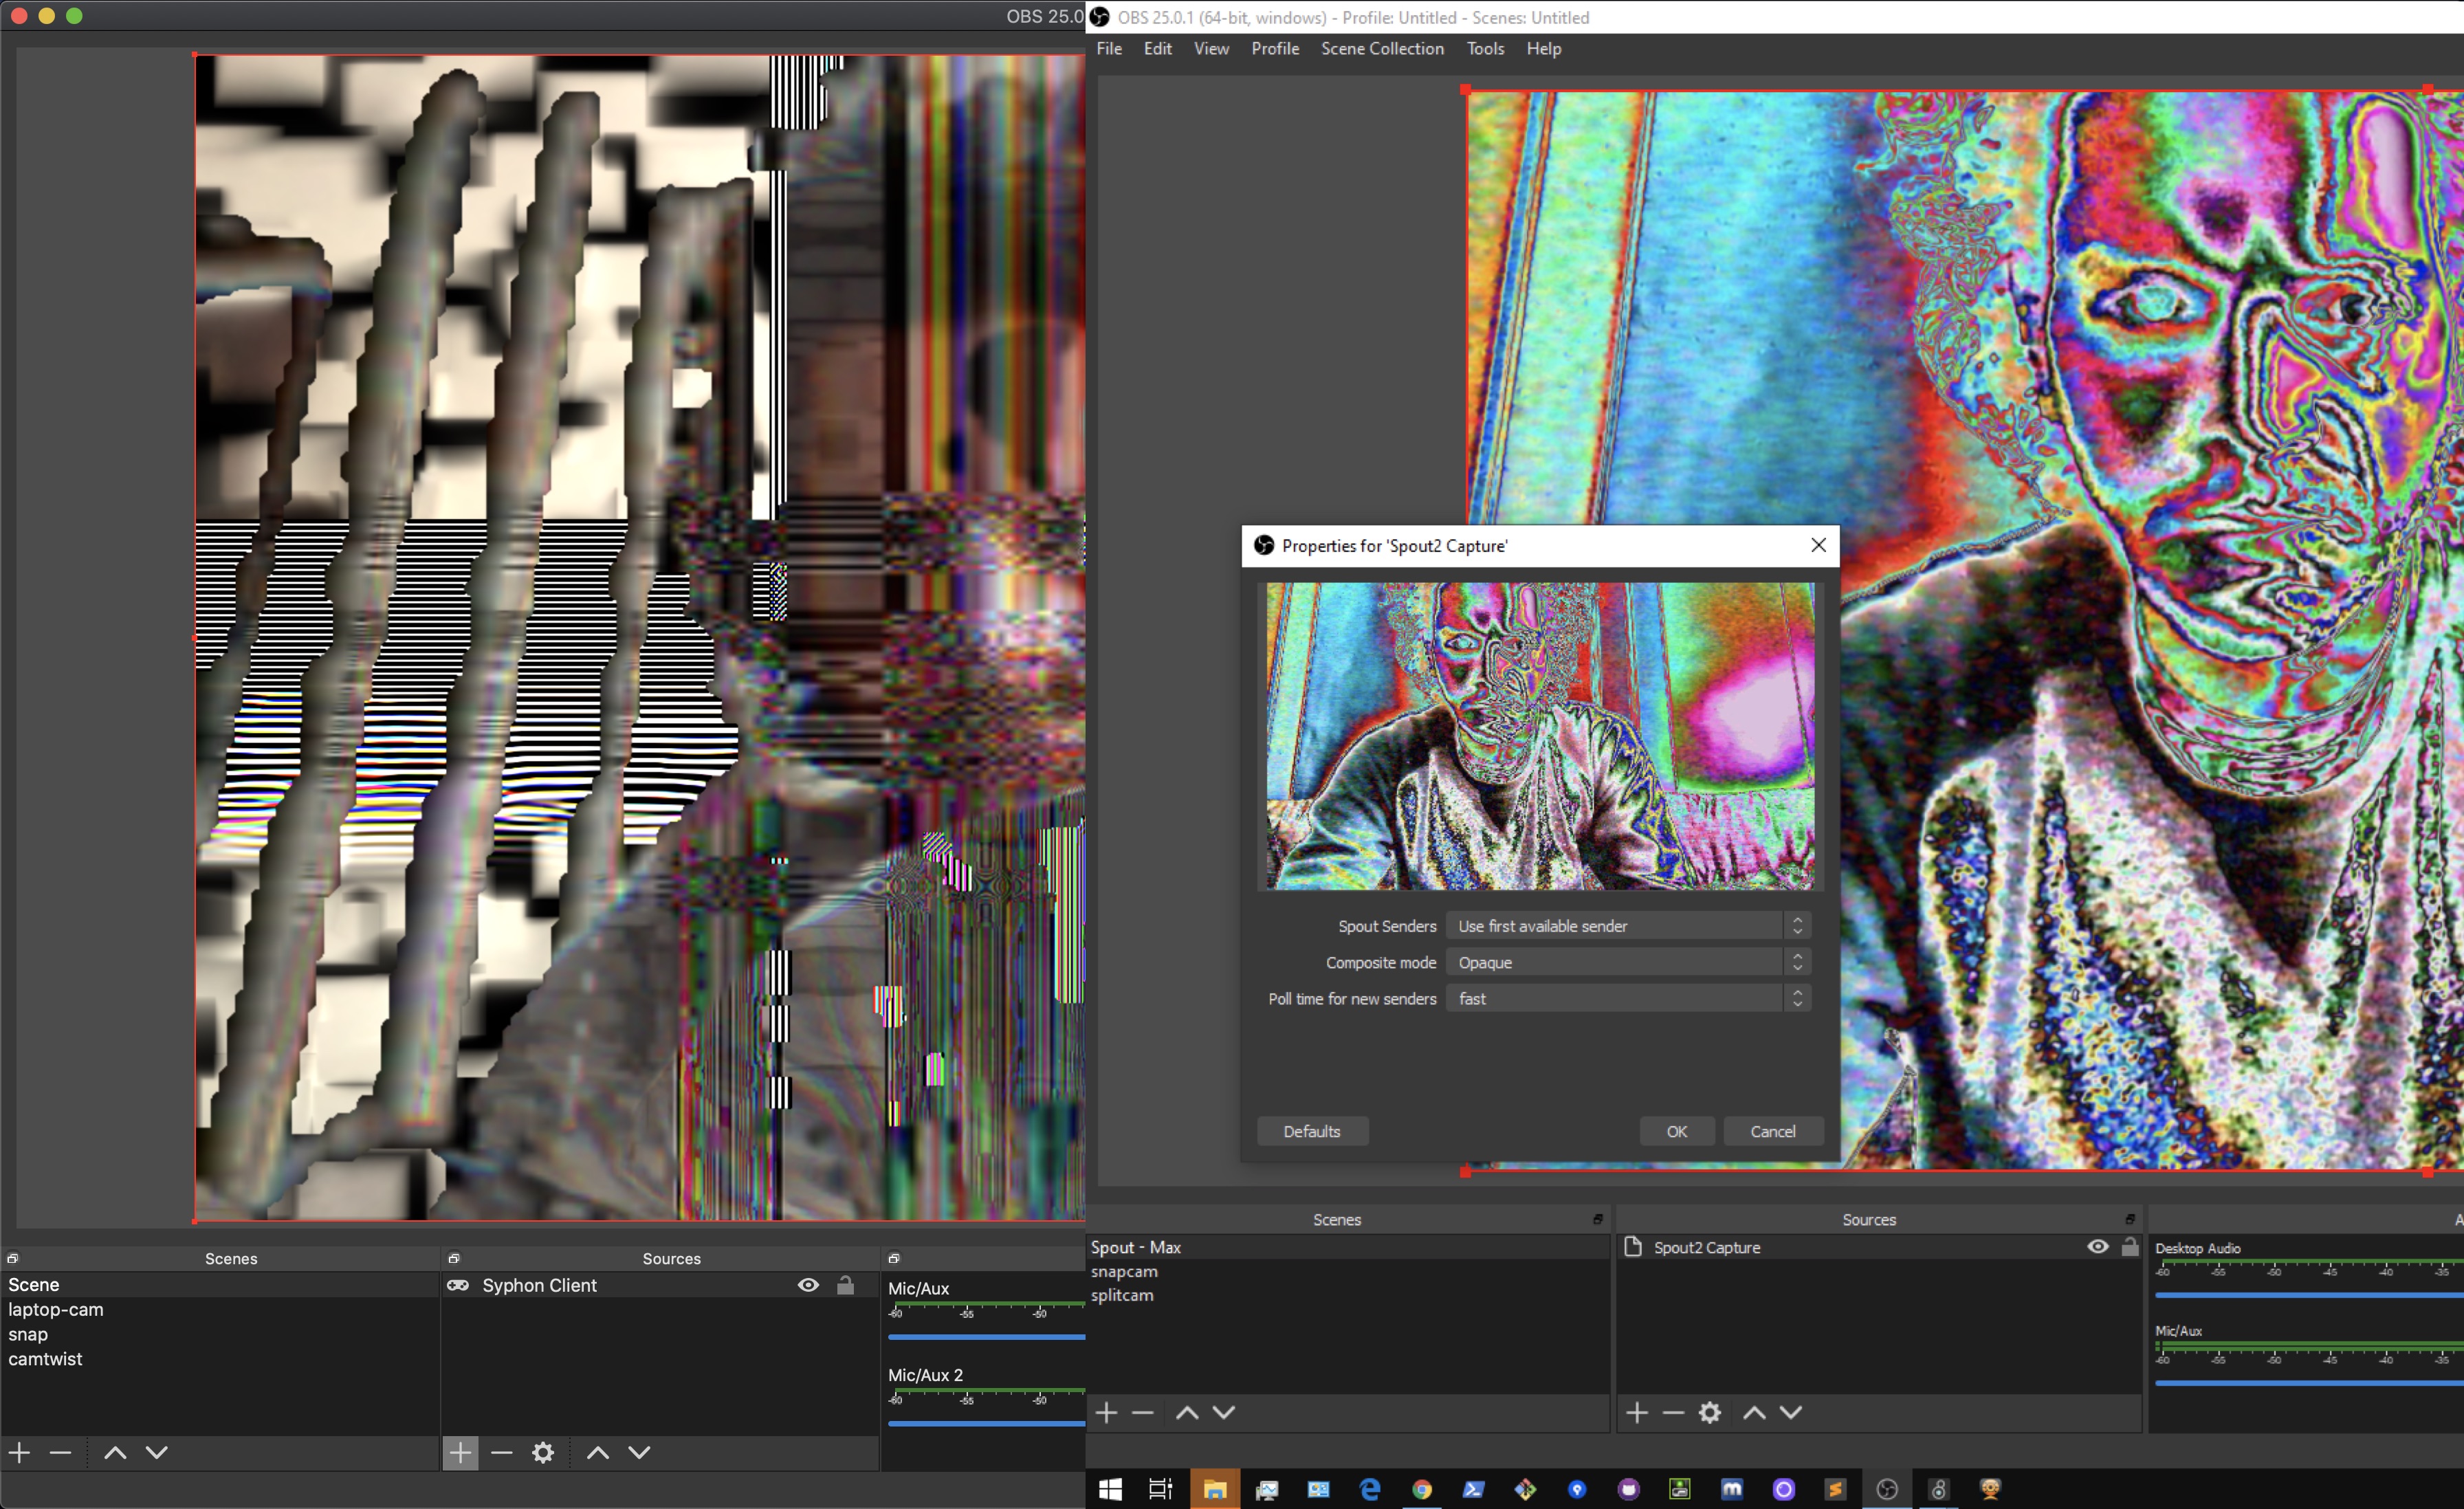
Note that it is possible to stream from Max via an OBS Window Capture source instead of using Syphon or Spout, but in my testing the frame rate dropped significantly. It also requires the Jitter window dimensions to match the streaming dimensions, so a less viable solution in most cases.
One last note, OBS makes it dead simple to make a local disk based recording of your stream, which generally is a good idea. By default it will match the recording settings to the stream settings, and therefore run more efficiently.
Virtual Cameras
Ok so we’ve achieved our goal of streaming Jitter content through some different streaming services, but we live in the age of the Zoom meeting, how does one liven up their daily teleconferencing? For this we are going to need to create a virtual camera device to pipe Jitter through. Fortunately there are free programs on each OS that manage this device and receive Syphon and Spout textures streams.
On Mac install Camtwist
On Windows install Spout Cam via the Spout installer
Optionally on Windows install - SplitCam
The setup is exactly the same as above except instead of sending to OBS, we will send to our virtual camera device. On Mac with Camtwist make sure you’ve set the video size and framerate in the preferences window before enabling your input. This should match the dims and framerate of your texture output.
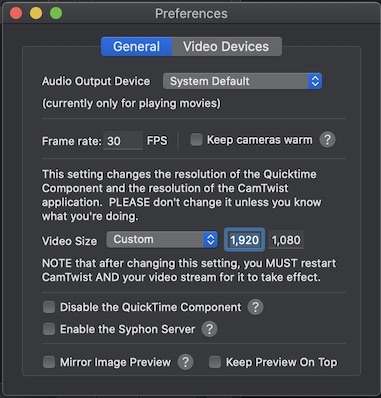
Once you've updated your preferences, select Syphon as the source in the section titled Step 1, add effects if desired in Step 2, and then select your Max server as the source in Step 3. That’s it, you can now select Camtwist as your video device in your teleconferencing app (e.g. Zoom, Skype, Google meetups, etc).
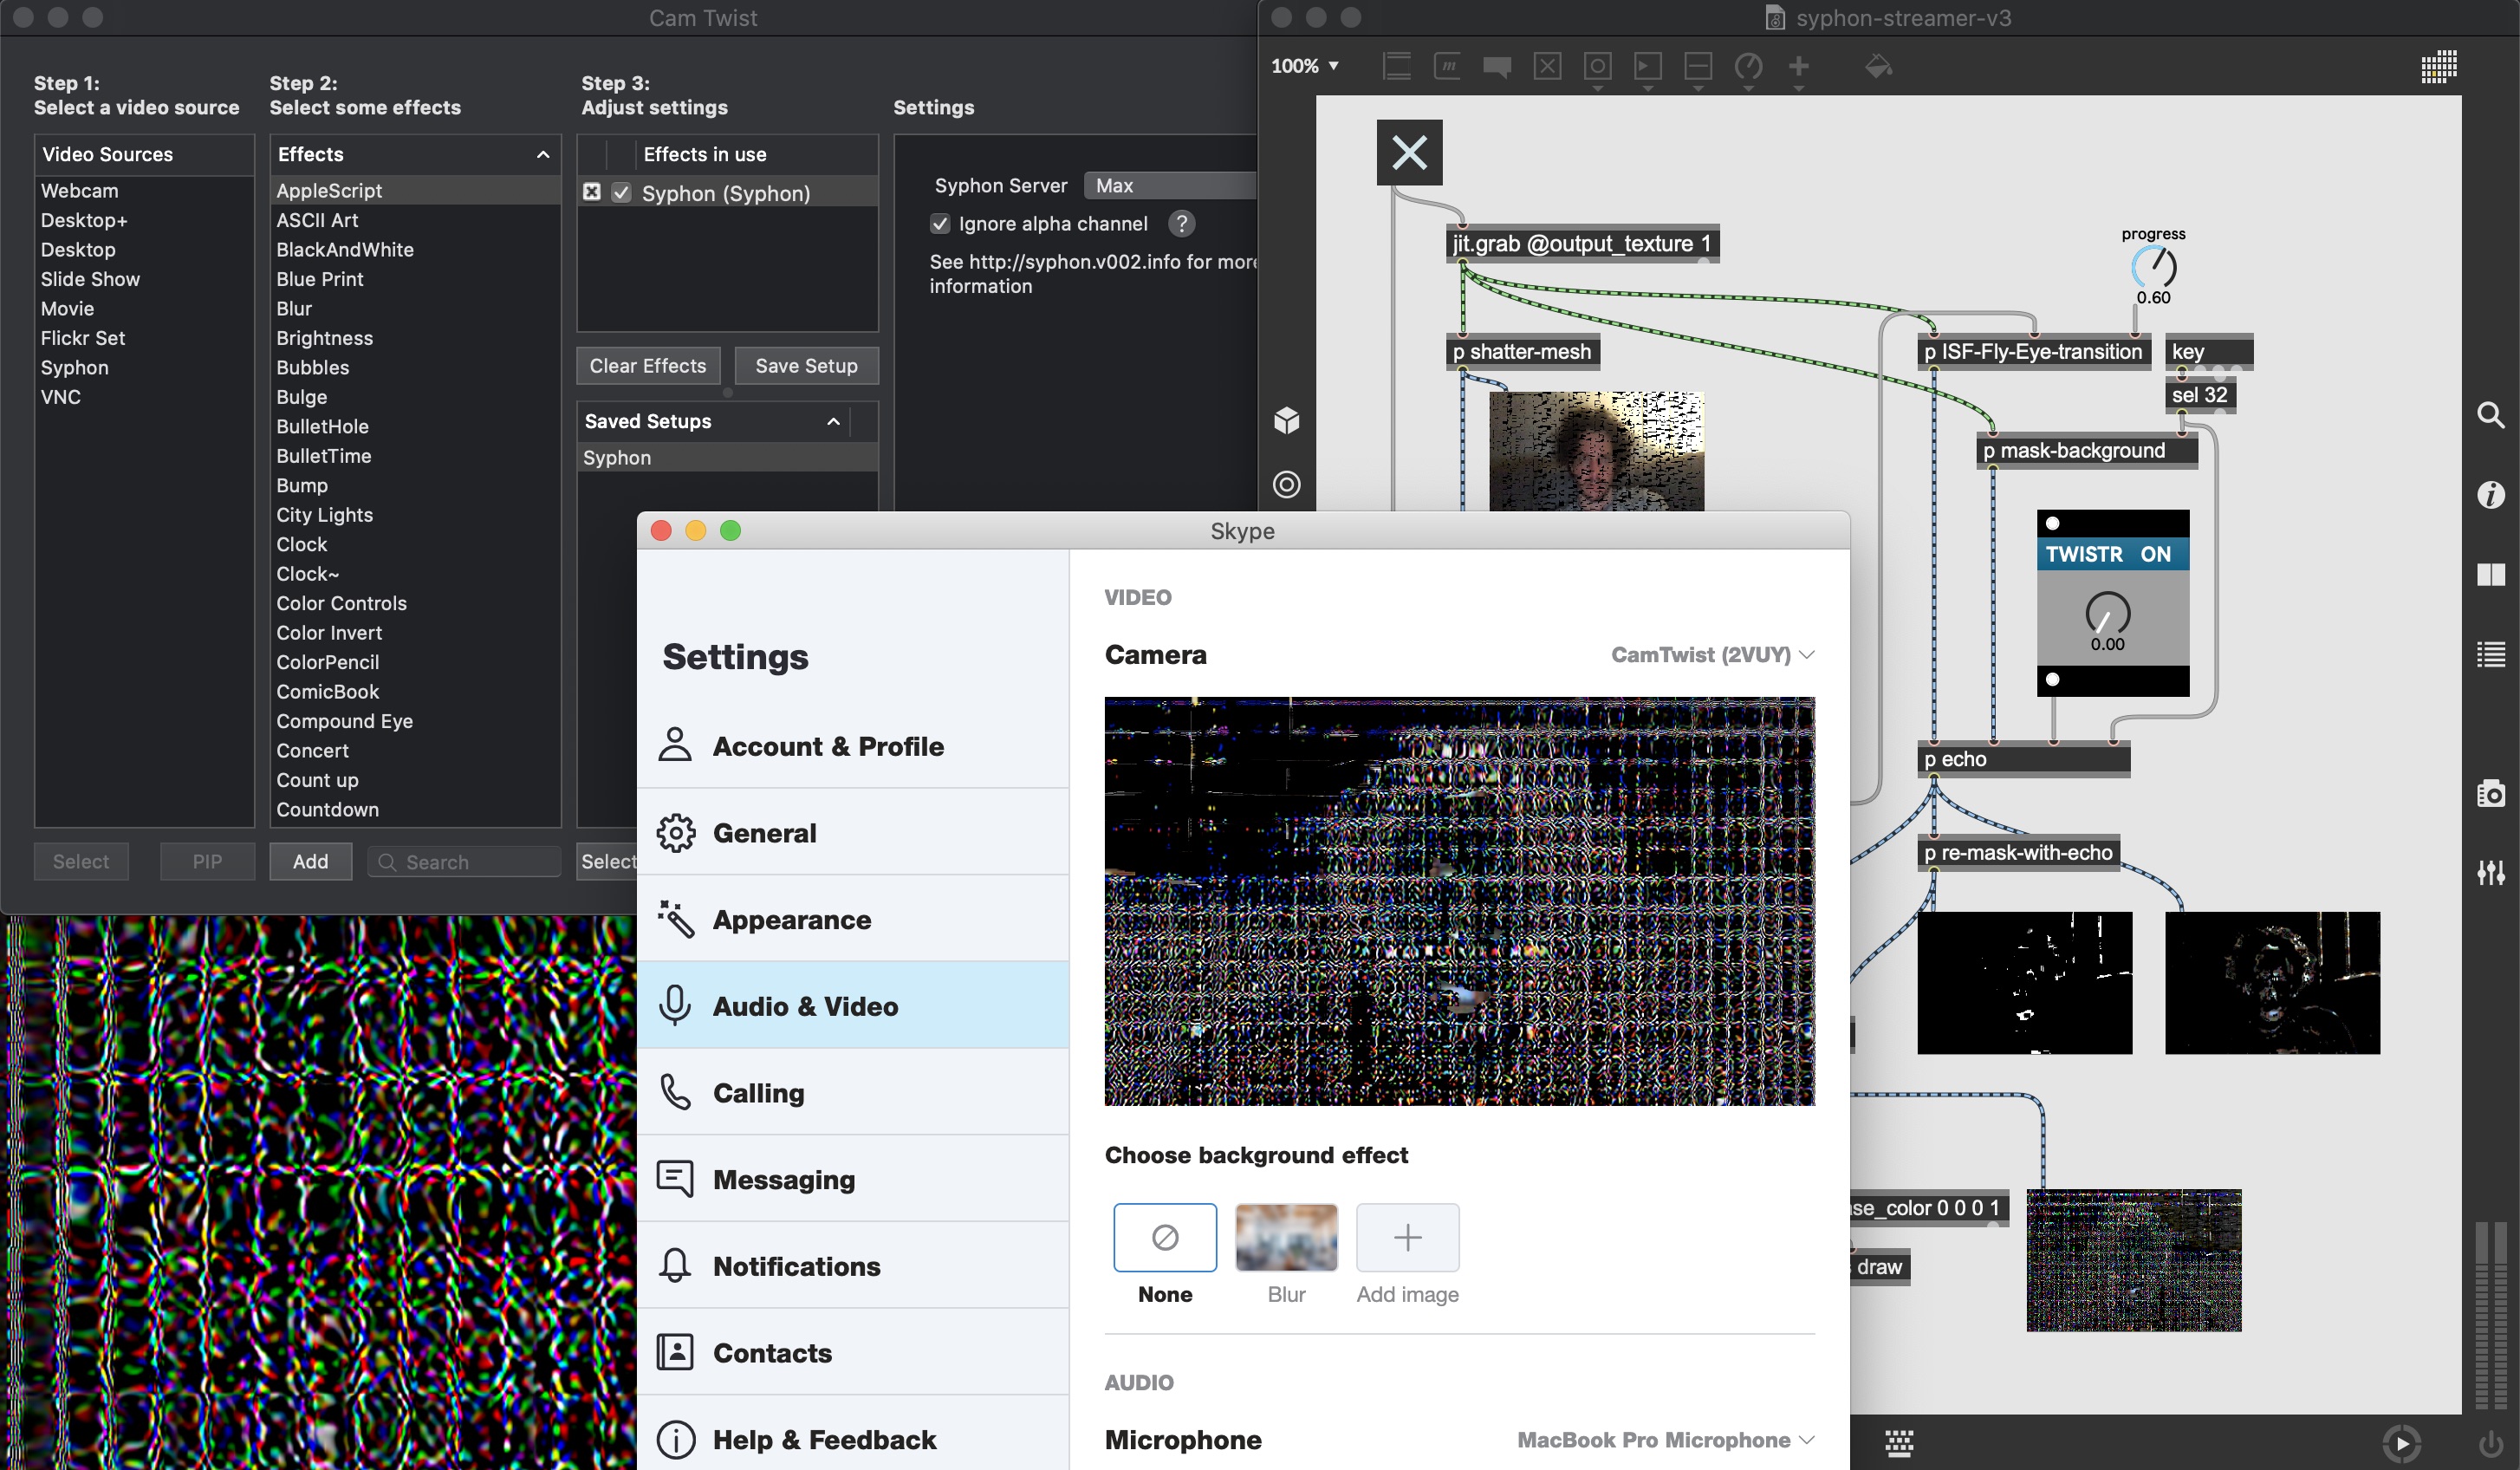
On Windows we're going to run the Spout installer (note this is different from the Spout Max package), which will install a utility called Spout Cam. After installing, you will be able to select Spout Cam as the camera in Zoom. Spout Cam should match the dimensions of your texture input by default. As mentioned above, you must make sure all apps are using the high performance GPU for this to work.
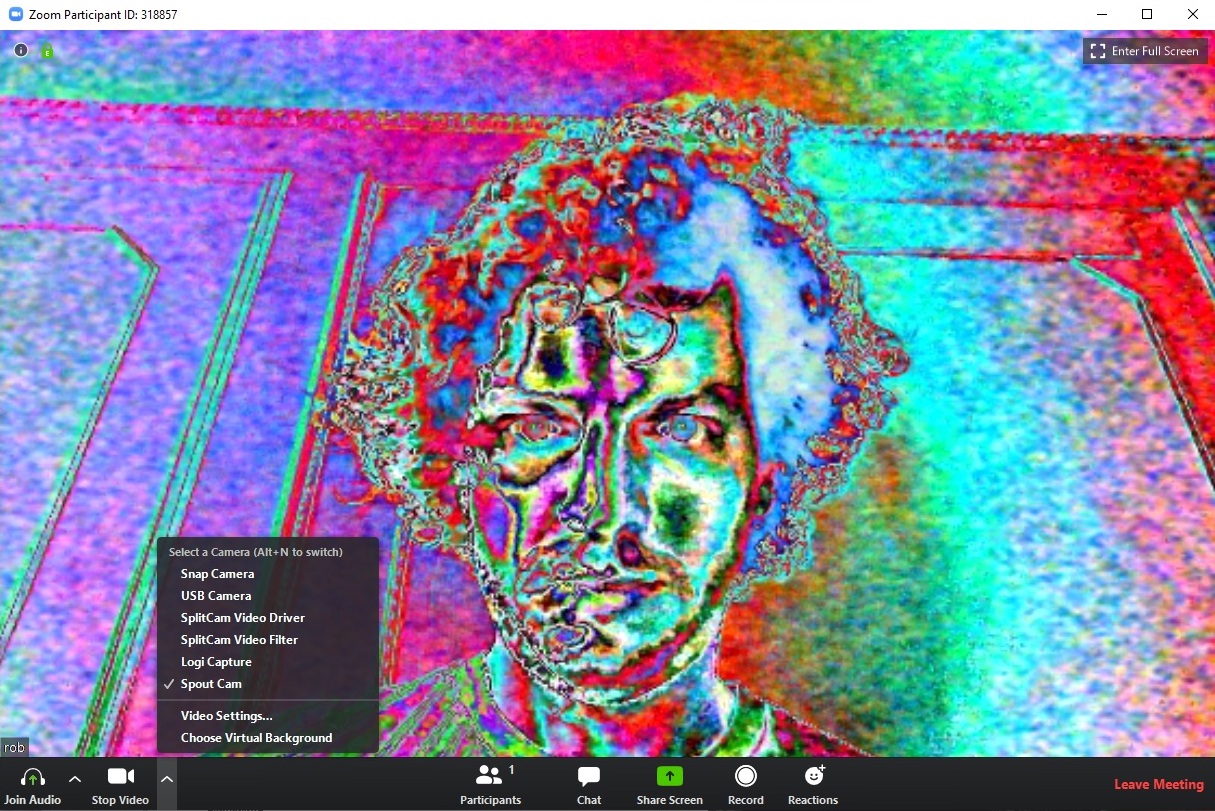
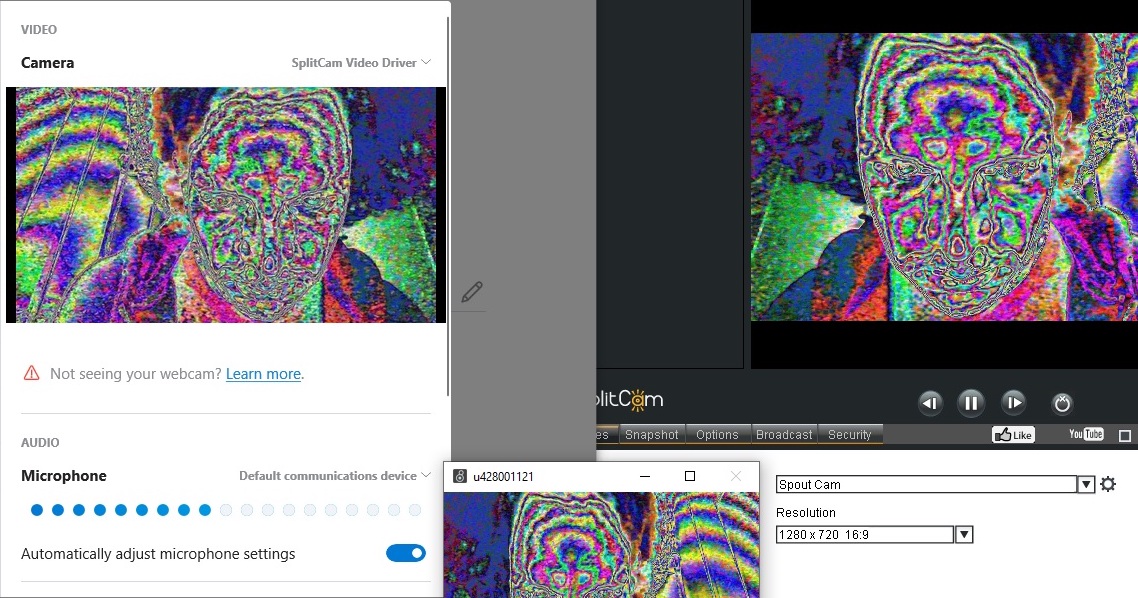
Not all webcam apps are able to detect and use Spout Cam directly, e.g. Skype did not in my testing. For these cases we can install the SplitCam app to act as a shim. SplitCam creates its own virtual camera device, and is also able to receive textures from Spout Cam. So with SplitCam running and its input set to Spout Cam, we are able to send directly to Skype.
Background Subtraction
In this final section let’s go even further down the rabbit hole and investigate how to improve the background subtraction. The patch above does a decent job of this, but it requires controlled conditions in order to be effective. Any changes in lighting and shadows, or any small movements of the camera cause the effect to break down. Modern day camera apps typically use smarter algorithms, likely built on machine learning and extensive datasets to handle the segmentation. To up our game we can install the popular (and free) Snap Camera app, and search for a chromakey lens.
Before we dive deep into this let me say, in my experimenting I encountered different problems on both platforms. The following is presented primarily as an exercise in problem solving, rather than a practical solution. If that's not interesting to you feel free to skip this section.
What you'll need:
Snap Camera app running a Chromakey lens
On Mac the OBS NDI plugin and NDI Runtime
On Mac NDI Syphon
First, launch Snap Camera and enable the chromakey lens of your choosing. On Windows, jit.grab can directly receive the output from Snap Camera, but I was unable to get it working directly on Mac (not sure why). To workaround we can again make use of OBS, but this time instead of piping Jitter to OBS, we pipe OBS to Jitter using something called NDI. Install the NDI plugin and runtime linked above, then in OBS create a new Video Capture Device and set the device to Snap Camera. Click on the Tools menu and select NDI Output Settings and click the checkbox next to Main Output. Next launch the NDISyphon app and in the NDI Clients section you should see your OBS source. Click on that and enable it. Finally in your max patch you can receive the chromakeyed image with a jit.gl.syphonclient object.
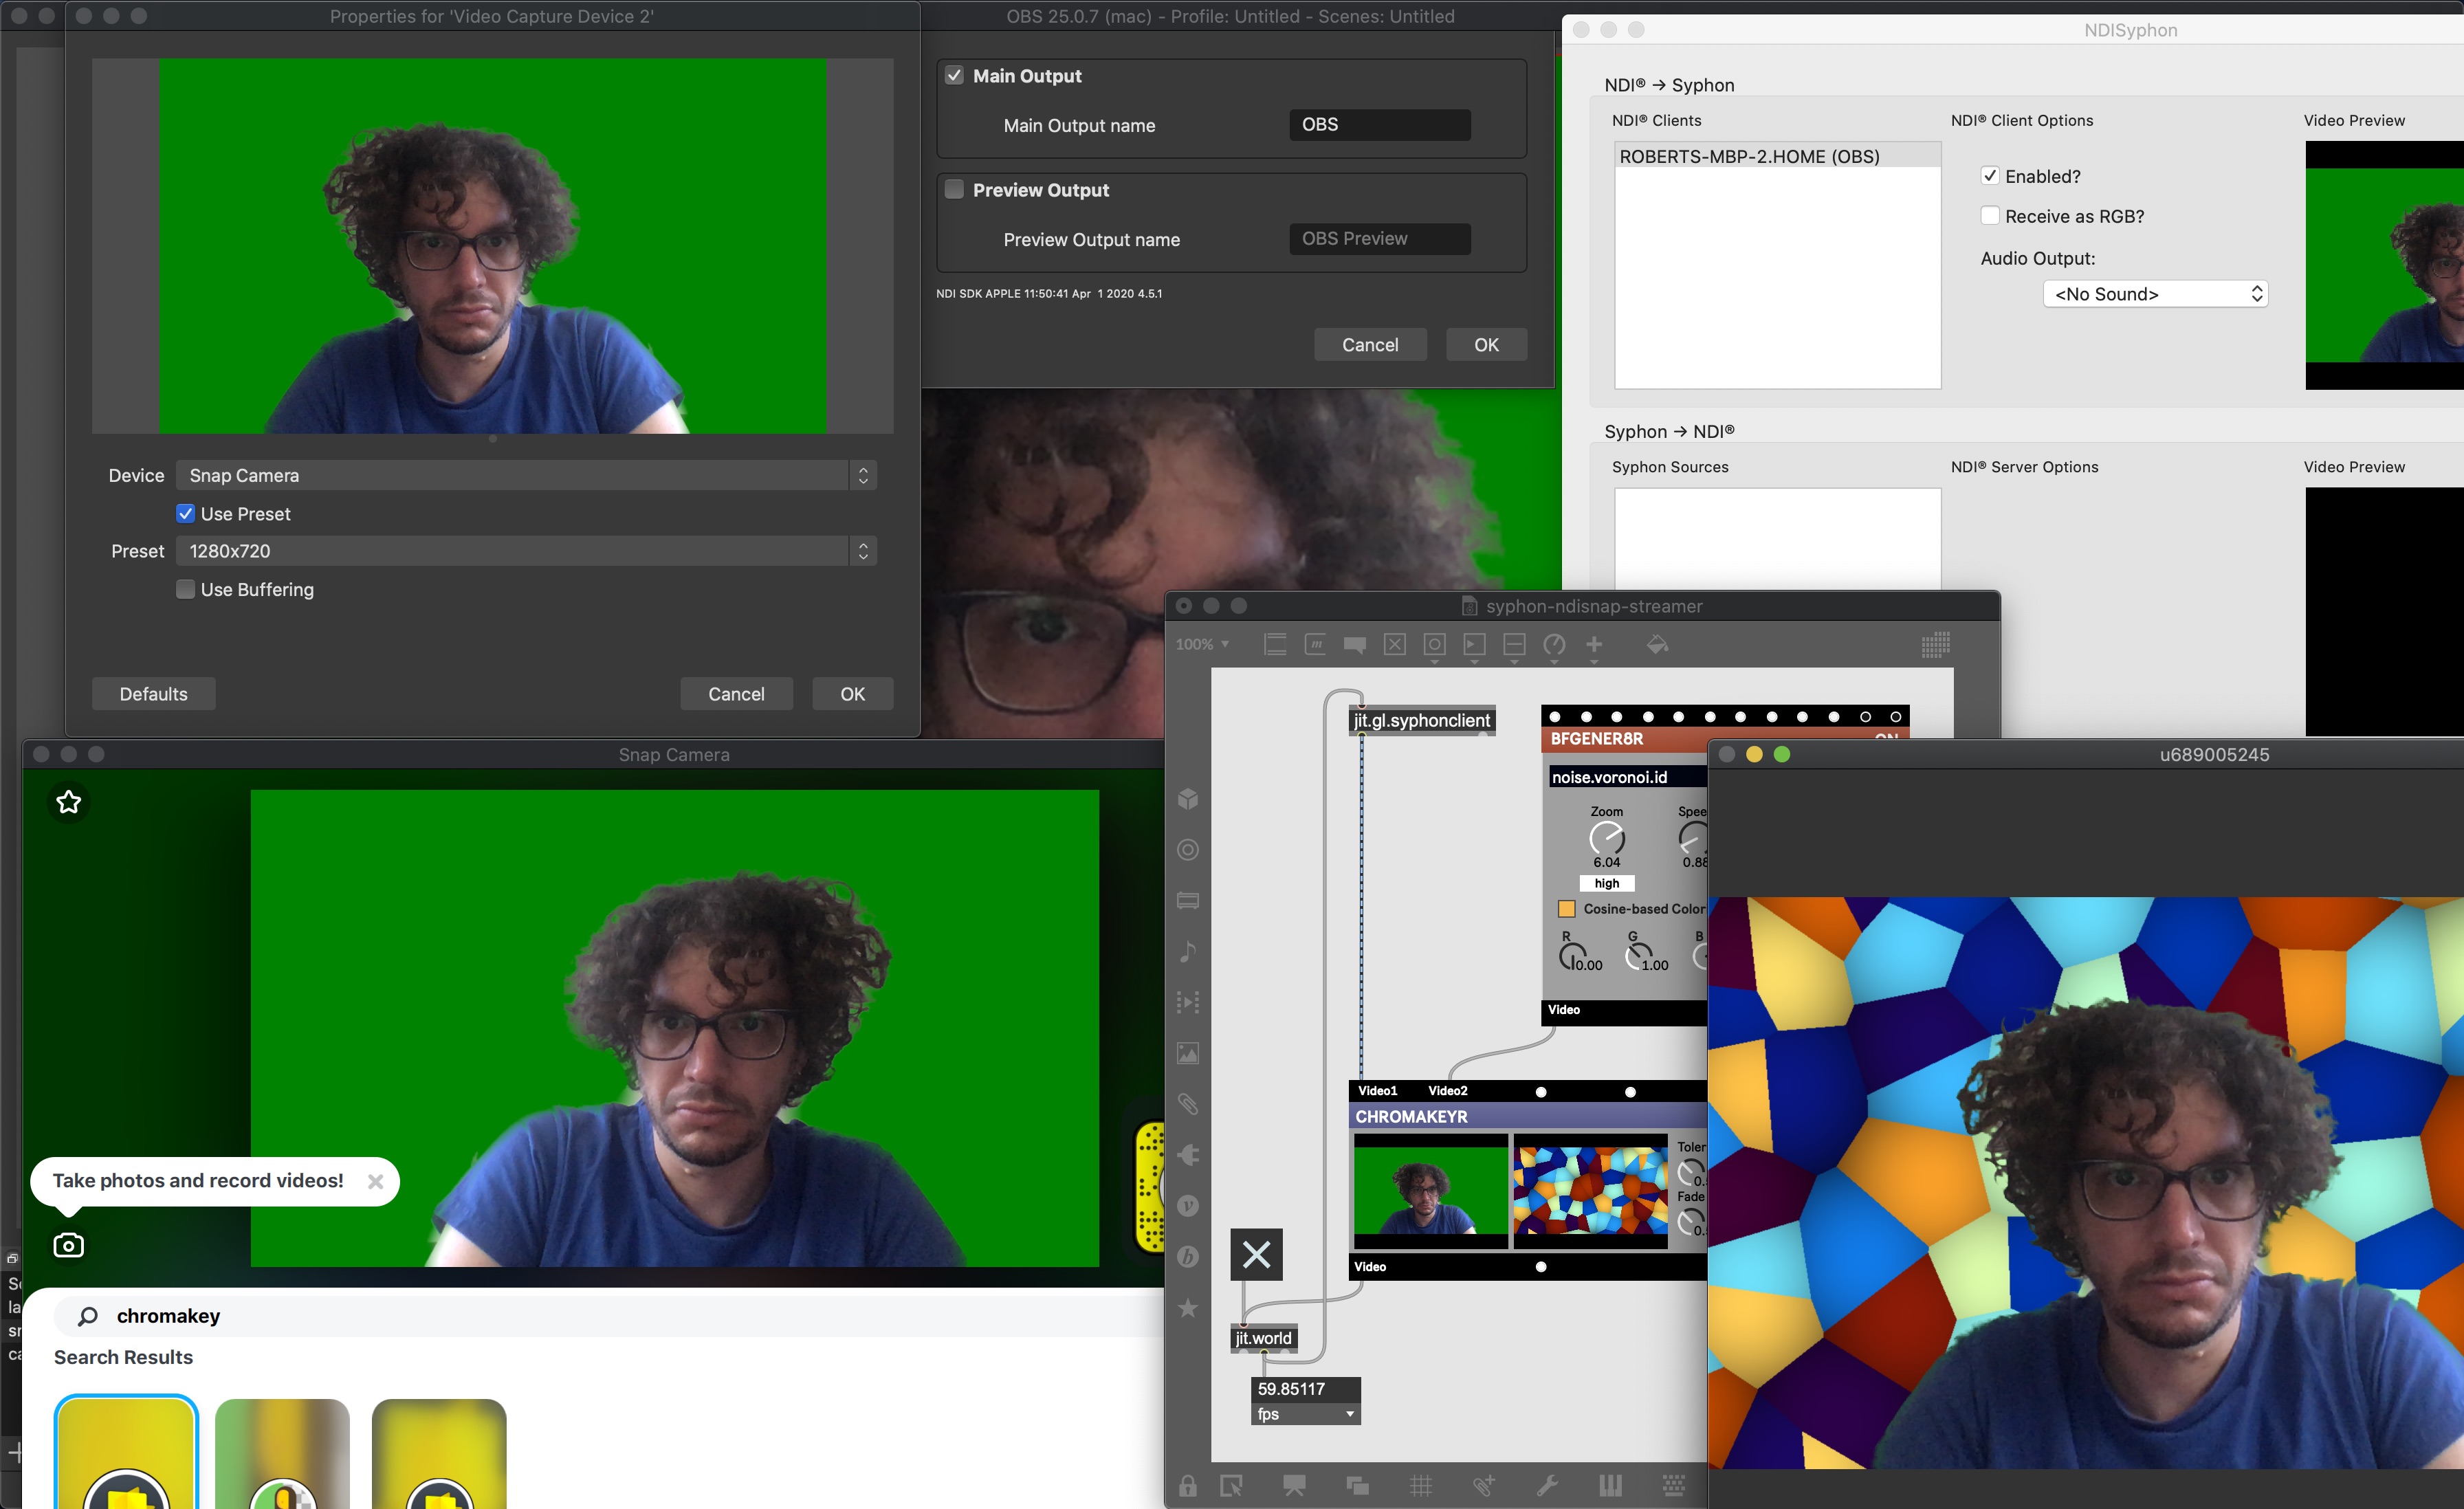
If you want to take this monstrosity one step further, we can actually use OBS to both send from Snap to Jitter via NDI, and from Jitter to a streaming service. The trick is to enable Studio Mode by clicking that button in the lower right section of the interface. Then in the NDI Output Settings select the Preview Output instead of the Main Output. Finally you will set the Snap source as the preview and the Syphon source as the program.
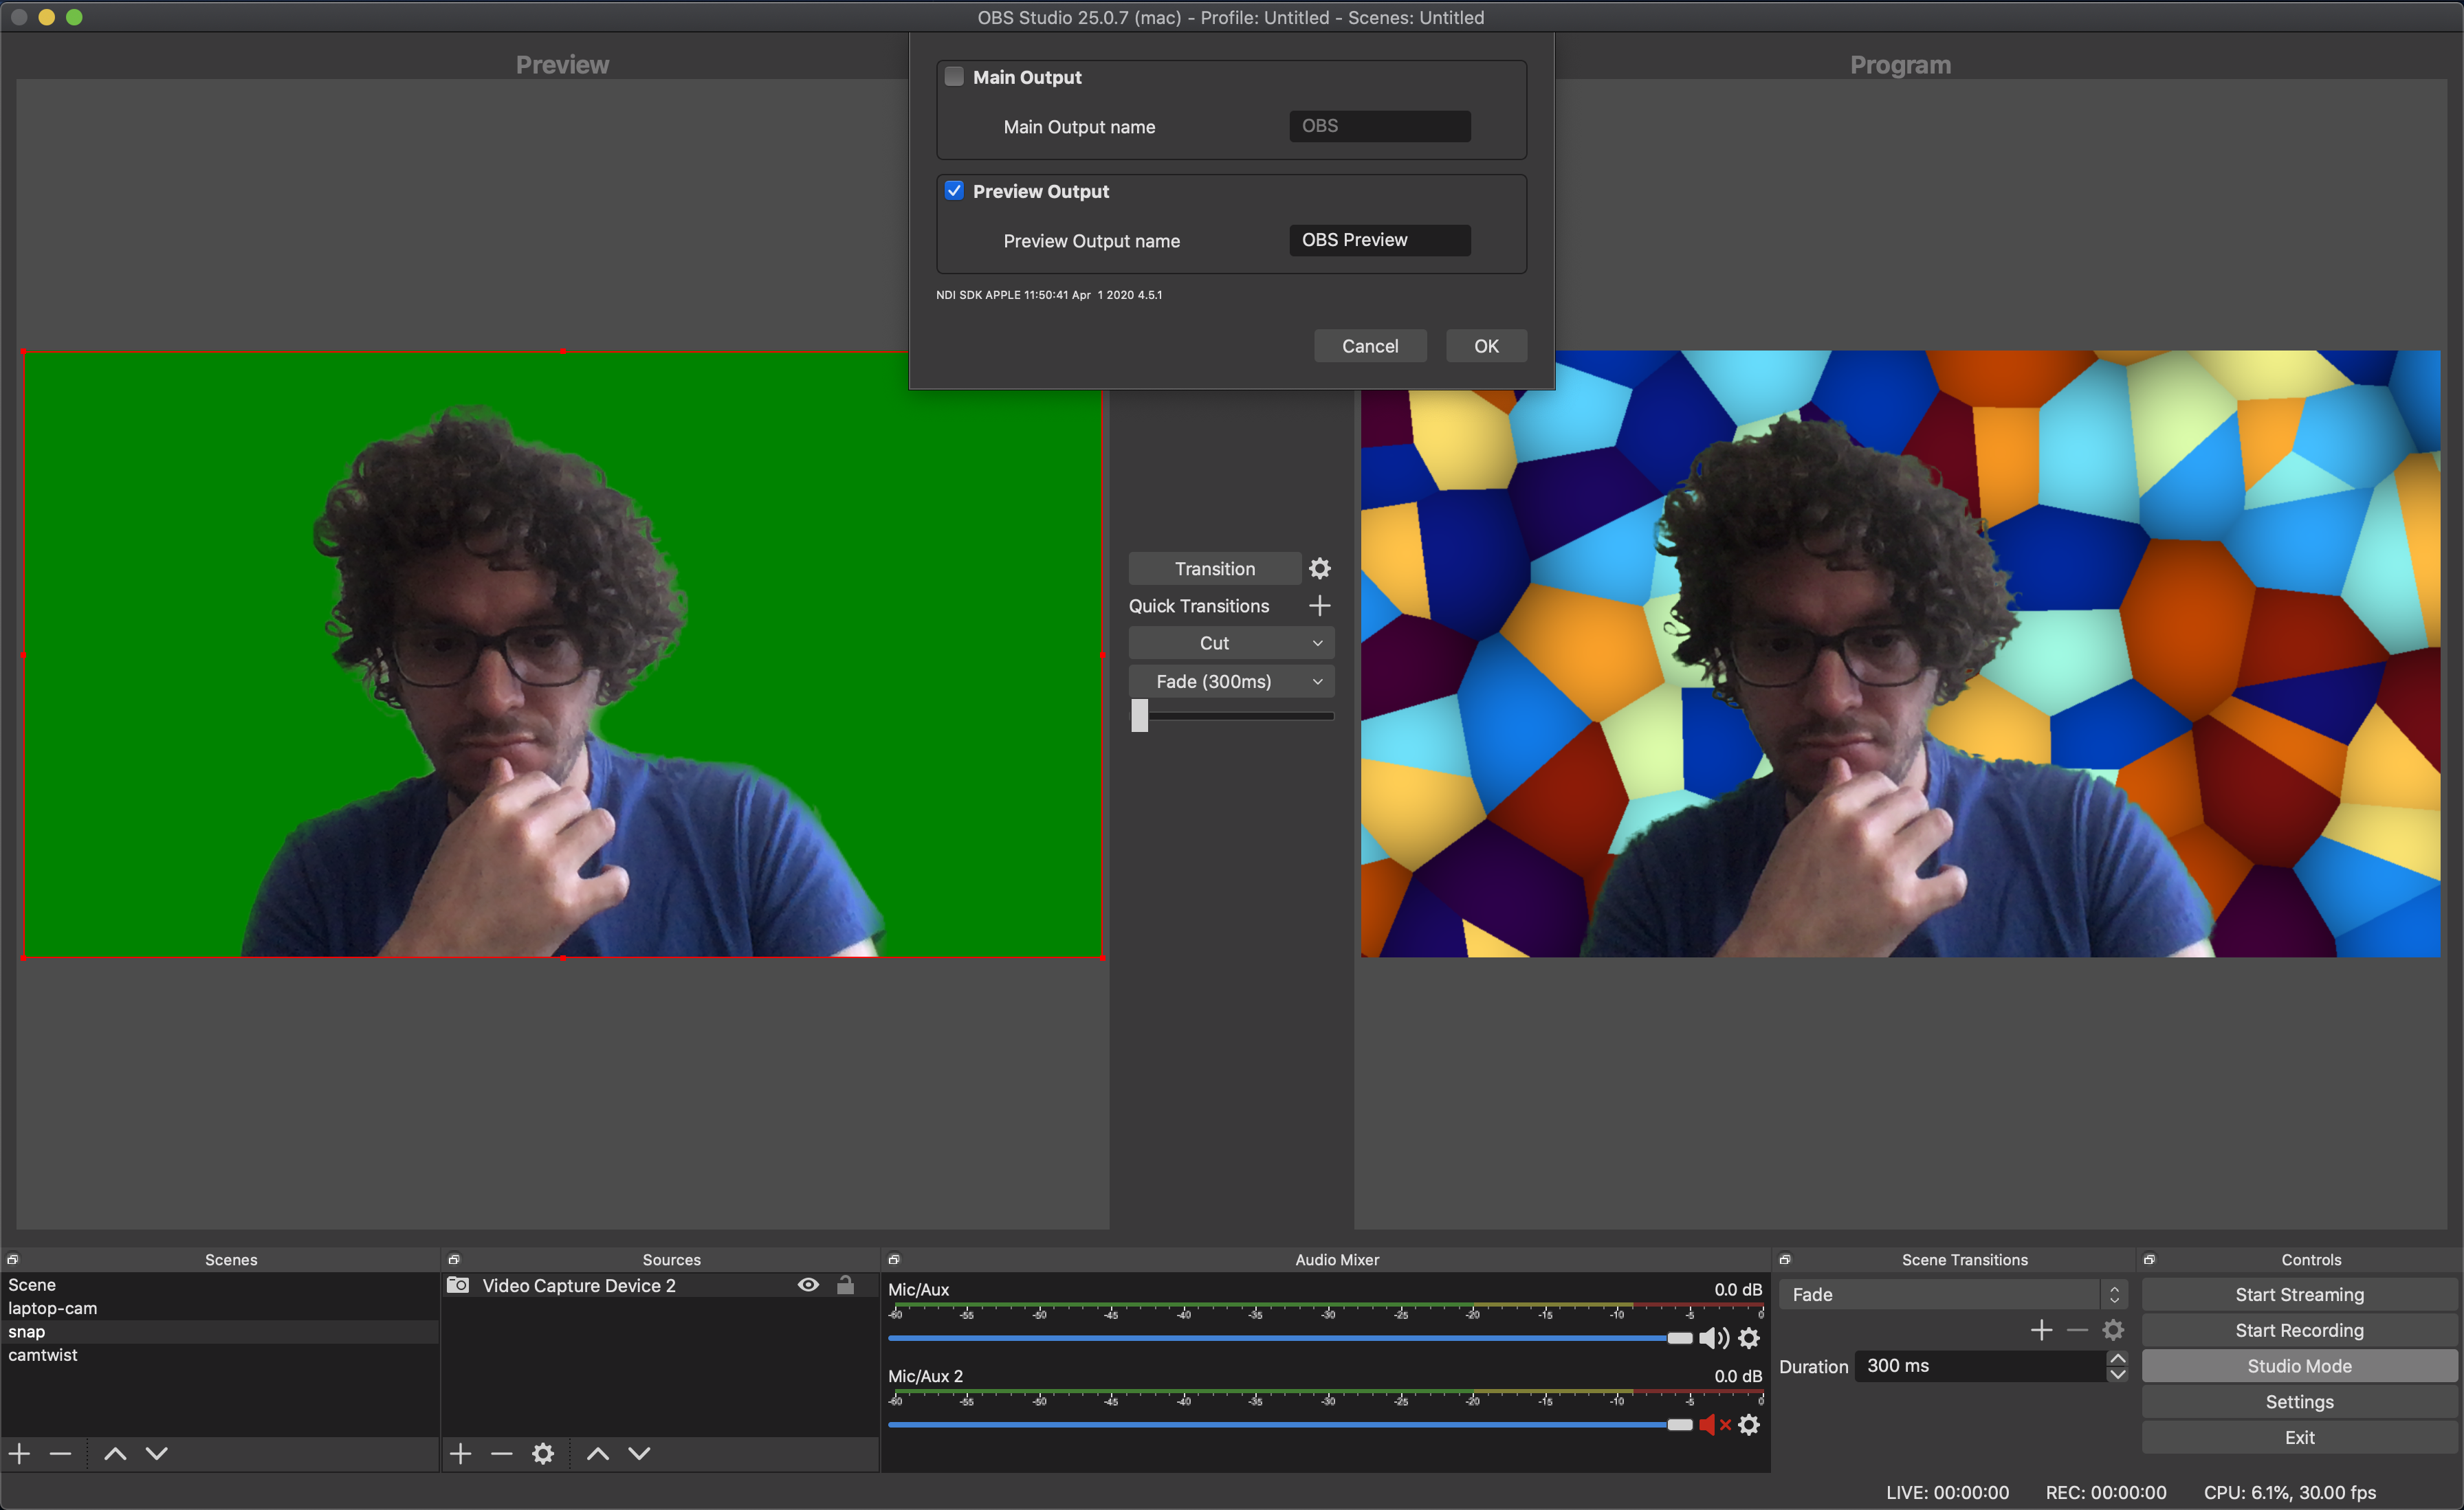
Despite the ridiculousness of this setup, it does actually work and as proof I live-streamed out a little test clip using my patch above and replacing the background subtraction sub-patcher with the Snap Camera chromakey lens output. Check it out here.
In Practice
You might be wondering how all this streaming stuff works out in practice. For that I'm going to turn it over to our good buddy Sam Tarakajian, who recently participated in an "online micro festival" called More Kicks Than Friends (Sam's bit starts around minute 38) presented by Max for Live master Ned Rush.
I wanted to perform something with my friend Alex, but of course the challenge was that we couldn't jam together in person. Our solution might sound a bit convoluted, but I was very pleasantly surprised by how well it turned out. First, Alex streamed his musical improvisation to me over Twitch. I kept that stream tab open in my browser, and fed the sound into Max using Loopback. If you don't want to buy Loopback, you could just as easily use Soundflower or BlackHole.
Once I had the sound in Max, I did some audio analysis to drive a couple of envelope followers, adding some audio reactivity to my Jitter patch. Then, so Alex could get a sense of what I was doing (albeit with some latency), I used exactly the technique that Rob describes: Max to Syphon to OBS to Twitch. Since Ned was asking for prerecorded video, I also used Syphon Recorder to record video locally (Rob describes using OBS for this, which would have been pretty much the same result). After we finished, we edited Alex's local audio together with my local video, and sent the result off to Ned. Luckily Syphon Recorder can record audio as well, which helped Alex edit the video properly.
On my machine I was simultaneously generating live visuals with Jitter, performing GPU accelerated face tracking, streaming video from Twitch, streaming video to Twitch, and recording video to disk. I'm amazed it was able to work at all, let alone as well as it did. But far from being a huge technical headache, all of the streaming tools we used were surprisingly easy to use. I'm looking forward to trying more streamed performance in the future.
by Rob Ramirez on April 21, 2020

